Alle OpenHAB Tutorials
- OpenHAB 3 Camera Binding
- OpenHAB 3 Camera Widget
- OpenHAB 3 in Docker
- OpenHAB 3 MQTT Binding
- OpenHAB Smarthome
- OpenHAB IP Camera Binding
- openHABian on a Raspberry Pi
- INSTAR MQTT - OpenHAB2
All OpenHAB FAQs
- OpenHab MQTT Auto-Discovery
- OpenHab3 IpCamera Binding Alarmserver
- OpenHab3 IpCamera Binding with an WQHD Camera
- Using OpenHab3 in Docker with an WQHD Camera
- OpenHAB v3 Configuration for your WQHD INSTAR MQTTv5 Broker
- OpenHAB v3 filebased Configuration for your WQHD INSTAR MQTTv5 Broker
- OpenHAB v3 Rules for your WQHD INSTAR MQTTv5 Broker
- OpenHAB v3 Blockly Scripts for your WQHD INSTAR MQTTv5 Broker
- OpenHAB v3 Sitemaps for your WQHD INSTAR MQTTv5 Broker
- Debugging the OpenHAB IP Camera Binding
OpenHAB v3 Sitemaps for your WQHD INSTAR MQTTv5 Broker
- Part I - MQTT Binding Configuration through the Main UI
- Part II - MQTT Binding Configuration through the Configuration Files
- Part III - MQTT Binding Rules
- Part IV - MQTT Binding Scripts
- Part V - Groups and Sitemaps
Grouping your Items
A: Part 1 of this tutorial installed the OpenHAB MQTT binding and connected it to the internal broker in our INSTAR WQHD camera using the OpenHab 3 Main UI. The Part II did the same by editing the configuration files of our OpenHab 3 installation. In Part III we added some automations using the OpenHab Rules feature. And now it is time to build a dashboard by grouping items and building a sitemap.
To goup your Items create a file groups.items in the ./items directory:
// Location
Group office "Office"
// Floors
Group basement "Basement" (office)
Group ground_floor "Ground Floor" (office)
Group first_floor "First Floor" (office)
Group front_entrance "Front Entrance" (office)
// Rooms
Group reception "Reception" (ground_floor)
Group hallways "Hallways" (ground_floor,first_floor)
Group offices "Offices" (ground_floor,first_floor)
Group storage "Storage" (basement,first_floor)
Group outdoor "Outdoor" (front_entrance)
// Sorted by Function
// Cameras
Group cameras "Cameras" (office)
Group cam_basement "Basement Cameras" (cameras,basement)
Group cam_ground "Ground Floor Cameras" (cameras,ground_floor)
Group cam_first "First Floor Cameras" (cameras,first_floor)
Group cam_entrance "Entrance Cameras" (cameras,front_entrance)
// Sorted by Binding
// MQTT
Group mqtt "MQTT" (office)
Group mqtt_cameras "MQTT Cameras" (mqtt)
We can also pre-define Item Types that we want to use in the ./items directory inside a file named itemtypes.items:
Group   Cam_group   "Type Group"   <group>   (office)
Switch   PrivacyAreas   "Type Switch [MAP(INSTAR.map):%s]"   <switch>   (it_group)
Dimmer   Cam_Dimmer   "Type Dimmer [%.0f %%]"   <chart>   (it_group)
Color   Cam_Color   "Type Color [%s]"   <colorpicker>   (it_group)
Number   Cam_Number   "Type Number [%.2f °C]"   <temperature>   (it_group)
String   Cam_String   "Type String"   <error>   (it_group)
Image   Cam_Image   "Type Image"   <camera>   (it_group)
Location   Cam_Location   "Type Location"   <presence>   (it_group)
Now we can assign a group to our items:
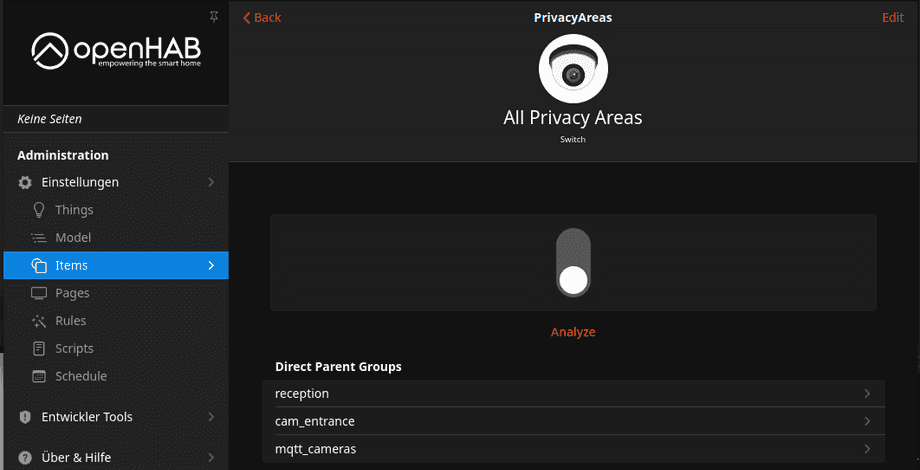
Switch PrivacyAreas "All Privacy Areas" <camera> (reception,cam_entrance,mqtt_cameras) {channel="mqtt:topic:home:PrivacyArea1, mqtt:topic:home:PrivacyArea2,mqtt:topic:home:PrivacyArea3,mqtt:topic:home:PrivacyArea4"}And your Item will now be part of the assigned groups:
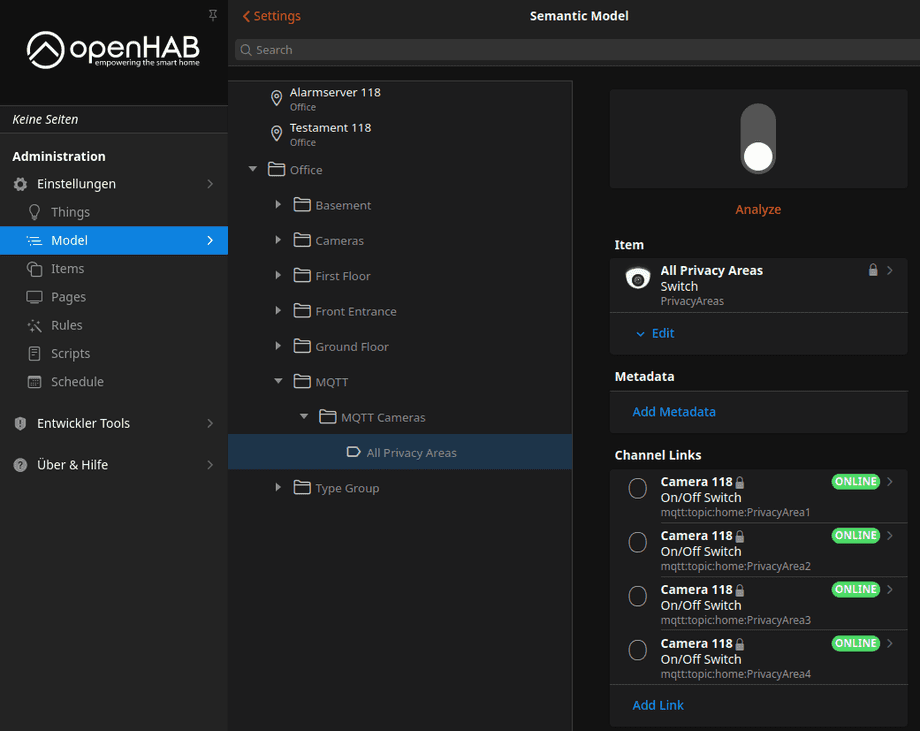
The Group Items will also be shown in the Model tab:
Sitemaps
Sitemaps are one way to select and compose these elements into a user-oriented representation for various User Interfaces (UIs), including the openHAB app for Android. Sitemaps are text files with the .sitemap extension, and are stored in the $OPENHAB_CONF/sitemaps directory:
sitemaps/INSTAR.sitemap
sitemap cameras label="Camera Surveillance" {
    Frame label="Camera 118" {
        Default item=Home label="Home"

        Switch item=PrivacyAreas
    }
}
Save the sitemap and open the basic UI on http://localhost:8080/basicui/app?sitemap=INSTAR. You should now be able to see the Privacy Areas switch:
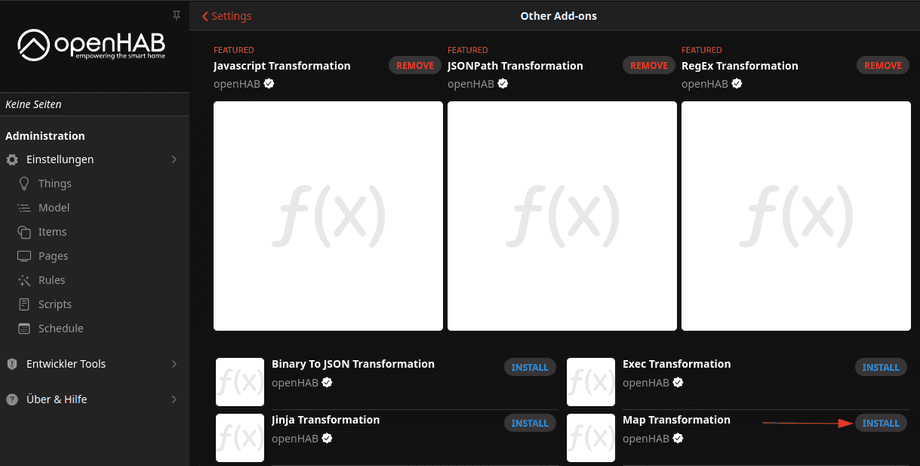
We can use the MapTransformation addon to change the text that is being displayed here:
We now have to define the transformation we want to perform. This can be done in:
transform/INSTAR.map
ON=Private
OFF=Not Private
To perform the transformation we can now link the map file to the switch in our items/itemtypes.item:
Switch PrivacyAreas "Type Switch [MAP(INSTAR.map):%s]" <switch> (it_group) 


