Alle OpenHAB Tutorials
- OpenHAB 3 Camera Binding
- OpenHAB 3 Camera Widget
- OpenHAB 3 in Docker
- OpenHAB 3 MQTT Binding
- OpenHAB Smarthome
- OpenHAB IP Camera Binding
- openHABian on a Raspberry Pi
- INSTAR MQTT - OpenHAB2
All OpenHAB FAQs
- OpenHab MQTT Auto-Discovery
- OpenHab3 IpCamera Binding Alarmserver
- OpenHab3 IpCamera Binding with an WQHD Camera
- Using OpenHab3 in Docker with an WQHD Camera
- OpenHAB v3 Configuration for your WQHD INSTAR MQTTv5 Broker
- OpenHAB v3 filebased Configuration for your WQHD INSTAR MQTTv5 Broker
- OpenHAB v3 Rules for your WQHD INSTAR MQTTv5 Broker
- OpenHAB v3 Blockly Scripts for your WQHD INSTAR MQTTv5 Broker
- OpenHAB v3 Sitemaps for your WQHD INSTAR MQTTv5 Broker
- Debugging the OpenHAB IP Camera Binding
OpenHAB 3 MQTT Binding
Make your camera the heart of your smart home
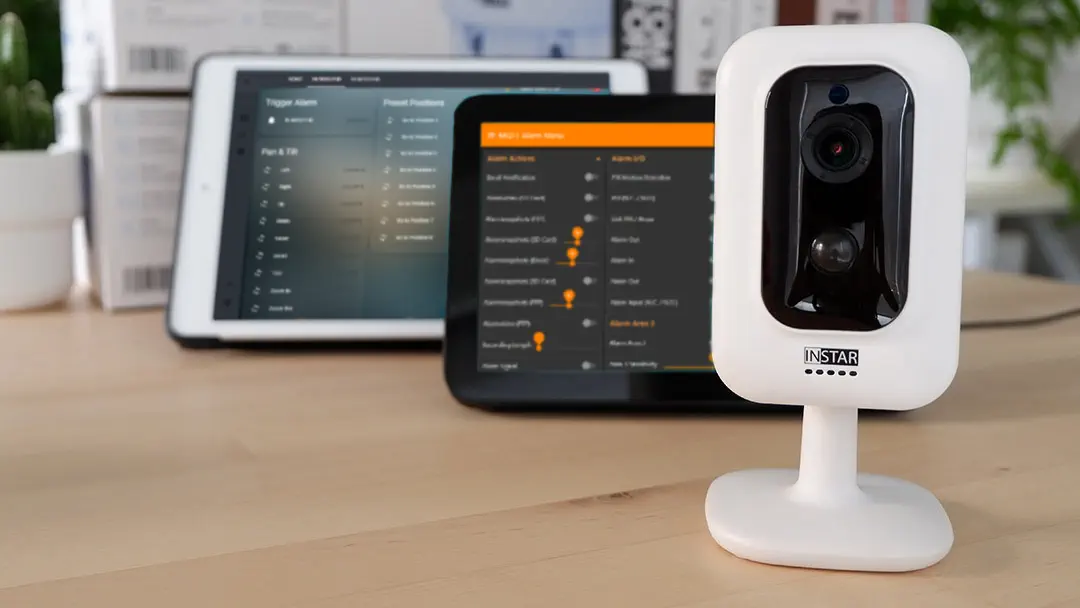
Using the MQTT interface of your INSTAR Full HD cameras you can connect them to an existing smarthome system (Home Assistant, OpenHAB, Node-RED, Athom Homey, Homematic, ioBroker, Loxone, homee) can be added. Or even make it the main broker for your MQTT sensors. MQTT allows you to automate ALL functions of your camera and link them to other services in your smarthome.
Control your camera via the IFTTT online service

On the IFTTT platform, we provided a service called INSTAR. The INSTAR applets provide you with the ability to control some settings of your INSTAR camera or INSTAR Cloud with IFTTT. You can connect INSTAR with triggers for location (Geo Location) and date & time, send notifications and much more. For example, you can connect INSTAR applets to the IFTTT location service and automatically disable the alarm when you arrive home. You can also use the INSTAR applets to create your own automation and connect them to other third-party applets.
Configuring the MQTT Binding
MQTT Broker
I will start by adding my INSTAR IP camera as MQTT Broker to OpenHAB. The broker is configured as follows:

Go to the Things settings and click on the blue plus icon to add the MQTT broker:

Select the MQTT Binding:

Select the MQTT Broker preset:

Give your Broker a unique ID and label and add all the information from your MQTT broker like IP, port and login:


Then click on Save to add the broker to OpenHAB.
MQTT Client
I now want to add Thing that allows me to switch the Alarm Areas of my camera. For this I will add a Generic MQTT Thing:

Add a unique ID (and a unique label that I forgot in the screenshot), add the MQTT Broker we created in the first step and click on Create Thing:

Now click on the Thing and switch to the Channel tab to add channels for the 4 alarm areas of your camera:

Again, add a unique ID and label and assign an ON/OFF Switch as a template:

This opens up the advanced configuration options. First we need to assign the State and Command topic that we want to switch with the toggle:
| AREA 1 | STATE | cameras/117/status/alarm/area1/enable |
| AREA 1 | COMMAND | cameras/117/alarm/area1/enable |
| AREA 2 | STATE | cameras/117/status/alarm/area2/enable |
| AREA 2 | COMMAND | cameras/117/alarm/area2/enable |
| AREA 3 | STATE | cameras/117/status/alarm/area3/enable |
| AREA 3 | COMMAND | cameras/117/alarm/area3/enable |
| AREA 4 | STATE | cameras/117/status/alarm/area4/enable |
| AREA 4 | COMMAND | cameras/117/alarm/area4/enable |
Note: that my camera is configured to use the
camerasprefix and117client ID.
The ON value has to be set to {"val":"1"} and the OFF value to {"val":"0"}.

Click to save the Channel and then continue by Linking it to an Item so that you can start using it inside the UI:


Repeat those steps for all 4 areas:

Now switch to the Overview page and switch to the Properties tab:

Since I assigned the created items to the Presence property, the switches will be listed there:
