Alle OpenHAB Tutorials
- OpenHAB 3 Camera Binding
- OpenHAB 3 Camera Widget
- OpenHAB 3 in Docker
- OpenHAB 3 MQTT Binding
- OpenHAB Smarthome
- OpenHAB IP Camera Binding
- openHABian on a Raspberry Pi
- INSTAR MQTT - OpenHAB2
All OpenHAB FAQs
- OpenHab MQTT Auto-Discovery
- OpenHab3 IpCamera Binding Alarmserver
- OpenHab3 IpCamera Binding with an WQHD Camera
- Using OpenHab3 in Docker with an WQHD Camera
- OpenHAB v3 Configuration for your WQHD INSTAR MQTTv5 Broker
- OpenHAB v3 filebased Configuration for your WQHD INSTAR MQTTv5 Broker
- OpenHAB v3 Rules for your WQHD INSTAR MQTTv5 Broker
- OpenHAB v3 Blockly Scripts for your WQHD INSTAR MQTTv5 Broker
- OpenHAB v3 Sitemaps for your WQHD INSTAR MQTTv5 Broker
- Debugging the OpenHAB IP Camera Binding
OpenHAB v3 Rules for your WQHD INSTAR MQTTv5 Broker
- Part I - MQTT Binding Configuration through the Main UI
- Part II - MQTT Binding Configuration through the Configuration Files
- Part III - MQTT Binding Rules
- Part IV - MQTT Binding Scripts
- Part V - Groups and Sitemaps
MQTT Binding Rules & Scripts
A: Part 1 of this tutorial installed the OpenHAB MQTT binding and connected it to the internal broker in our INSTAR WQHD camera using the OpenHab 3 Main UI. The Part II did the same by editing the configuration files of our OpenHab 3 installation. Now it is time to add some automations using the OpenHab Rules feature.
Rules
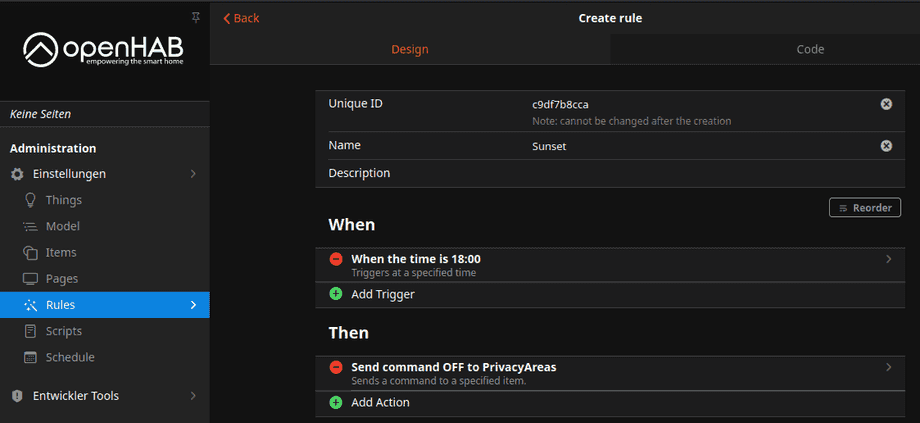
Rules are used for automating processes: Each rule can be triggered, which invokes a script that performs any kinds of tasks, e.g. turn on lights by modifying your items, do mathematical calculations, start timers etcetera.
In camera surveillance time-of-day is often an important trigger to pan your camera to a different position, change the sensitivity of the motion detection, etc. Here we can use CRON trigger that fire at a specific time of the day:
configuration: {}
triggers:
  - id: "2"
    configuration:
      time: 18:00
    type: timer.TimeOfDayTrigger
conditions: []
actions:
  - id: "1"
    configuration:
      itemName: PrivacyAreas
      command: OFF
    type: core.ItemCommandAction
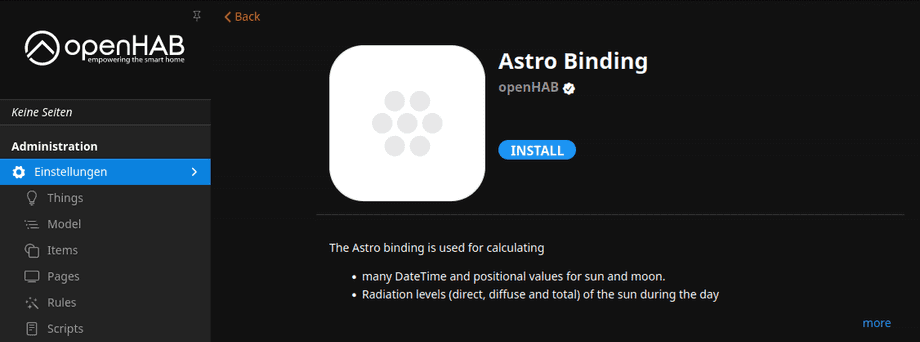
A more elegant option is the Astro Binding that allows us to use the sunrise or sunset as triggers, as it is often the changing light condition that require the change in camera configuration. To use this function go to Settings/Bindings and install Astro:
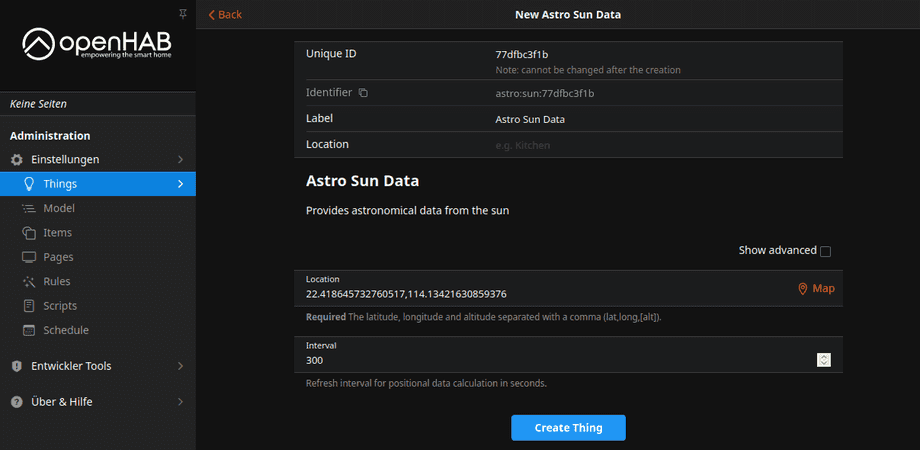
We now need to create a Thing from the Sun Data we are now receiving from the Astro Binding:
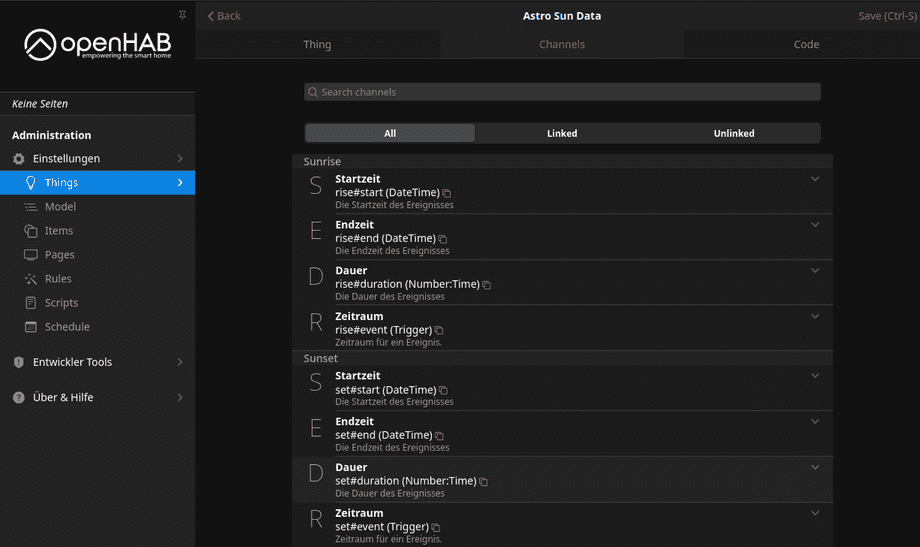
This Thing comes pre-configured with a Channels for the Sunrise and Sunset that we can use:
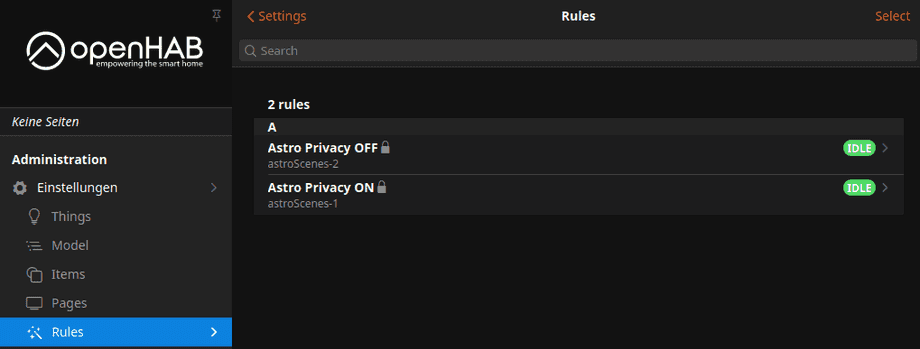
Now, instead of using the UI, we can write down our rule - since we only have the Privacy Areas toggle, let's switch the privacy mode on once sunrise begins and turn it off again at the end of sunset:
rules/astro_scenes.rules
rule "Astro Privacy ON"

when
      Channel 'astro:sun:home:rise#event' triggered START or Item  TEST received command ON
then
      PrivacyAreas.sendCommand(ON)
      logInfo("Astro Privacy, astroScenes.rules", "Info message :: Privacy ON")
end

rule "Astro Privacy OFF"

when
      Channel 'astro:sun:home:set#event' triggered END or Item  TEST received command OFF
then
      PrivacyAreas.sendCommand(OFF)
      logInfo("Astro Privacy, astroScenes.rules", "Info message :: Privacy OFF")
end
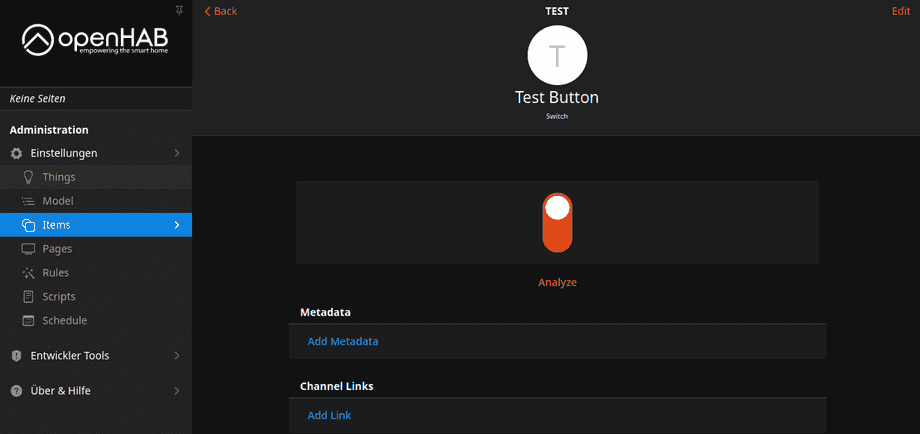
So that I do not have to wait for sunset or sunrise to see if the rule set is working, I added a second trigger with an or - a simple Switch Item:
Toggling this switch now toggles the PrivacyAreas switch that will turn the privacy mode on and off. This debug switch can be removed once you verified that it is working.
DEBUGGING: If something isn't working right away and you set up OpenHab as described in this tutorial, you can check the OpenHab Log with
tail -f /opt/openhab/openhab_userdata/logs/openhab.log.
