Alle OpenHAB Tutorials
- OpenHAB 3 Camera Binding
- OpenHAB 3 Camera Widget
- OpenHAB 3 in Docker
- OpenHAB 3 MQTT Binding
- OpenHAB Smarthome
- OpenHAB IP Camera Binding
- openHABian on a Raspberry Pi
- INSTAR MQTT - OpenHAB2
All OpenHAB FAQs
- OpenHab3 IpCamera Binding Alarmserver
- OpenHab3 IpCamera Binding with an WQHD Camera
- Using OpenHab3 in Docker with an WQHD Camera
- OpenHAB v3 Configuration for your WQHD INSTAR MQTTv5 Broker
- OpenHAB v3 filebased Configuration for your WQHD INSTAR MQTTv5 Broker
- OpenHAB v3 Rules for your WQHD INSTAR MQTTv5 Broker
- OpenHAB v3 Blockly Scripts for your WQHD INSTAR MQTTv5 Broker
- OpenHAB v3 Sitemaps for your WQHD INSTAR MQTTv5 Broker
- Debugging the OpenHAB IP Camera Binding
Raspberry Pi & openHABian
Make your camera the heart of your smart home

Using the MQTT interface of your INSTAR Full HD cameras you can connect them to an existing smarthome system (Home Assistant, OpenHAB, Node-RED, Athom Homey, Homematic, ioBroker, Loxone, homee) can be added. Or even make it the main broker for your MQTT sensors. MQTT allows you to automate ALL functions of your camera and link them to other services in your smarthome.
Control your camera via the IFTTT online service
On the IFTTT platform, we provided a service called INSTAR. The INSTAR applets provide you with the ability to control some settings of your INSTAR camera or INSTAR Cloud with IFTTT. You can connect INSTAR with triggers for location (Geo Location) and date & time, send notifications and much more. For example, you can connect INSTAR applets to the IFTTT location service and automatically disable the alarm when you arrive home. You can also use the INSTAR applets to create your own automation and connect them to other third-party applets.
Use a Raspberry Pi to control your INSTAR Network Camera. The OpenHAB Linux distribution openHABian aims to provide a self-configuring Linux system setup specific to the needs of every Raspberry Pi user. ## Install openHABian on a Raspberry Pi Following the Quick Start Guide you first have to download the newest version of the openHABian the Etcher tool to prepare your SD card:
Insert the SD card into the Raspberry Pi, connect Ethernet and power and wait approximately 15-45 minutes for openHABian to be installed. As can be seen in the screenshot below, the whole process can take a lot longer on an older Pi - use your SSH terminal (Windows user can use the free Terminal from Mobaterm) to connect to your Pi (default login: user = openhabian and password = openhabian) and check the installation progress:
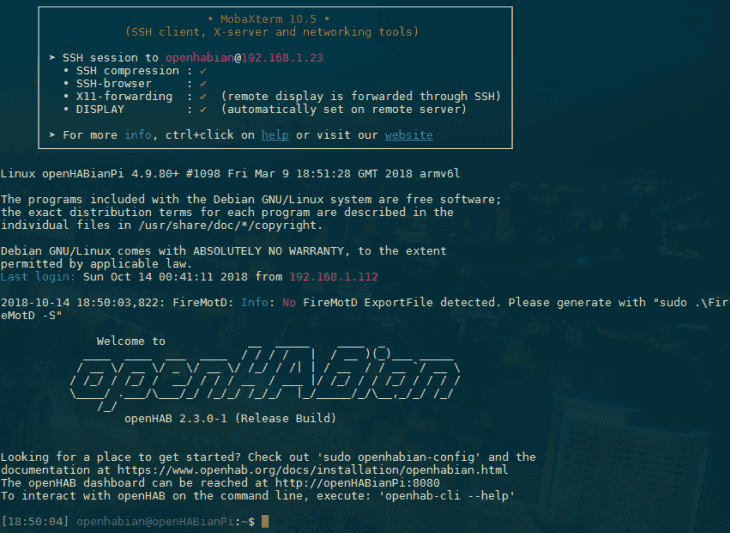
Once the installation is completed, restart your Pi and log-in again:
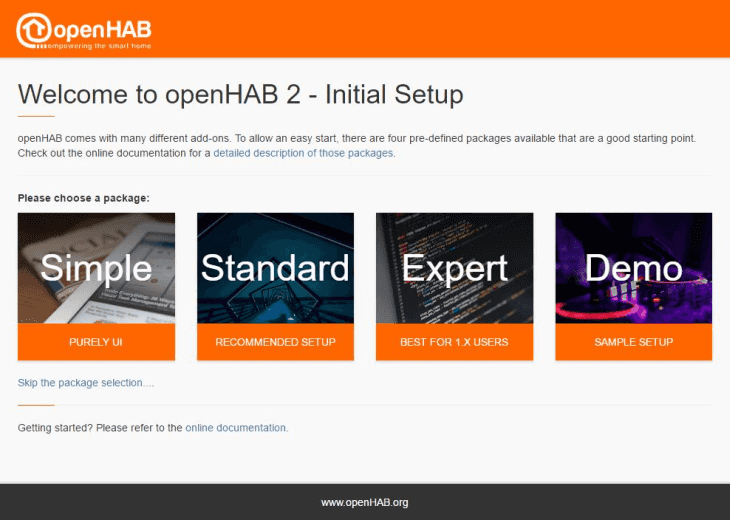
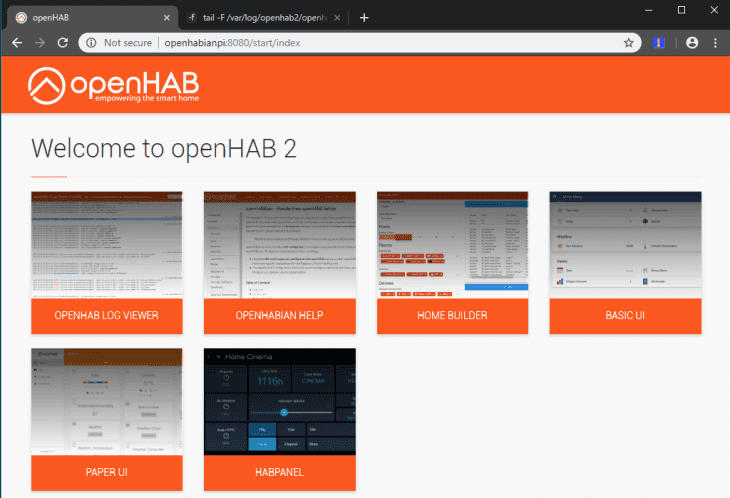
If you see the same Error message as in the screenshot above FireMotD: Info: No FireMotD ExportFile detected follow this Guide to get FireMotD set up. Give your Raspberry Pi some time to boot then access the OpenHAB web interface under http://openhabpi:8080 (or alternatively via its local IP address) and choose the Standard Package to get started.
Congratulation, you have successfully installed OpenHAB 2 on your Raspberry Pi!


