Alle Node-RED Tutorials
- Alexa Voice Control w/o Cloud
- Node-RED Alarm Ereigniszeitstrahl
- Node-RED and IFTTT
- Node-RED and MQTT
- Node-RED and ONVIF
- Node-RED and Alarmserver Queries
- Node-RED and the INSTAR Cloud Webhook
- Node-RED and SQL-Logging
- Node-RED Dashboard Live Video
- Node-RED in Docker
- Node-RED unter Android
- INSTAR MQTT - Node-RED
All Node-RED FAQs
Run a INSTAR Node-RED Dashboard in Docker
- Install Docker on Ubuntu 20.04
- Download Node-RED Configuration
- Run Node-RED in Docker
- Configuring your Dashboard
Make your camera the heart of your smart home
Using the MQTT interface of your INSTAR Full HD cameras you can connect them to an existing smarthome system (Home Assistant, OpenHAB, Node-RED, Athom Homey, Homematic, ioBroker, Loxone, homee) can be added. Or even make it the main broker for your MQTT sensors. MQTT allows you to automate ALL functions of your camera and link them to other services in your smarthome.
Control your camera via the IFTTT online service

On the IFTTT platform, we provided a service called INSTAR. The INSTAR applets provide you with the ability to control some settings of your INSTAR camera or INSTAR Cloud with IFTTT. You can connect INSTAR with triggers for location (Geo Location) and date & time, send notifications and much more. For example, you can connect INSTAR applets to the IFTTT location service and automatically disable the alarm when you arrive home. You can also use the INSTAR applets to create your own automation and connect them to other third-party applets.
Docker is an application that simplifies the process of managing application processes in containers. Containers let you run your applications in resource-isolated processes. They’re similar to virtual machines, but containers are more portable, more resource-friendly, and more dependent on the host operating system.

Install Docker on Ubuntu 20.04
First, update your existing list of packages:
sudo apt updateNext, install a few prerequisite packages:
sudo apt install apt-transport-https ca-certificates curl software-properties-commonThen add the GPG key for the official Docker repository:
curl -fsSL https://download.docker.com/linux/ubuntu/gpg | sudo apt-key add -Add the Docker repository to APT sources:
sudo add-apt-repository "deb [arch=amd64] https://download.docker.com/linux/ubuntu focal stable"Now update the package database with the Docker packages:
sudo apt updateFinally, install Docker:
sudo apt install docker-ceDocker should now be installed, the daemon started, and the process enabled to start on boot. Check that it’s running:
sudo systemctl status docker

docker.service - Docker Application Container Engine
     Loaded: loaded (/lib/systemd/system/docker.service; enabled; vendor preset: enabled)
     Active: active (running)
If you want to avoid typing sudo whenever you run the docker command, add your username to the docker group:
sudo usermod -aG docker ${USER}To apply the new group membership, log out of the server and back in, or type the following:
su - ${USER}Now test that everything is set up by typing:
docker infoDownload Node-RED Configuration
We now need a folder that the Node-RED container can use to persist it's data. Clone this repository or download the Zip file and unzipp it and save it into the /opt directory. Make sure that the Docker user has access to this directory and is allowed to write into it. E.g. :
chown -R nodered:nodered /opt/nodered/*
chmod -R 777 /opt/nodered
Run Node-RED in Docker
Start by pulling the official Node-RED image from Docker Hub:
docker pull nodered/node-red:latestNow run the Node-RED container with the following command:
docker run -d --rm --privileged --net=host -v /opt/nodered/data:/data --name nodered nodered/node-red:latest-d | Run the container detached from my terminal in the background |
-rm | When I stop the container remove it |
--privileged | This is a bit like running the process with sudo and prevents you from running into LINUX security restrictions. You can remove this flag. If your permissions are set correctly the container should work without it. |
--net=host | Usually Docker container are executed in an virtual network. To be able to access a service outside of localhost you have to open the necessary ports - you can replace this flag with -p 1880:1880 to only open the port that the Node-RED UI needs. If you install additional services in Node-RED that requirer different ports you have to add all of them in the RUN command. Setting the network to host is just a shortcut for local development. |
-v /opt/Node-RED/data:/data | This mounts the folder that you created into the container. All data that is stored by Node-RED inside the container will be persisted inside this folder. |
--name nodered | Give your container a name so you can address it by this name instead of having to know it's ID |
nodered/node-red:latest | Is the image that you want to spin up into this container |
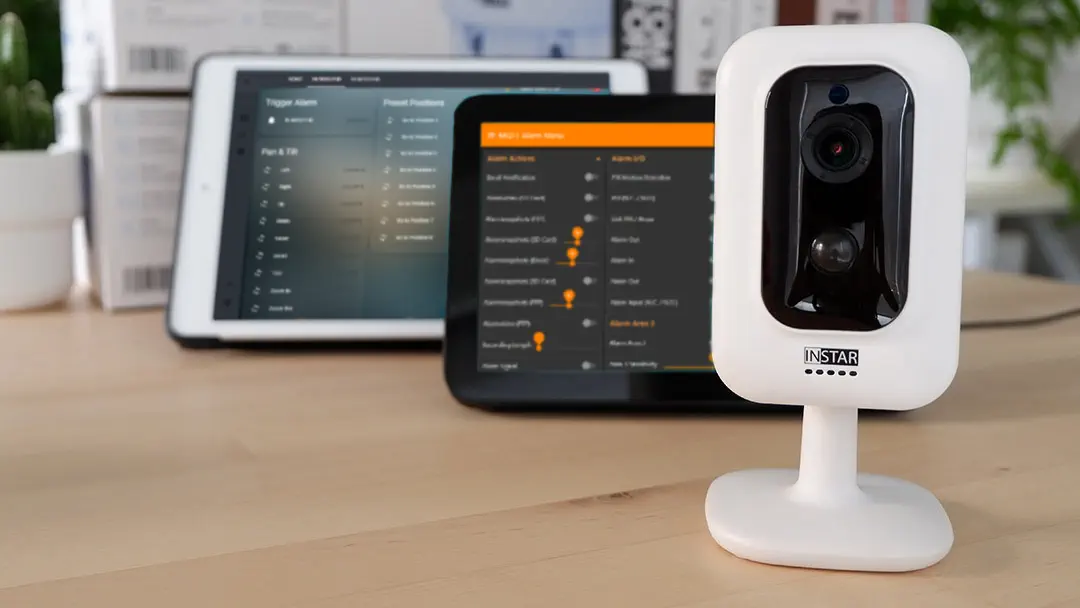
Configuring your Dashboard
Used Node-RED Nodes:
- node-red-contrib-ui-state-trail
- node-red-contrib-onvif (Optional - there are other ways to embed the live video)
- node-red-contrib-momentnode-red-contrib-alasql
- node-red-node-base64

To connect your INSTAR Full HD camera you need to:
- Double-click the ONVIF node and add you cameras IP Address, ONVIF Port and Admin Login.
- Double-click the GET Snap HTTP node and add your cameras snapshot URL:
- JPG Path 1:
http://192.168.x.x/tmpfs/snap.jpg?usr=usernam&pwd=password - JPG Path 2:
http://192.168.x.x/tmpfs/auto.jpg?usr=usernam&pwd=password - JPG Path 3:
http://192.168.x.x/tmpfs/auto2.jpg?usr=usernam&pwd=password
- JPG Path 1:
- Double-click the Alarmserver MQTT IN node and click to edit the Server (Broker). Now you can add your cameras MQTT broker configuration.This is the broker that is used by all MQTT nodes - so you only have to change it in one place. Note that if you are using an external MQTT Broker and your camera is connected as a client you can use your broker configuration here. But you will have to change the MQTT Topics in ALL MQTT nodes from the local topic to the camera specific topic using your cameras MQTT ID.
