Alle Node-RED Tutorials
- Alexa Voice Control w/o Cloud
- Node-RED Alarm Ereigniszeitstrahl
- Node-RED and IFTTT
- Node-RED and MQTT
- Node-RED and ONVIF
- Node-RED and Alarmserver Queries
- Node-RED and the INSTAR Cloud Webhook
- Node-RED and SQL-Logging
- Node-RED Dashboard Live Video
- Node-RED in Docker
- Node-RED unter Android
- INSTAR MQTT - Node-RED
All Node-RED FAQs
Node-RED and MQTT
Make your camera the heart of your smart home
Using the MQTT interface of your INSTAR Full HD cameras you can connect them to an existing smarthome system (Home Assistant, OpenHAB, Node-RED, Athom Homey, Homematic, ioBroker, Loxone, homee) can be added. Or even make it the main broker for your MQTT sensors. MQTT allows you to automate ALL functions of your camera and link them to other services in your smarthome.
Control your camera via the IFTTT online service

On the IFTTT platform, we provided a service called INSTAR. The INSTAR applets provide you with the ability to control some settings of your INSTAR camera or INSTAR Cloud with IFTTT. You can connect INSTAR with triggers for location (Geo Location) and date & time, send notifications and much more. For example, you can connect INSTAR applets to the IFTTT location service and automatically disable the alarm when you arrive home. You can also use the INSTAR applets to create your own automation and connect them to other third-party applets.
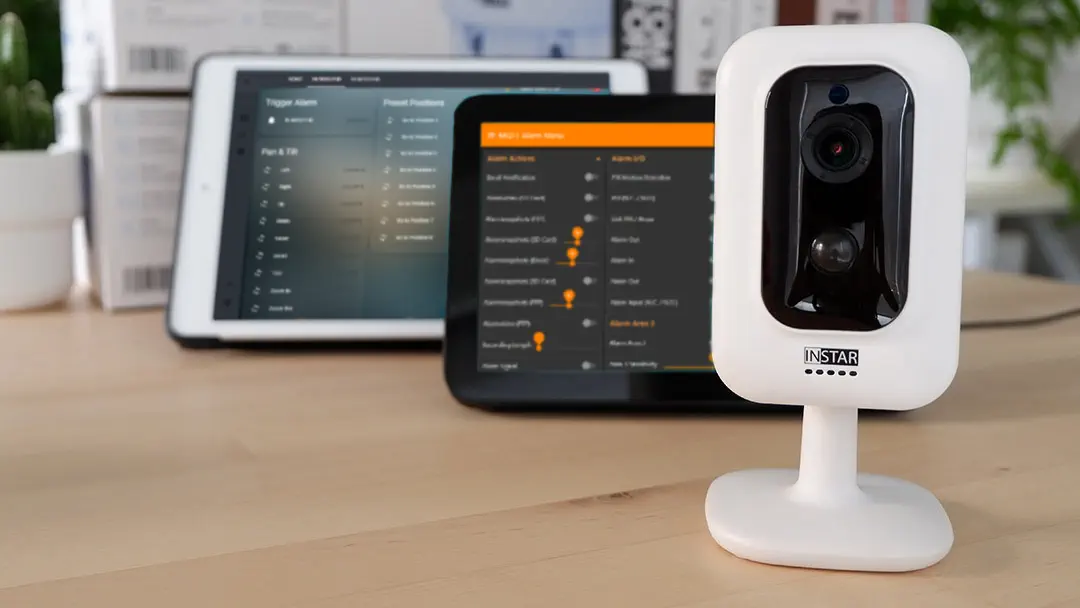
Node-RED is a programming tool for wiring together hardware devices like your INSTAR IP camera and APIs & online services. It provides a browser-based editor that makes it easy to wire together flows using the wide range of nodes providing inter-connectivity between your cameras REST API and IoT protocols like MQTT (Message Queuing Telemetry Transport).
In the following we want to integrate your camera's REST API with Node-RED to allow us to control the camera functions via the MQTT protocol, that is widely used by IoT devices and home automation system like OpenHAB
Installation
To install Node-RED we first need to install Node.js that is available for download here. Just download the version suitable for your operating system and double-click it to install. Open your Commandline or Terminal and type node -v and npm -v:
to verify that the node runtime was installed successfully:

I this case we installed the latest available version of Node (at the time of writing v10.10.0) that comes with the Node Package Manager (npm v6.4.1). We can now use the package manager to install Node-RED by typing npm install -g --unsafe-perm node-red:

Now start Node-RED by typing node-red in your console - the process should then be accessible via your web browser via http://127.0.0.1:1880/. Now stop the process with CTRL + C and go with your console into your Windows user directory - e.g. C:\Users\INSTAR\.node-red (replace INSTAR with your Windows user name). Attention of this directory is only created after the first start of Node-RED.
In this directory we will now install some Node modules, which we will need later. First, you can type the following command npm install path. This will install the Path module in the Node-RED directory, which we will later use to set up a public-access directory for the Node-RED webserver.
We later want to use the Node-RED dashboard to interact with our camera which is an additional module we need to install. First use your Commandline or Terminal to navigate to the Node-RED installation directory (under Windows this will be a .node-red folder inside your user directory) and type npm install node-red-dashboard to install the user interface:

Securing Node-RED
We want our Node-RED installation to only be reachable from our secure local network. If you want to access the application over the internet you should read a little deeper on how to secure your connection! For our purposes we want there to be an administrator login to prevent other users to change our setup, while anonymous user will only have the right to read. We also want to create a public directory that we can use to save files in and access them from the user interface. And lastly we will set the port and URL for our Node-RED application. All of this can be done in settings.js in the Node-RED installation directory (under Windows this will be a .node-red folder inside your user directory):

Setting Application Port and URLs
The following lines can be found in the module.exports block in settings.js and can be used to change the default values used for the parameters:
uiPort: process.env.PORT || 1880,
httpAdminRoot: '/admin',
ui: { path: "dashboard" },
This will set the port of our Node-RED application to 1880, the URL for the admin panel to /admin and the URL for the dashboard to /dashboard.
Creating a Public Directory
In later steps we want to use Node-RED to save snapshots and videos from our camera and display them on the installed dashboard. For this we need to define a directory that we can access publicly. We can create a folder inside installation directory called static (see screenshot above) and set the following line inside the module.exports block:
httpStatic: path.join(__dirname, 'static'),You can see that this uses the Path module we installed before. This must be imported in the header of the file:
// var fs = require("fs");
var path = require("path");
Creating an Administrator login
Just use the following lines inside settings.js to allow anonymous users to view your Node-RED admin panel and dashboard but require a login for editing nodes:
adminAuth: {
        type: "credentials",
        users: [{
            username: "admin",
            password: "$2a$08$k.syiLYKsLGJdy01hPolj.m7dfgZXWz0do4oKkesLrJExoYgFBZYu",
            permissions: "*"
        }],
        default: {
            permissions: "read"
        }
    },
You can see that the login is hashed using the bcrypt algorithm. Node-RED offers a tool to create a hash of your personal login. You can install it globally on your machine by typing the following npm install -g node-red-admin. Then start the program with node-red-admin hash-pw and type in your desired password. Copy the created hash into the password field for adminAuth (see above).

Starting Node-RED
Now, with everything configured, we are finally able to get started! Type in node-red to execute the program and open http://127.0.0.1:1880/admin/ in your web browser:

Click the user icon in the top right to login with the admin account you created earlier:
