Software
Windows
Blue Iris v3
Use up to 64 cameras, capture JPEG snapshots or movies in standard MP4, AVI, advanced DVR, or Windows Media file formats. Keep an eye on your home, place of business, cars, and valuables; watch your pets or your kids; monitor your nanny, babysitter, or employees. Watch your door for mail, packages or visitors. Use motion detection, audio detection, or capture continuously. Receive alerts via loudspeaker, e-mail or phone. Overlay text and graphics. Use the built-in web server, or post to a website. Push to a Flash or Windows media server.
In order to integrate your INSTAR IP camera in BlueIris we recommend you to download the latest version from here.
Add a Camera
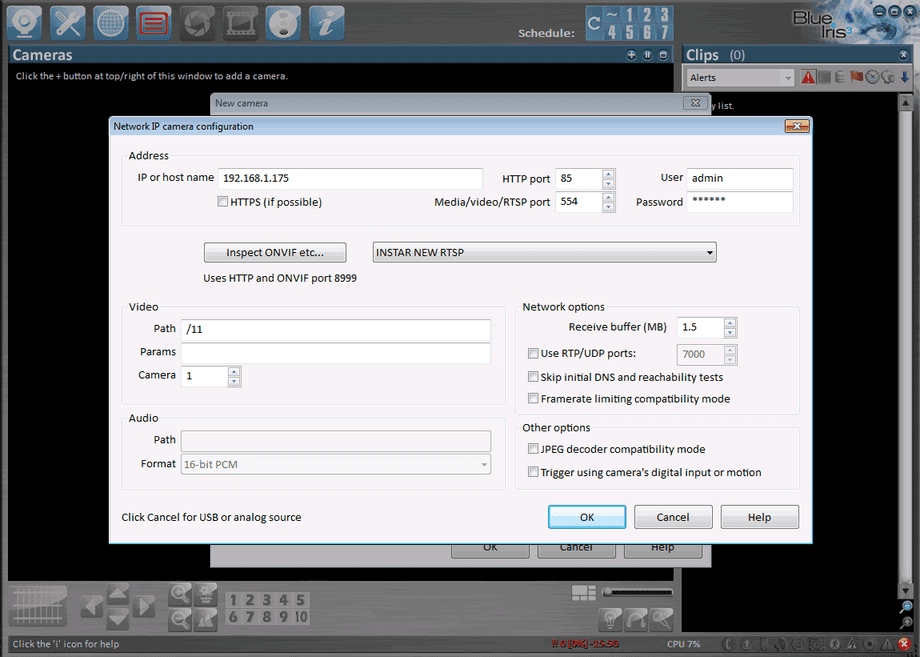
Start the New Camera Wizard and choose your INSTAR camera model from the drop down menu. Now type in your camera´s IP address, HTTP and RTSP port (in case of an HD model) and your login credentials. For the video path you can choose between 3 different quality settings /11 Highest quality and Bandwidth Requirements, /12 Standard Quality, /13 Good Quality and Lowest Bandwidth Requirements. Reduce the video quality according to the available network bandwidth. Click ok to add your camera.
Open the network IP camera configuration to add a new camera.
Advanced Settings
General
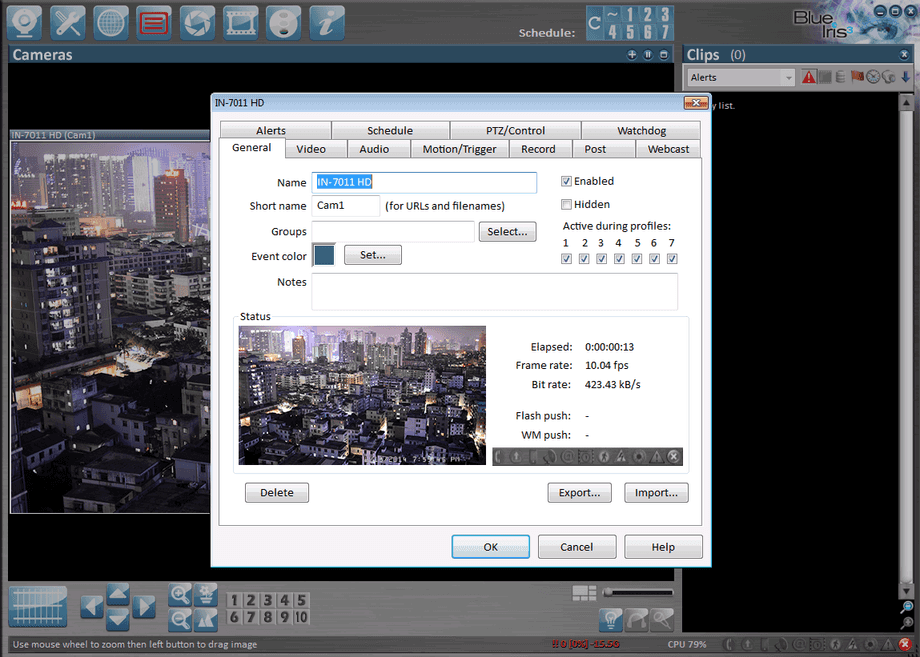
Name your camera and add it to a surveillance group to be able to establish group policies.
General settings allow you to name your camera and assign it to a group.
Motion Detection
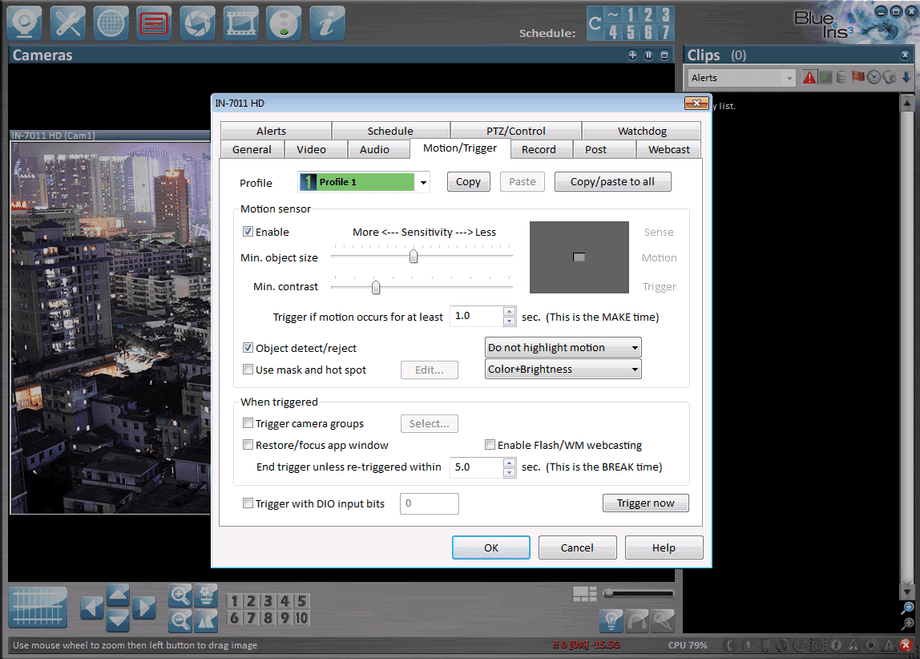
The Motion/Trigger menu allows you to enable the software motion detection for your camera and fine tune its sensitivity.
Enable and adjust the motion detection settings for your camera.
Video Recording
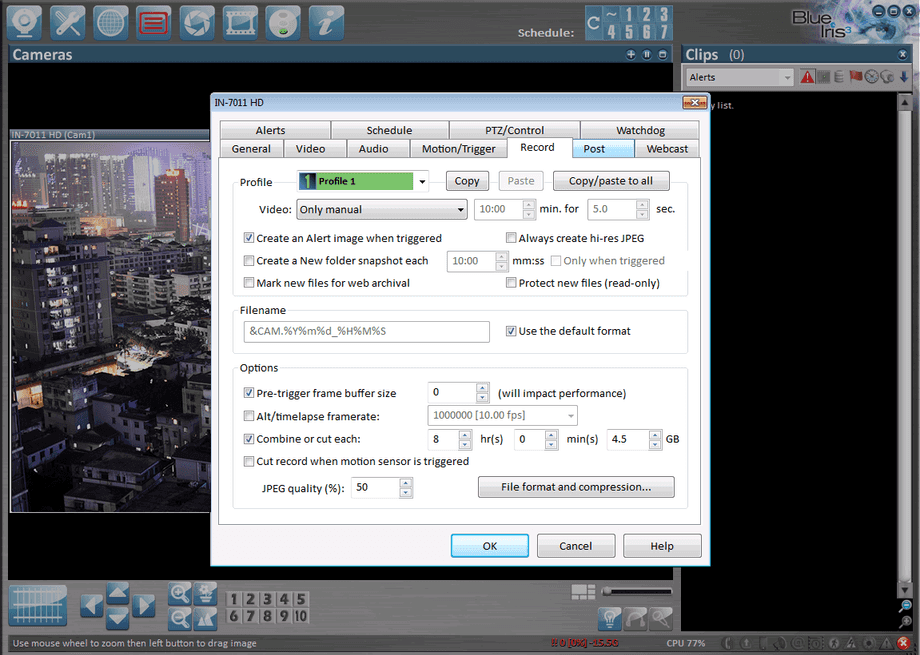
The Record menu allows you to enable and adjust the video recording for your camera and fine tune the storage requirements.
Adjust the video recording settings for your camera.
Webcast
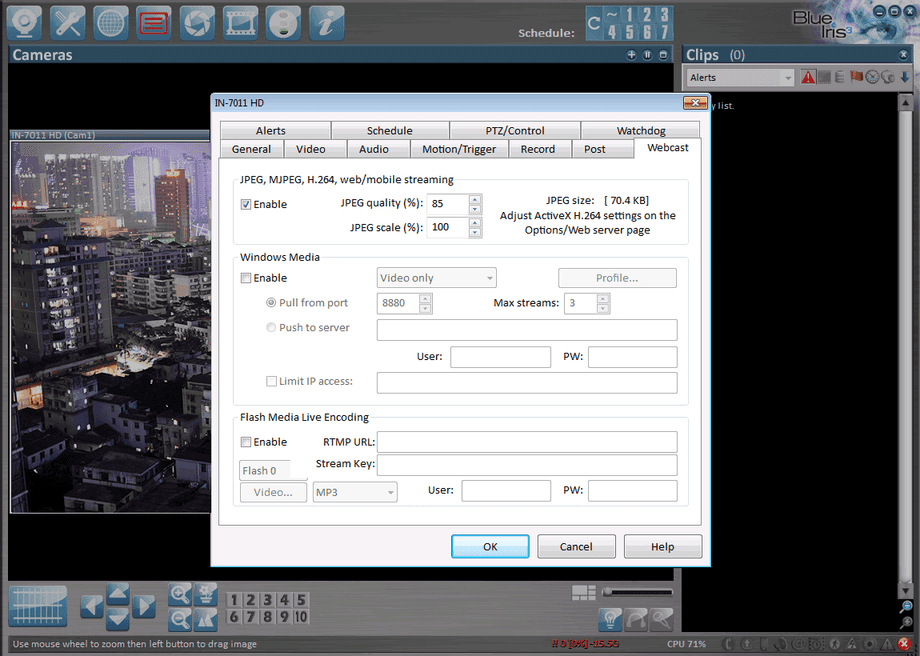
BlueIris built-in web server enables you to bring your cameras with you anywhere. Remotely connect to your workstation from anywhere in the world, from any web enabled device. Just activate the web server and forward a port to your windows computer and have access to all your cameras.
Activate the webserver to stream your cameras to the internet - don´t forget to forward the port to your workstation.
Pan, Tilt and Zoom
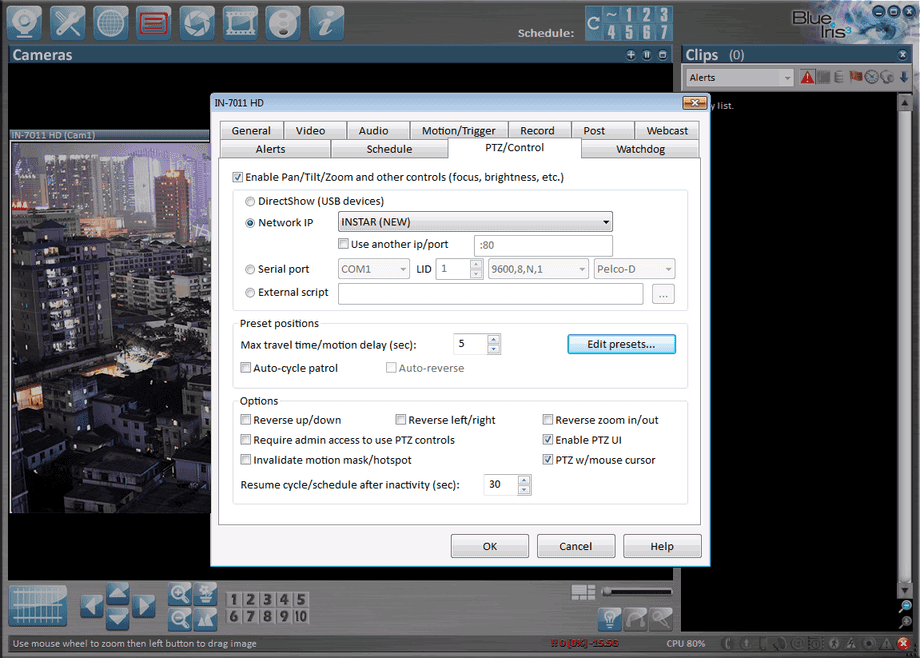
Please make sure to activate the correct PTZ profile for your camera from the drop down menu to be able to use the camera´s PTZ functions.
Activate the correct PTZ profile for your camera.
Schedule
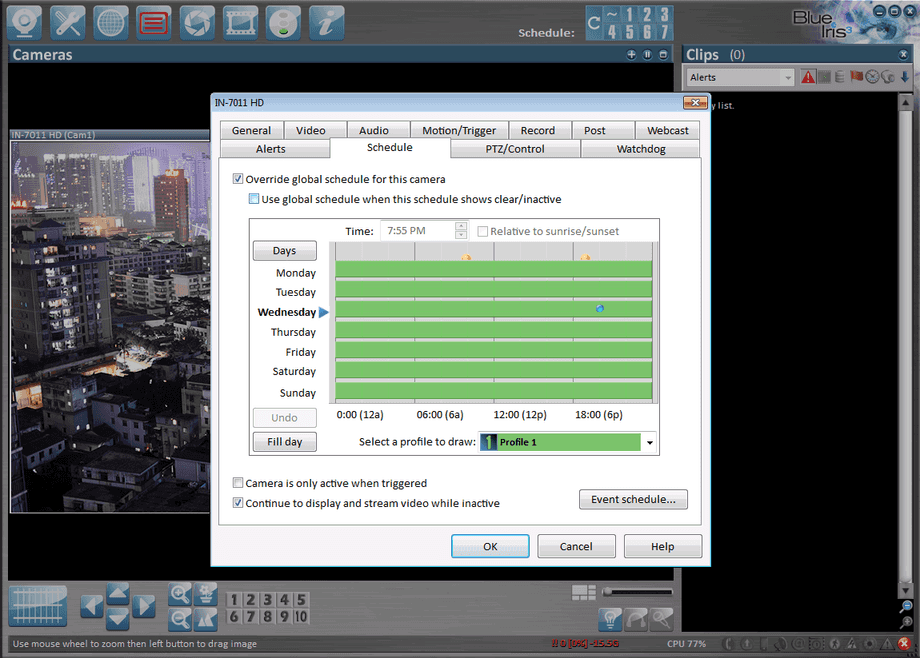
Schedule your camera operation - it is recommended to establish global or group policies and only use the individual camera schedule to cover deviations from the main schedule.
Use the camera schedule to make adjustments to the operations of the specific camera - use group policies or global settings as your main schedule.
Alerts
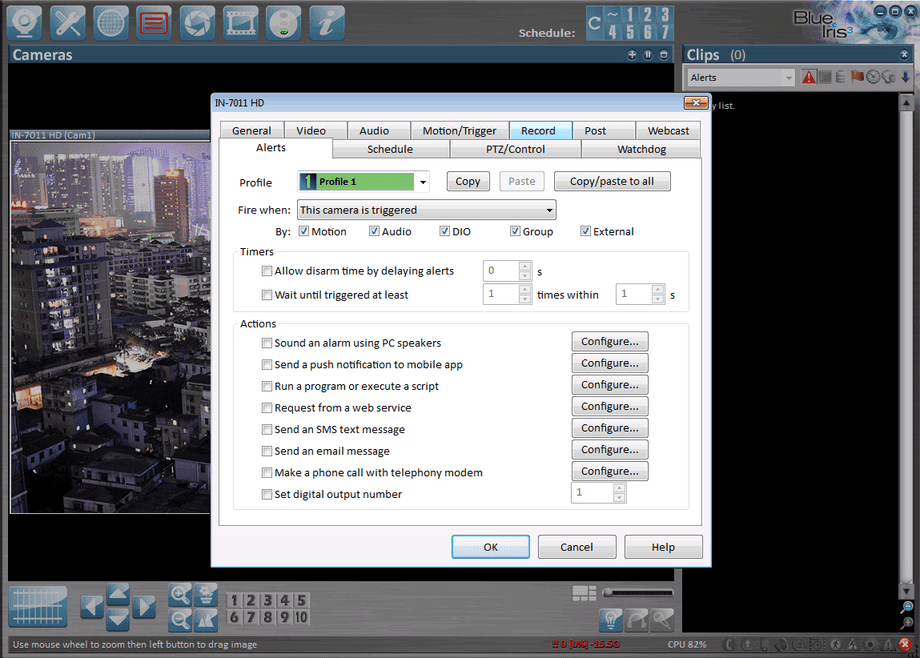
Define the actions to be taken if an alarm event is triggered.
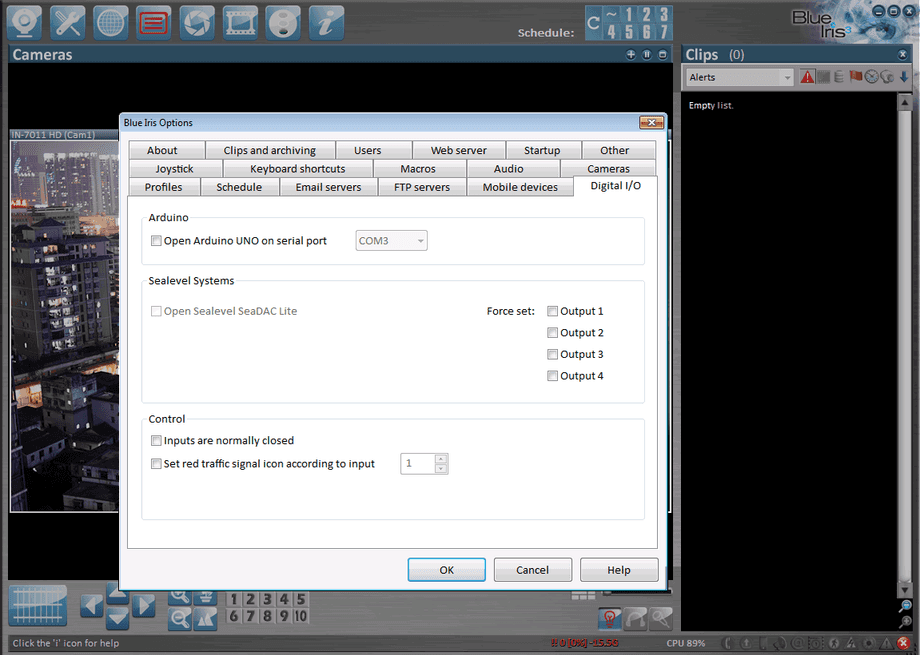
Define the actions to be taken if an alarm event is triggered. Or use the alarm event to trigger an external device like an Arduino board.
Define the actions to be taken if an alarm event is triggered.
Discuss this article on the INSTAR Forum !
