Node-RED Installation on Windows
nodeRED on Windows
Setting up nodeRED in a Microsoft Windows environment. The instructions are specific to Windows 10 but should also work for Windows 7 and Windows Server from 2008R2.
Installing Node.js
Download the latest version of Node.js from the official Node.js home page. Run the downloaded MSI file. Installing Node.js requires local administrator rights. Once installed, open a command prompt and run the following command to ensure Node.js and npm are installed correctly:
node -v && npm -v
Installing nodeRED
Installing nodeRED as a global module adds the command node-red to your system path. Execute the following at the command prompt:
npm install -g --unsafe-perm node-red
Run nodeRED
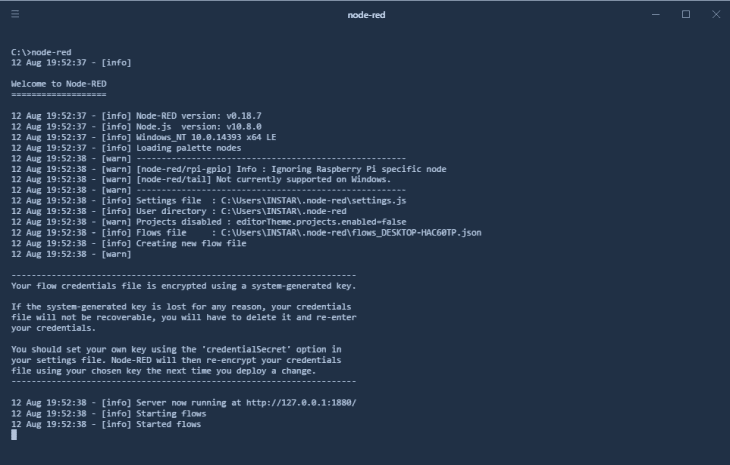
Once installed, the simple way to run Node-RED is to use the node-red command in a command prompt: If you have installed Node-RED as a global npm package, you can use the node-red command:
node-red
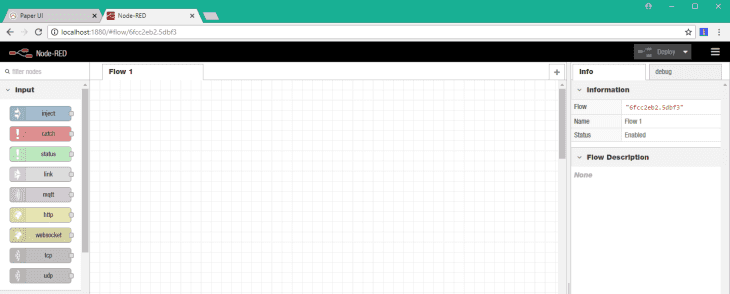
Point your browser to http://localhost:1880/. You should be looking at the nodeRED interface:
Configuring nodeRed
Create a Static directory
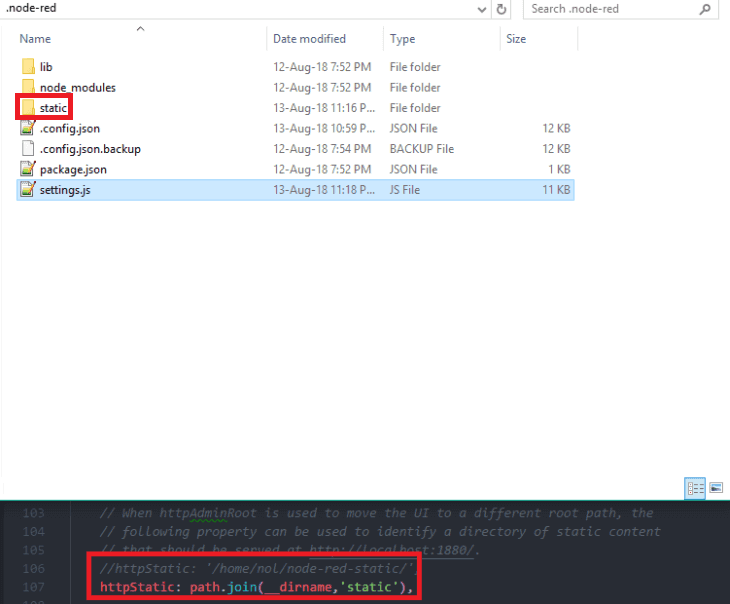
TO work with static files directly in nodeRed, open the settings.js in \Users\<Username>\.node-red. Add the following line to the top of the document:
var path = require("path");Add a folder named static to .node-red and change the default staticHTTP path to the following:
//httpStatic: '/home/nol/node-red-static/',
httpStatic: path.join(__dirname,'static'),
Restart nodeRed and test if everything is working, by adding an image file to the newly created static folder (e.g. test.png) and open it via the nodeRed URL on port 1880 - the image should be displayed in your browser window:
http://127.0.0.1:1880/test.pngFor more information, check out our Node-RED Guide


