Alle ioBroker Tutorials
- ioBroker with Docker (Updated 08.04.2024)
- ioBroker on a Raspberry Pi (deprecated)
- INSTAR MQTT - ioBroker
All ioBroker FAQs
- ioBroker v9.1.2 as MQTTv5 Client for your WQHD INSTAR IP Camera
- ioBroker as MQTT Broker for your WQHD Camera
- ioBroker MQTT Alarmserver for your WQHD Camera
- ioBroker REST API with your WQHD Camera
- Using ioBroker with your WQHD Camera
- ioBroker v7 with your WQHD INSTAR MQTTv5 Broker
- Camera Vis with Node-RED
- Live Video and ioBroker VIS
- INSTAR MQTT Alarmserver ioBroker
- ioBroker and INSTAR Alarmserver
- ioBroker MQTT Broker vs Client
- ioBroker as MQTT Broker for your Kamera
- ioBroker MQTT Overwrites Camera Settings
- ioBroker and MotionEye Webhooks
- ioBroker w/o MQTT
ioBroker (LINUX)
This is an updated guide using Docker to install ioBroker instead of installing the software directly. This Guide is also updated to be used with INSTAR cameras newer than the Full HD series. There are also a list of FAQs available that are already updated.
Installation
ioBroker now provides a Docker image that can be pulled from the Docker Hub:
docker pull iobroker/iobroker:latestTo persist all data generated by ioBroker we can create directories that can later be mounted into the running container. On a Linux host system you also need to set proper read&write permissions, e.g.:
(sudo) mkdir -p /opt/iobroker/home
(sudo) chmod -R 775 /opt/iobroker/
The container can now be started as follows:
docker run \
  --net=host \
  --privileged \
  --rm \
  --name iobroker \
  -v /opt/iobroker:/opt/iobroker \
  -v /opt/iobroker/home:/home/iobroker \
  --detach=true \
  iobroker/iobroker:latest
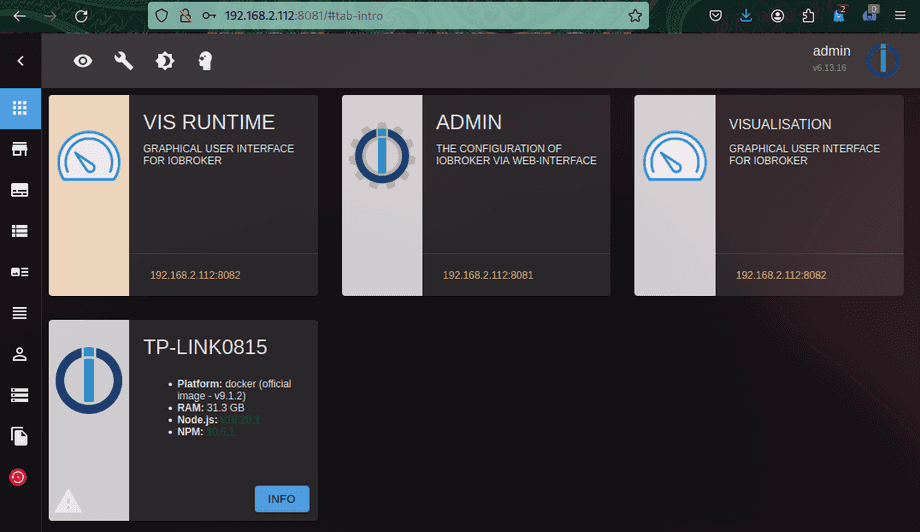
And the web frontend will come up on http://localhost:8081 as well as the local IP of your host system:
Live Video
RTSP, MJPEG and JPG Streaming
We recommend that you use the ONVIF Service described below to add your camera's live video. But you can also add the stream manually using your cameras Snapshot or MJPEG Stream.
WebRTC
It is usually considered to be more stable to use WebRTC for your camera video stream. Your camera does not yet provide a WebRTC service - but you can use go2RTC to re-stream your camera's RTSP stream. This setup is a little bit more advanced and requires starting a Docker container and have it running parallel to your ioBroker container.
Adding your Camera Live Stream using the ONVIF Service
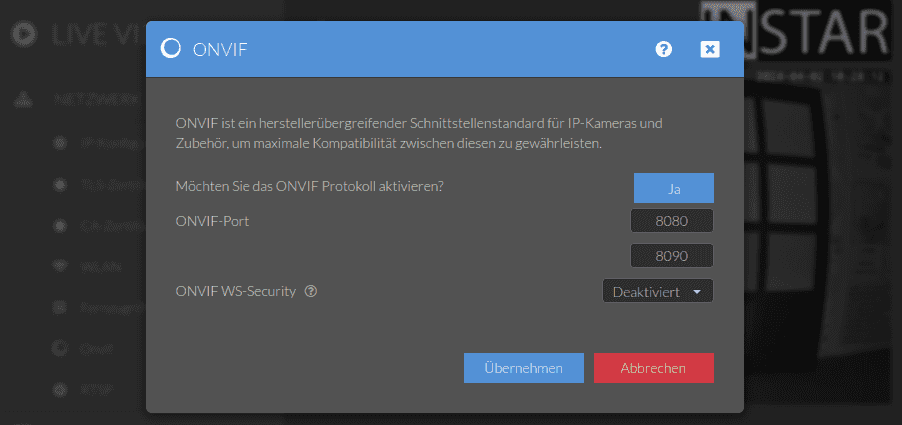
Start by making sure that the ONVIF service is actually active inside your cameras webUI. We will need the ONVIF WS-Security to enable ioBroker to connect - but I will leave it deactivated here for the admin user and create a user with limited rights for the ONVIF sevrice in the next step:
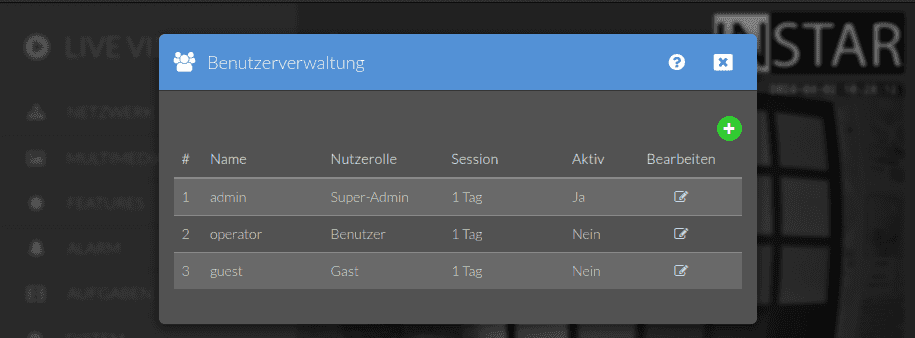
To create an ONVIF user open the User Management Menu and click the + icon to create a new user with the Guest Preset and the __ONVIF (Admin) role:
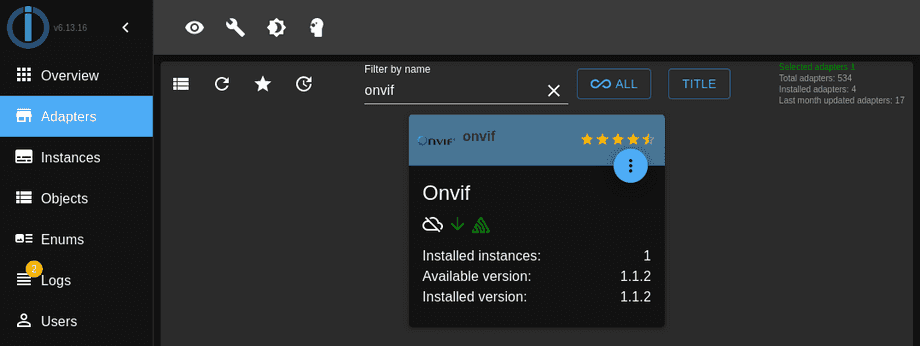
Back on the ioBroker go into the Adapter menu and open install the ONVIF adapter:
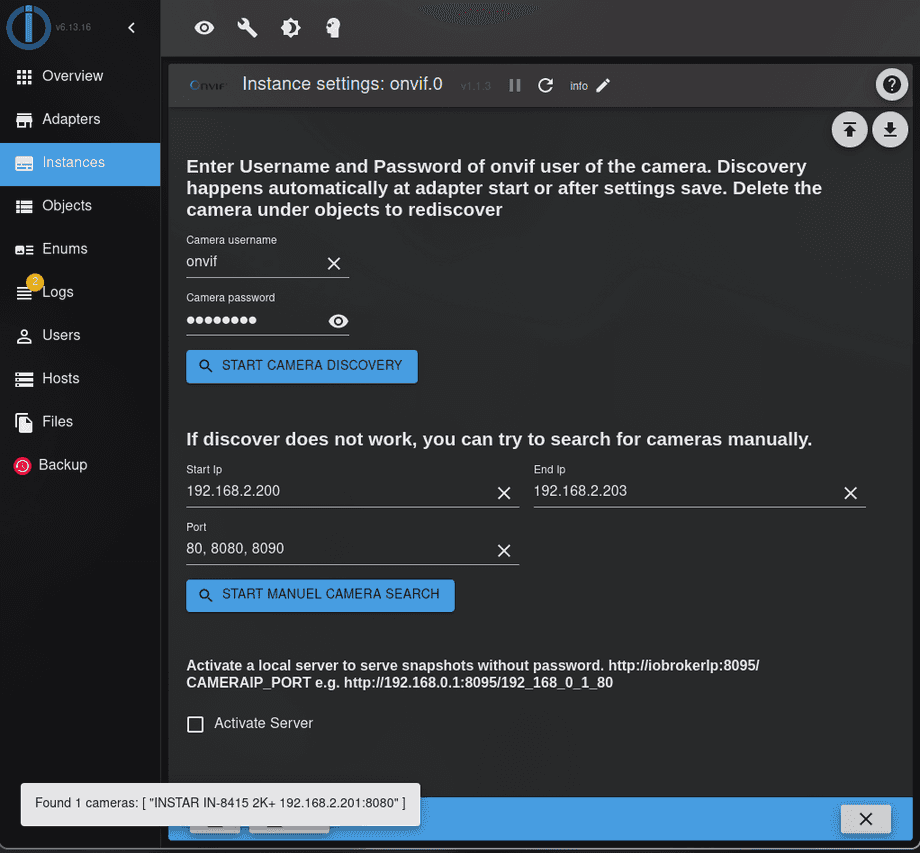
Here we can now add a new ONVIF Instance and use the ONVIF user created earlier plus the local IP and ONVIF Port of your camera to add your camera:
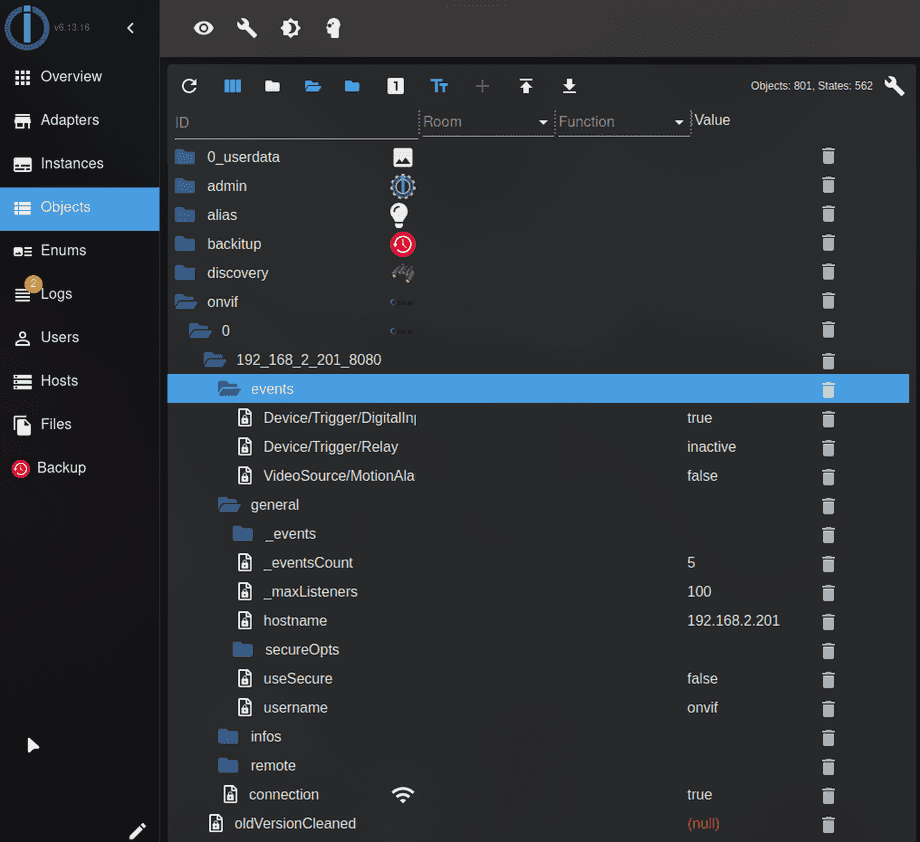
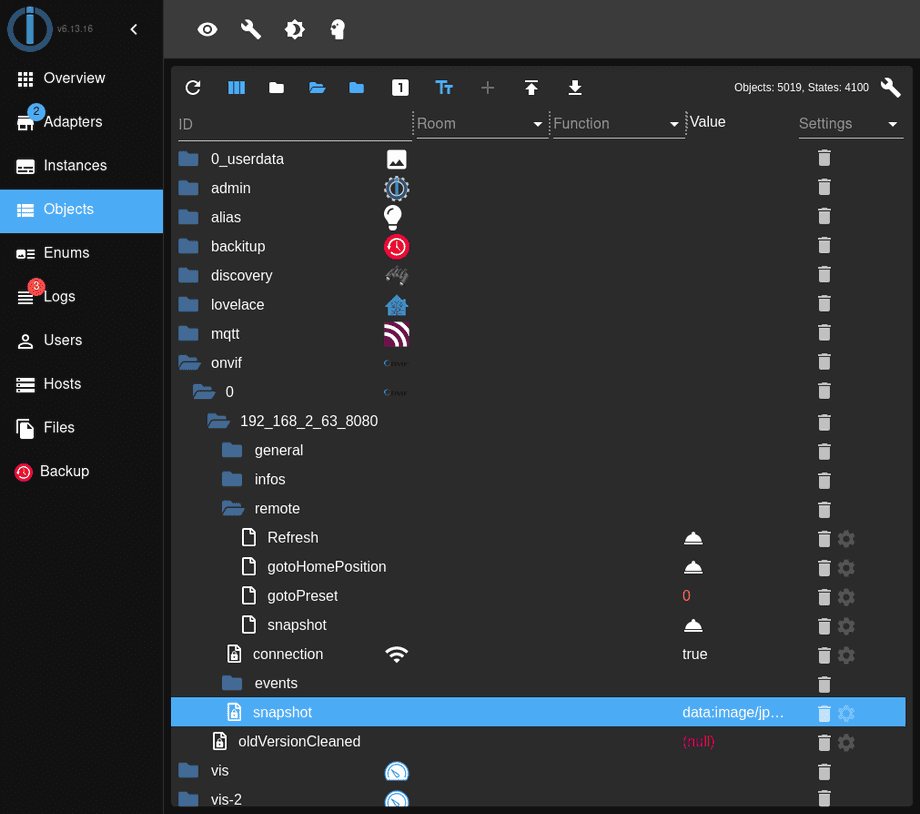
The Object treee now list all your cameras video path, functionalities as well as an event channel that can be used to add your camera to your ioBroker dashboard:
Control your Camera through MQTT
Connect your MQTT Broker
To get started either connect your camera to your already configured MQTT broker instance or activate the MQTT v5 broker on your camera and use the the MQTT client integration. In the following example I want ioBroker to be the MQTT broker for all my cameras on the nework. So let's start by installing the MQTT Adapter:
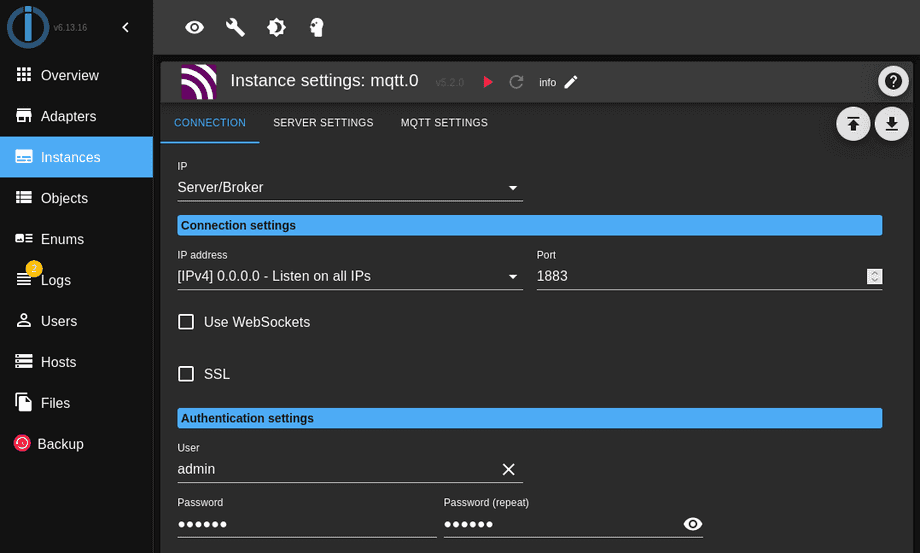
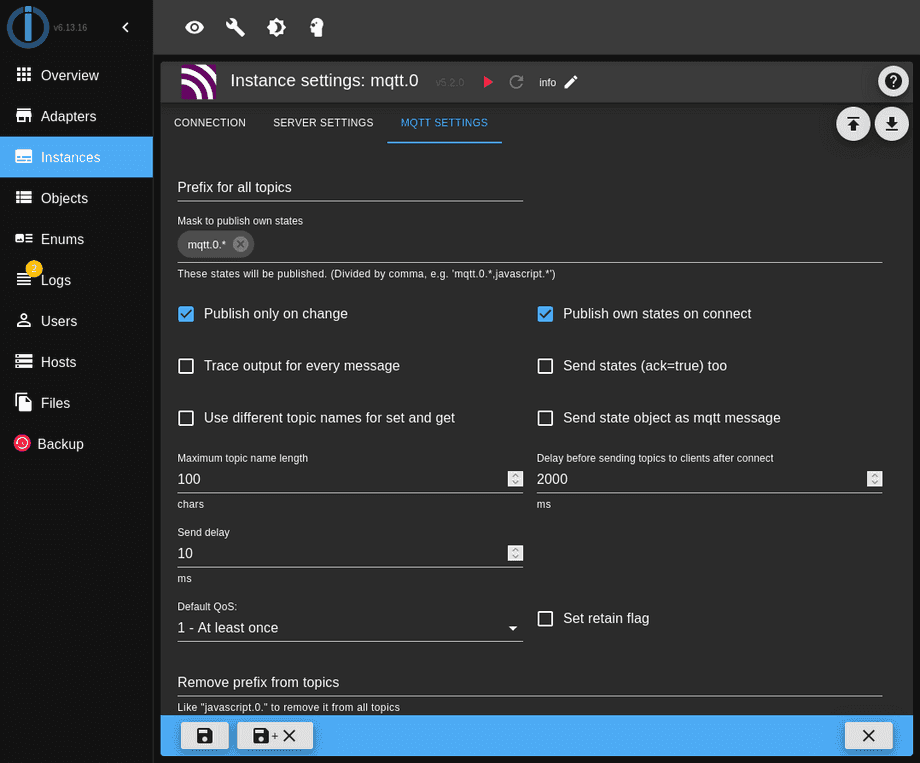
Configure the broker according to your needs with a network interface, MQTT port and broker login. This login has to be later used in your camera configuration:
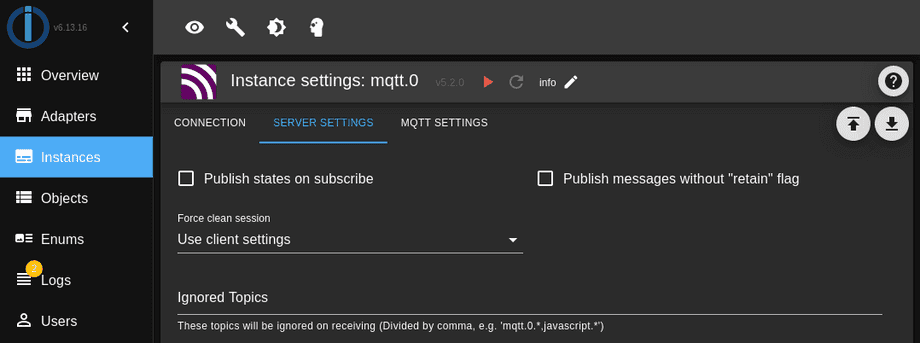
Note that setting ioBroker to publish it's own state when a client get's connected might result in wanted or unwanted behaviour. E.g. if you change the configuration of your camera through it's web user interface or using a mobile app while the connection to the MQTT broker is dropped those changes might be overwritten once the MQTT connection is re-established. On the other hand, if you make changes to your camera configuration through ioBroker while the MQTT connection is dropped this option makes sure that these changes are not lost:
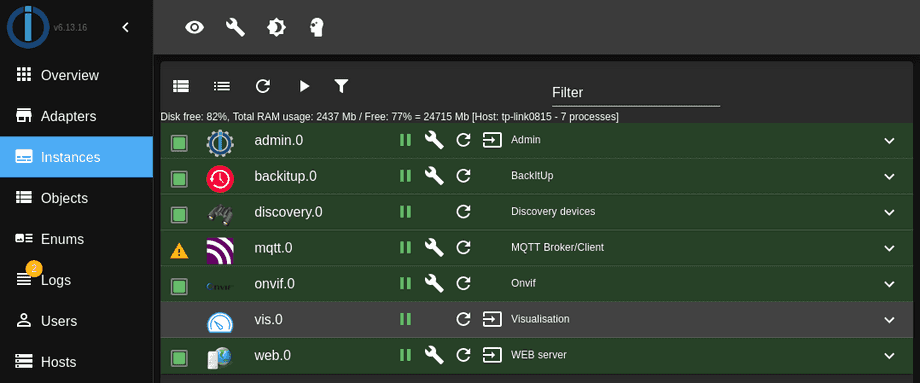
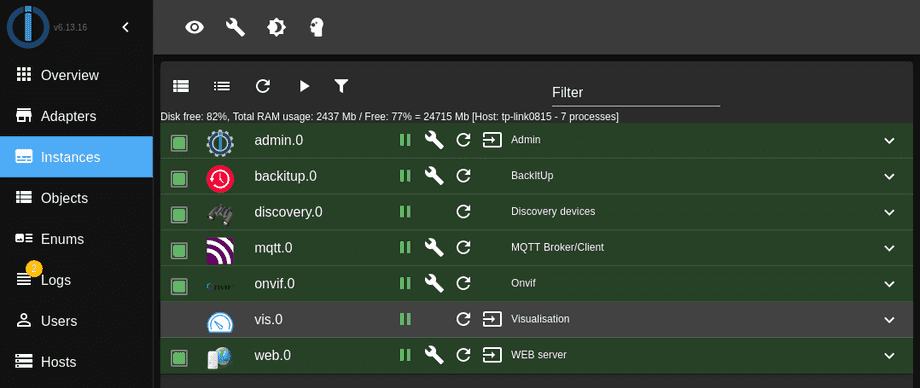
Once you saved your settings you will see a yellow warning icon next to the MQTT adapter showing you that it is running but no clients are connected:
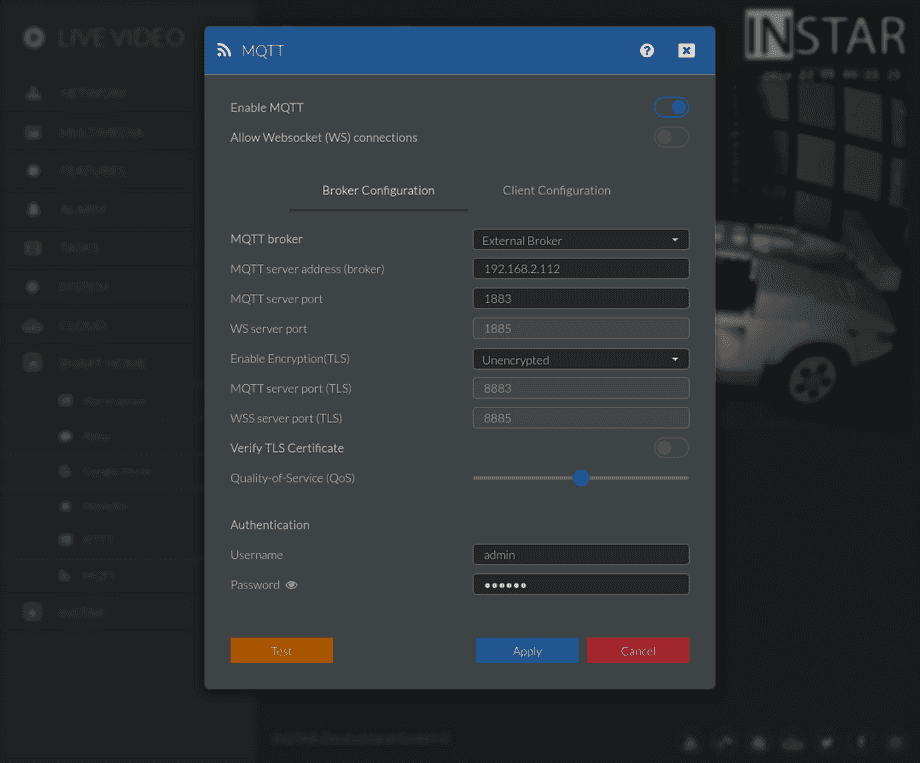
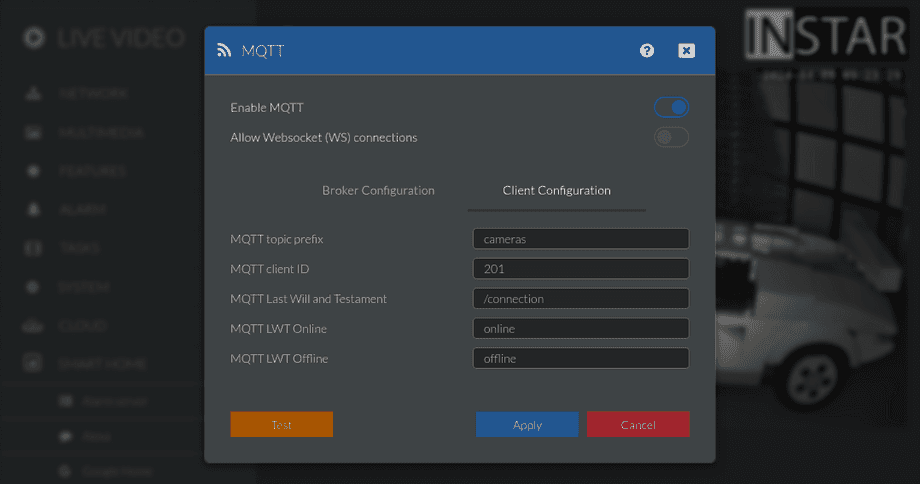
So let's add our mqtt broker configuration to the MQTT Menu:
Back in ioBroker the warning is now gone and our camera connected:
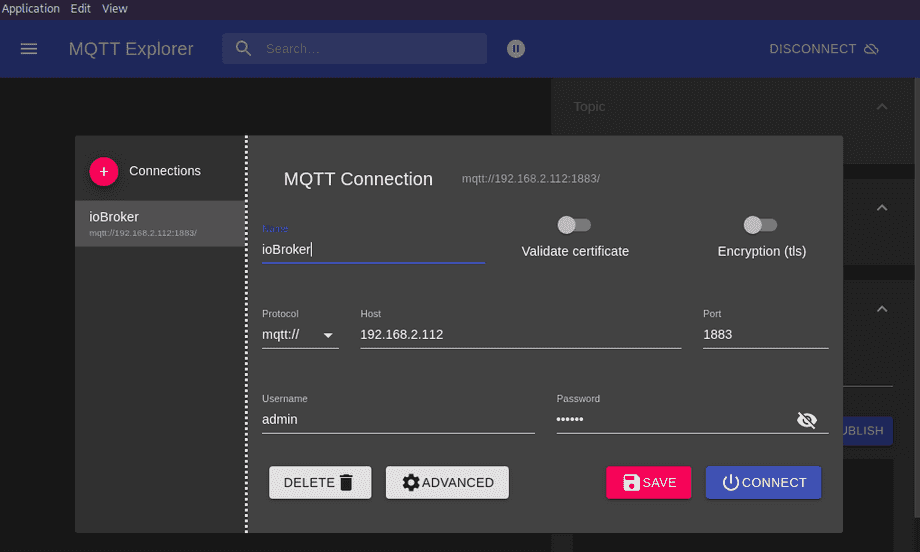
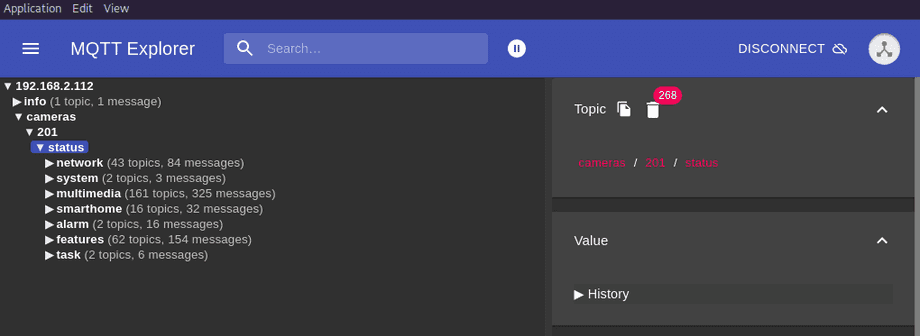
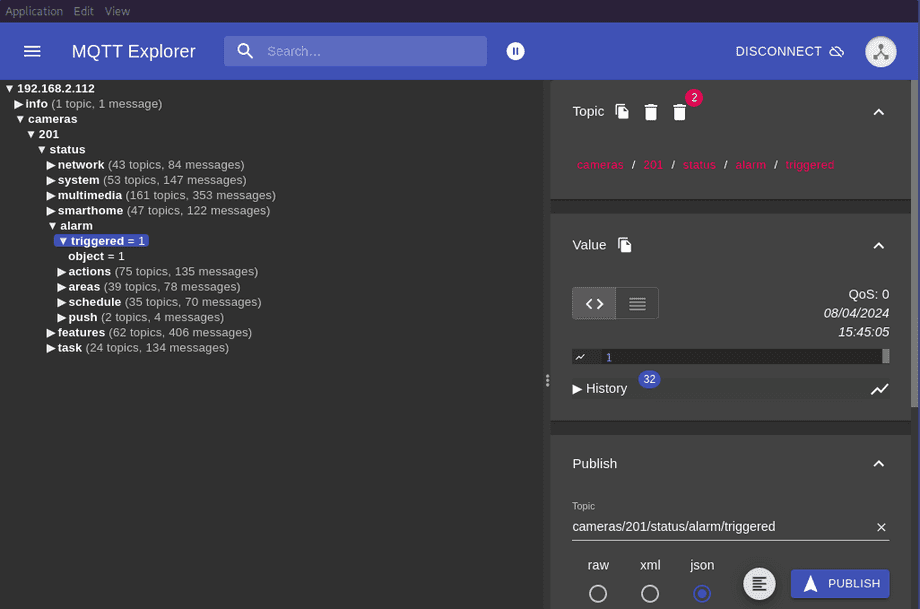
If you connected a MQTT debugging tool to your broker you will also see that all camera status topics are now being populated giving you access to the entire camera state:
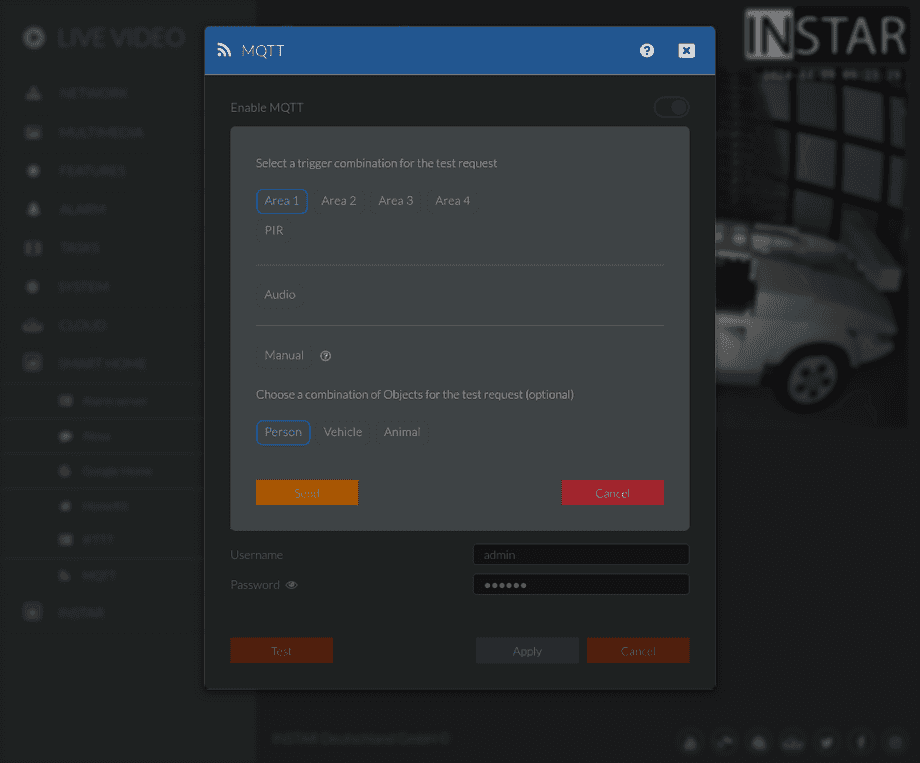
For example, you can use the MQTT Alarmserver test function (or simply walk in front of your camera to trigger an alert):
The Alarm Server topic will be updated with the alarm payload:
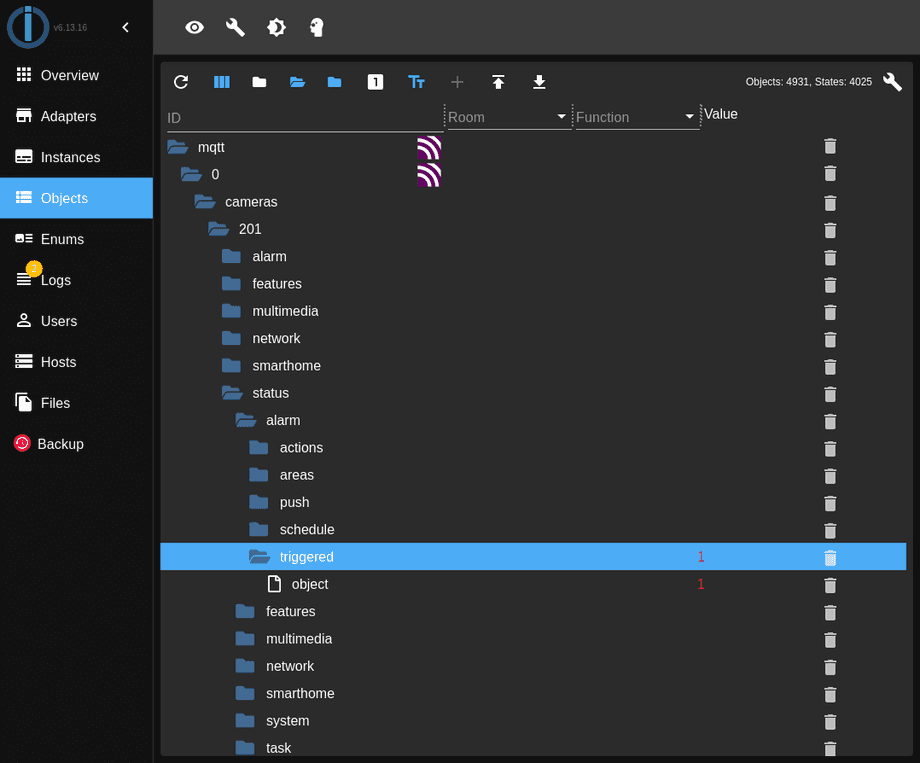
Back in ioBroker you can see that all status topics are also registered inside the object tree and the MQTT Alarmserver Topic also registers every incoming alarm - ready to be used inside an automation:
Lovelace UI
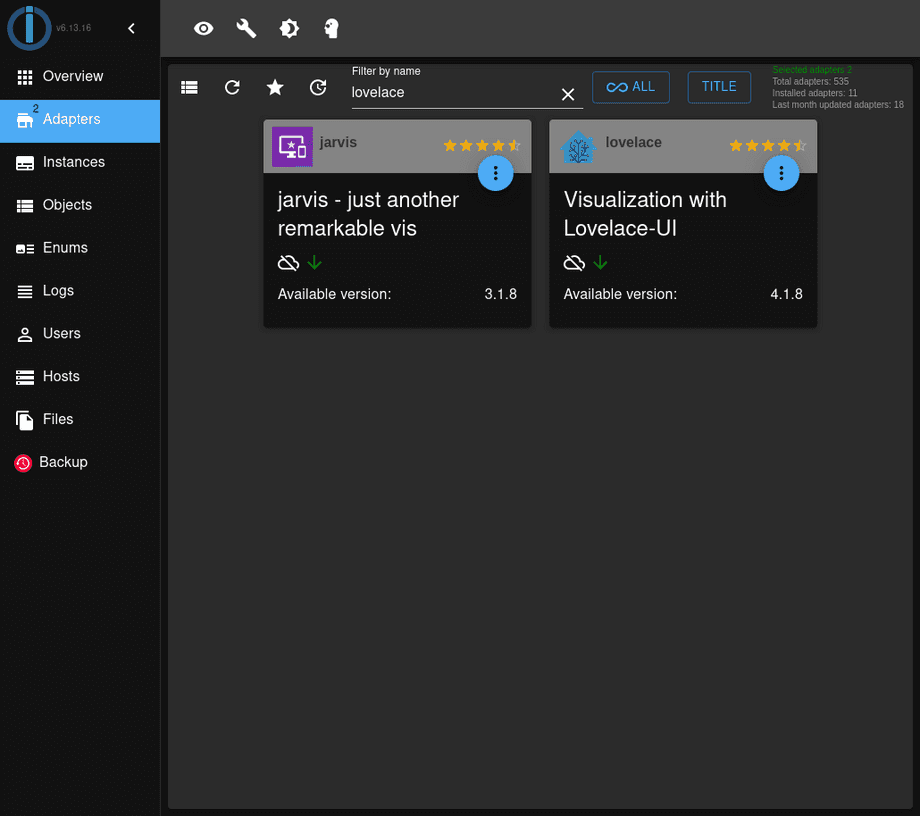
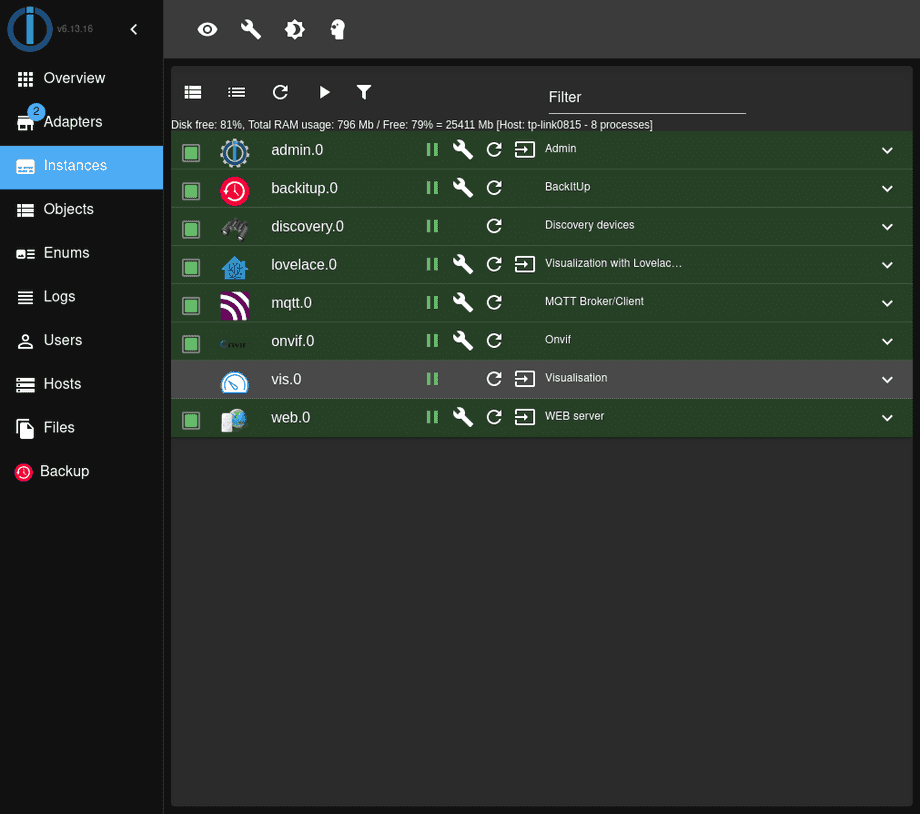
In later I used the official Vis UI. Let's take a look at one of the alternatives - Lovelace. Open the Adapters page and install the Lovelace Adapter:
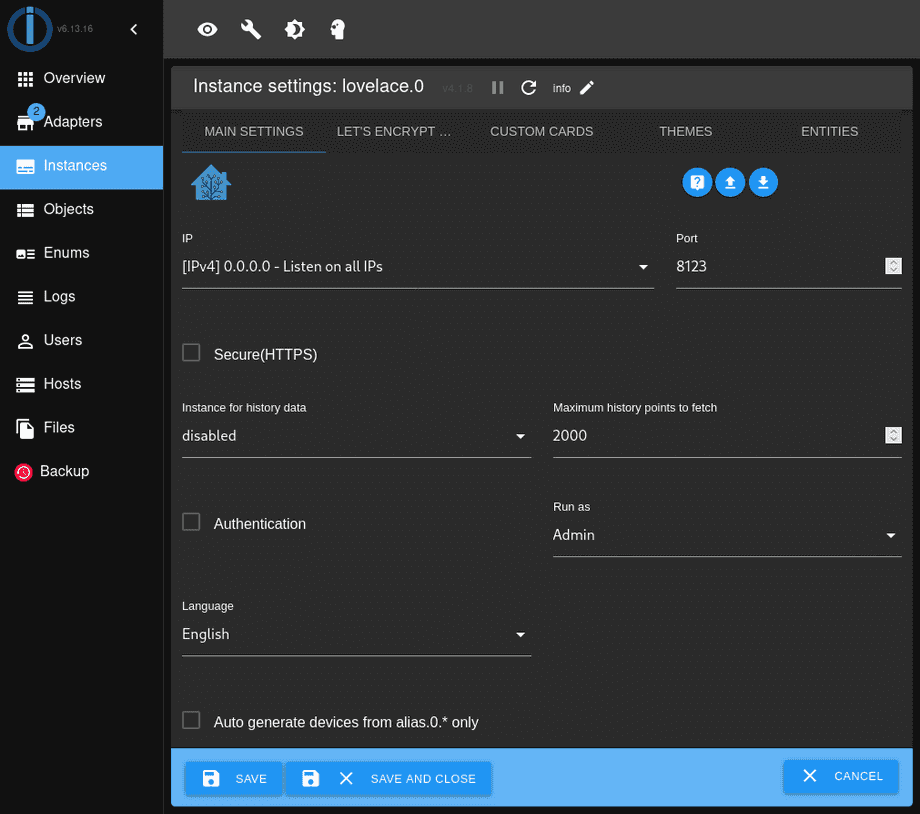
Here I changed the port for the UI to 8123 and left the rest default:
Click on the button to open the UI in a new tab or just open localhost:8123 inside your browser:
Here you can click to edit the dashboard:
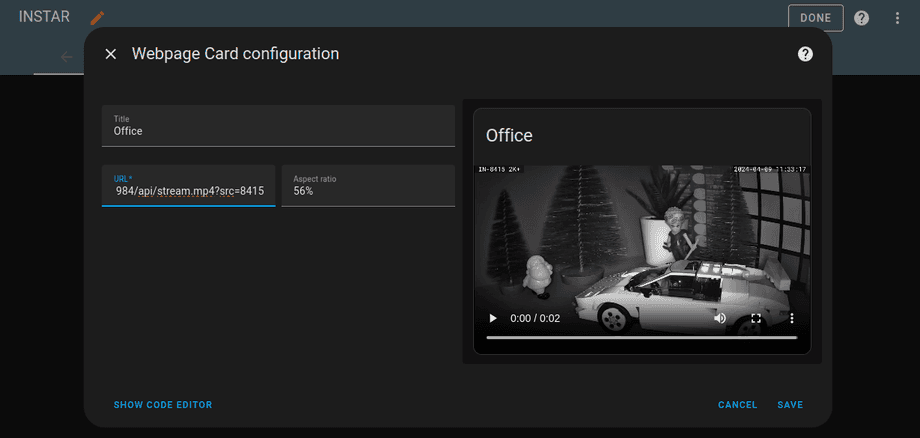
Website Card
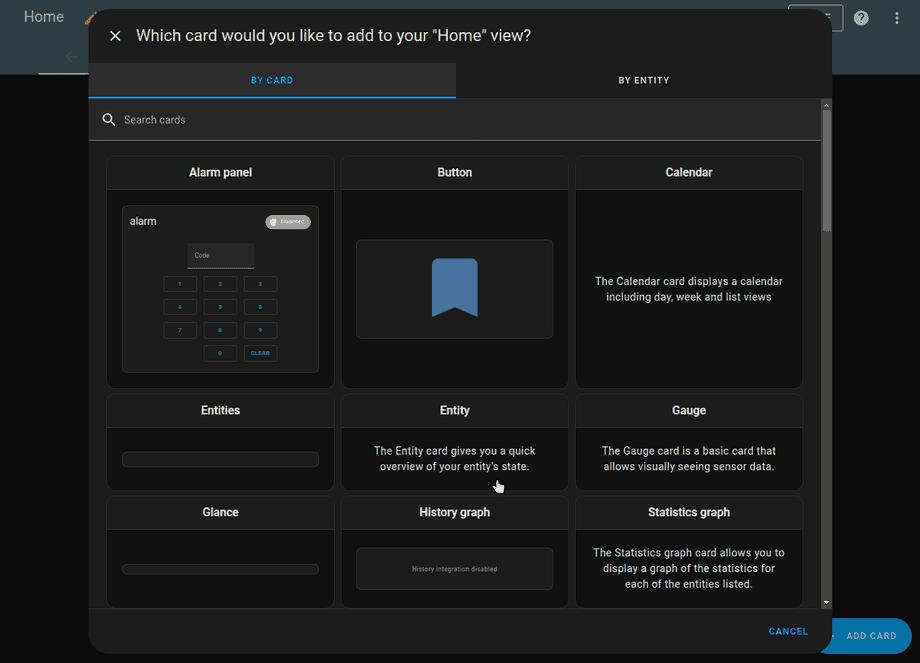
Click on Add a card and seach for website:
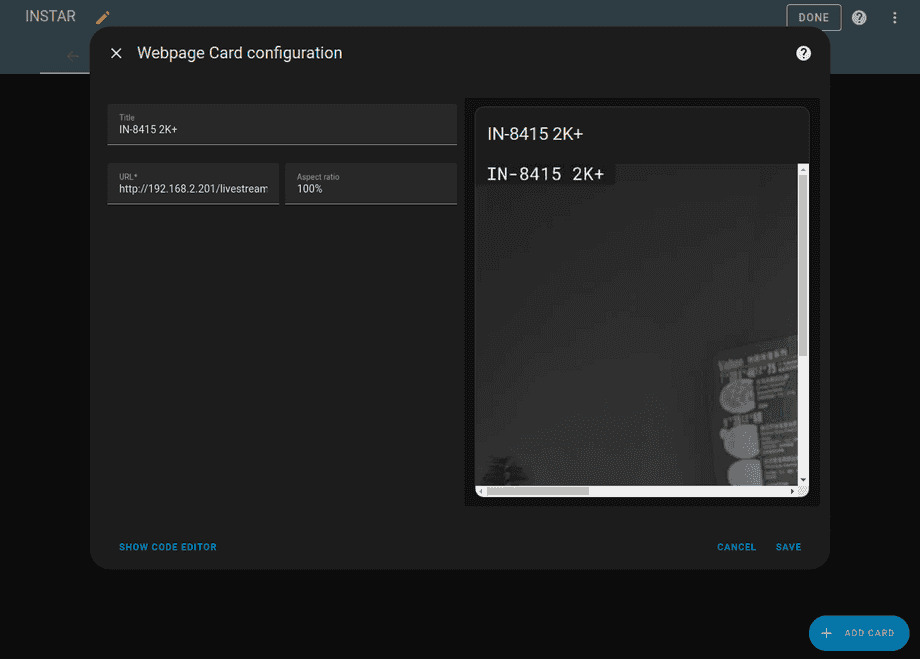
And add your camera's MJPEG streaming URL to add the live video:
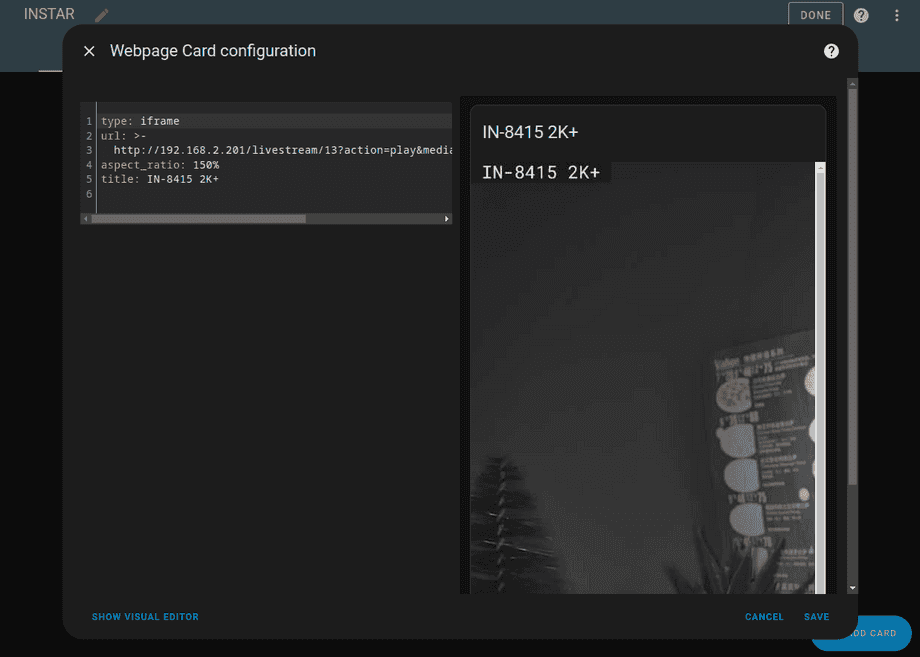
If you set up go2RTC to re-stream your camera's RTSP stream you can also add the WebRTC stream which will run a lot smoother:
Picture Card
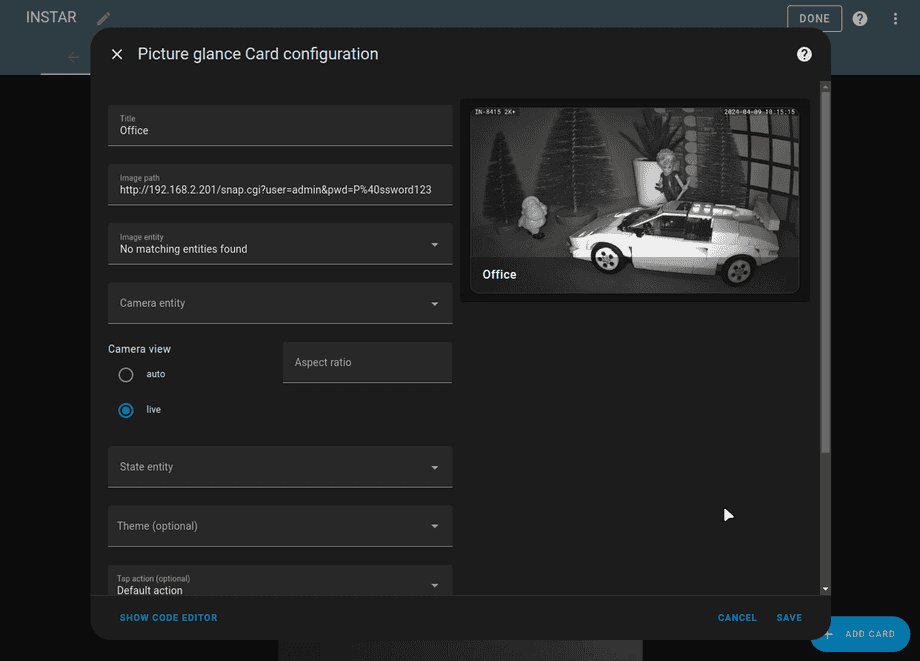
To add a still image you can select a Picture Glance card:

And add your camera's JPG URL:
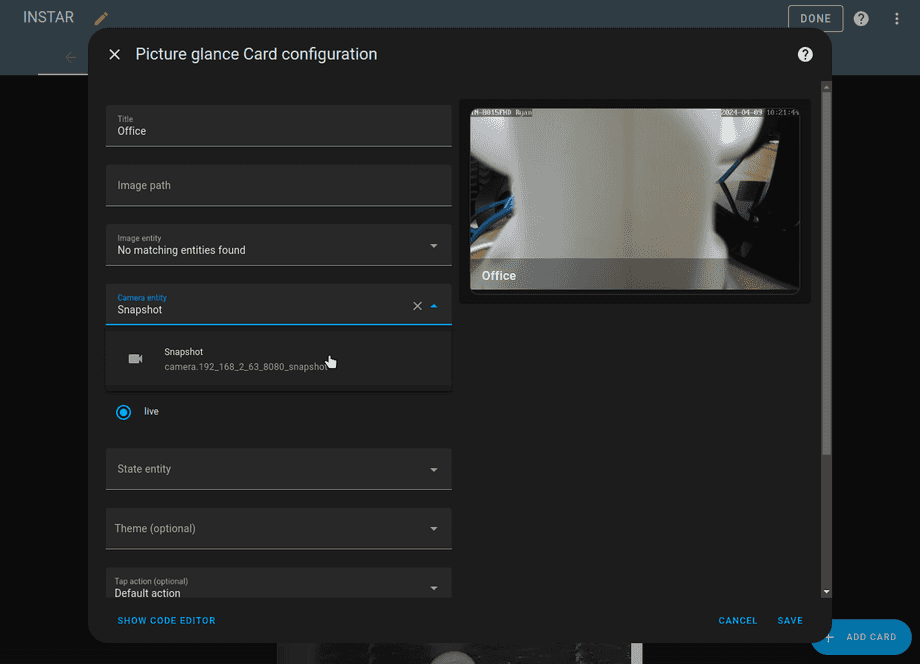
You can also use the ONVIF Service to grap the snapshot URL:
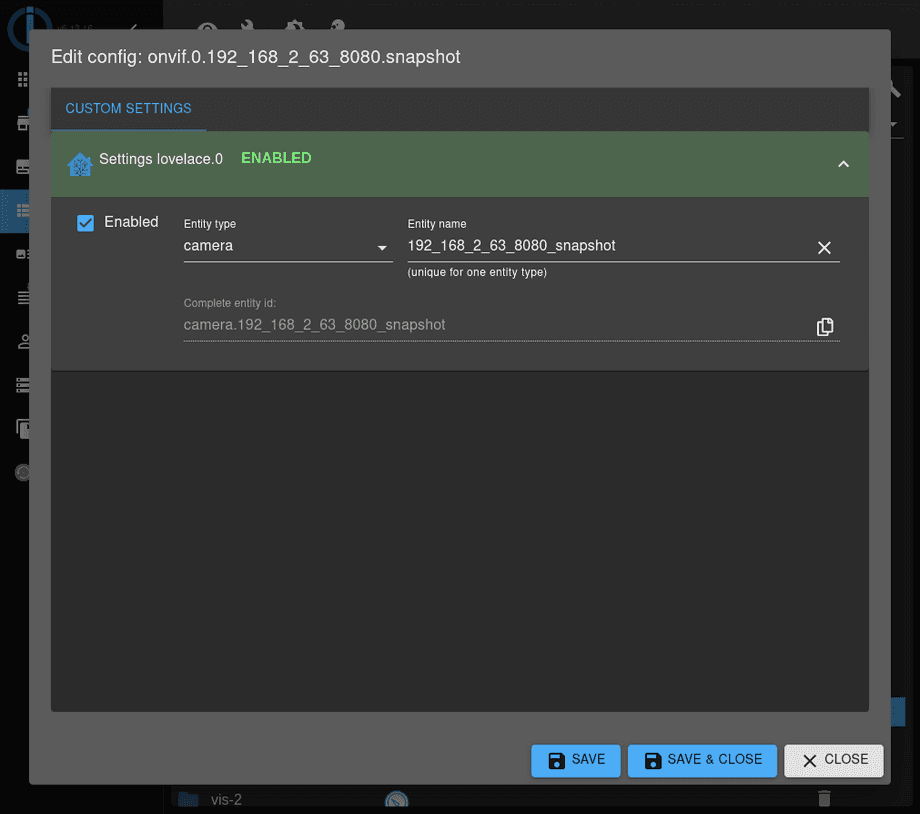
To have the Snapshot Entity show up here you need to find the corresponding entry in the object tree and click on the settings cog symbol on the right:
And make sure that Lovelace is enabled:
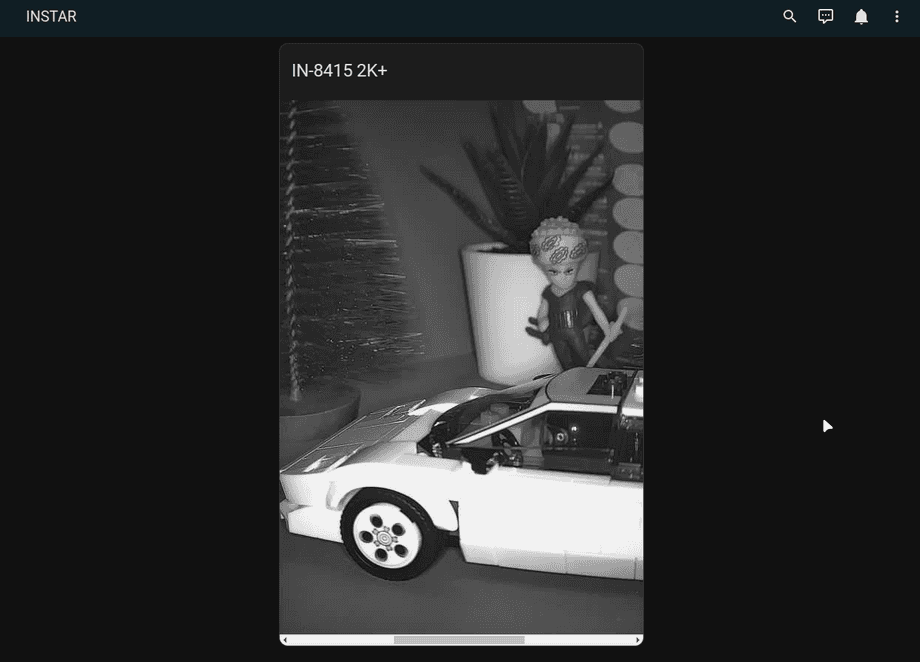
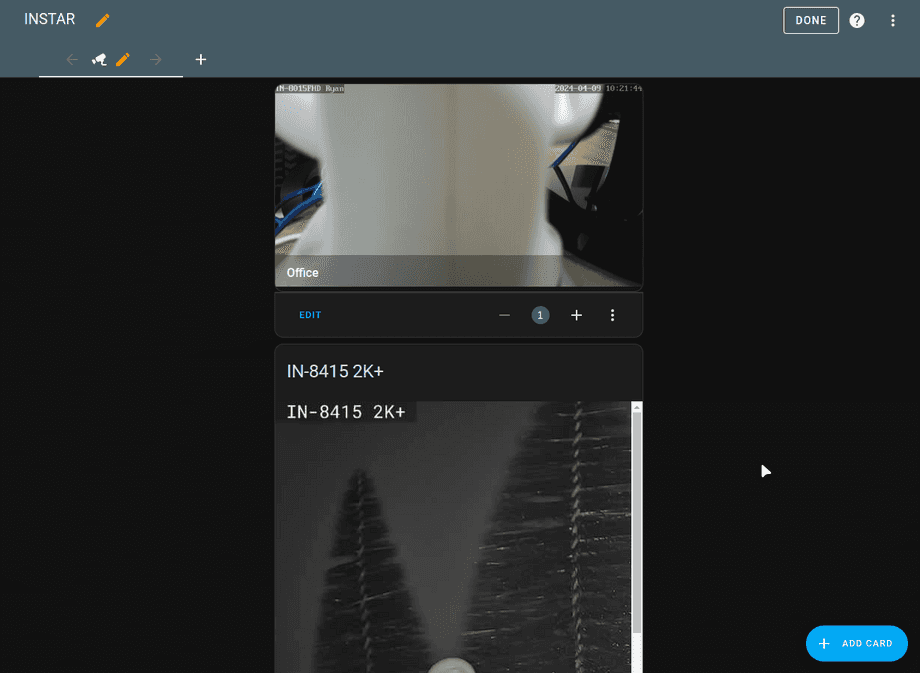
Once added the card will show up on your dashboard showing a snapshot from your camera:
Discuss this article on the INSTAR Forum !
