Q: Your cameras have the function to take a series of photos. How can I combine these individual shots into a time-lapse video?
A: You can do this for example with these two free software packages iMovie (macOS) or the Time Lapse Creator (Windows 10).
Windows
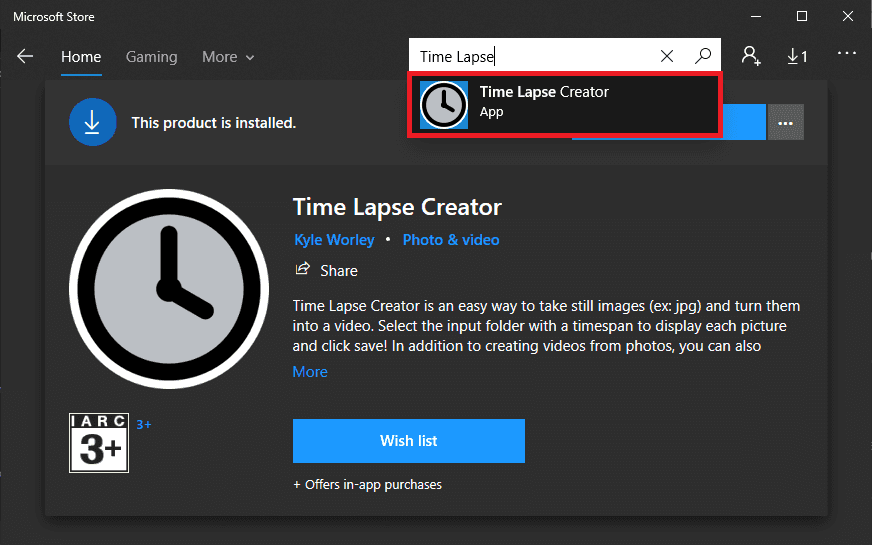
First go to the Microsoft Store and install the Time Lapse Creator programme from there:
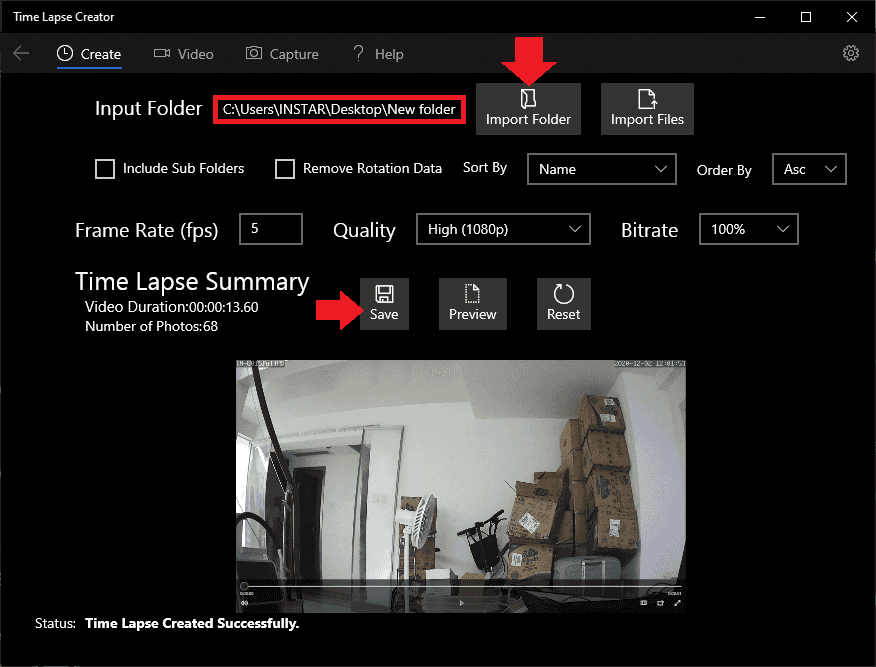
Then click on Import Folder in the software interface and select the location where you saved your photo series:
Then all you have to do is press save and you can then specify a location for the finished time-lapse recording.
macOS
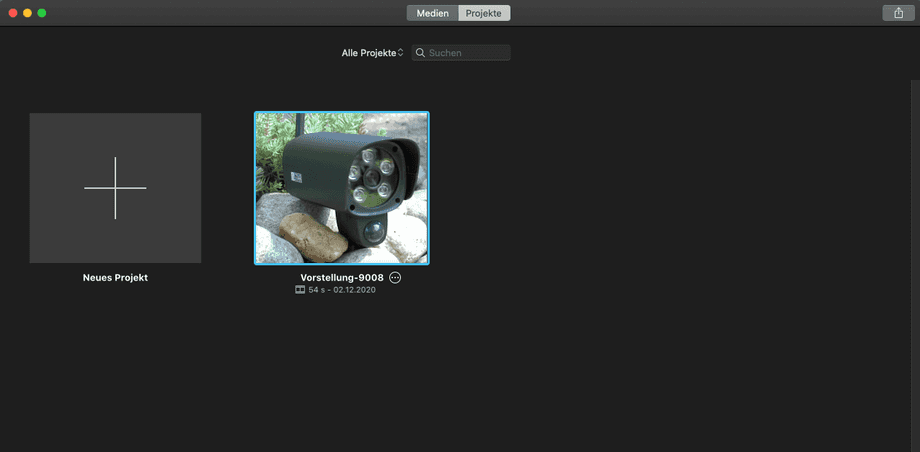
Start iMovie and click the Plus icon to start a new project:
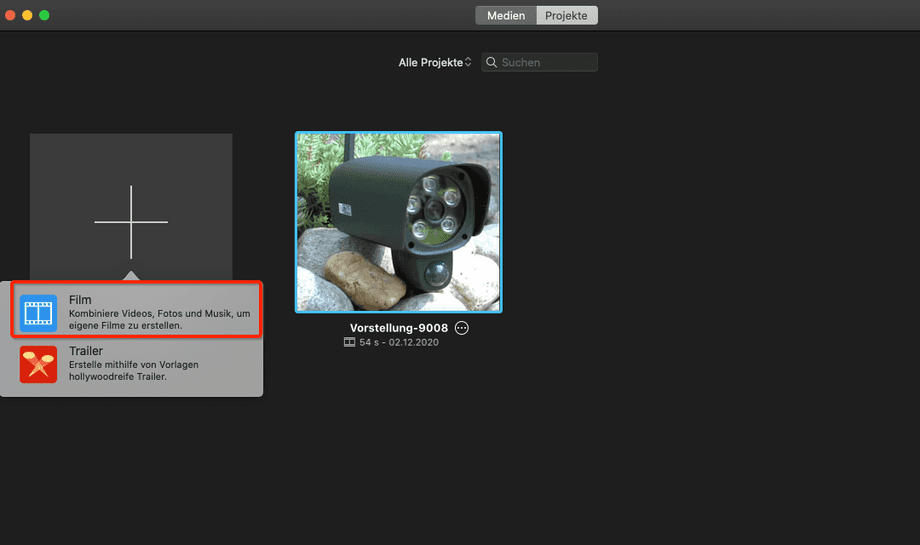
Select Film to combine your photos into a movie:
Enter a name for your project here:
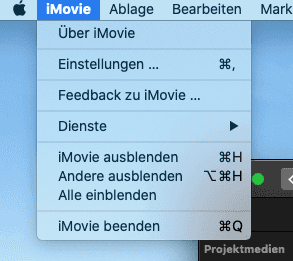
To change the default settings for your project, you need to open iMovie Settings:
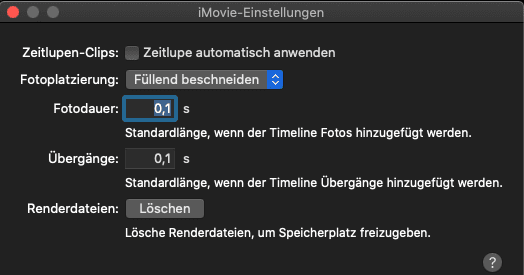
Here you can specify how you want your photos to be placed, how long an individual photo should be displayed and how long the transition between photos should take:
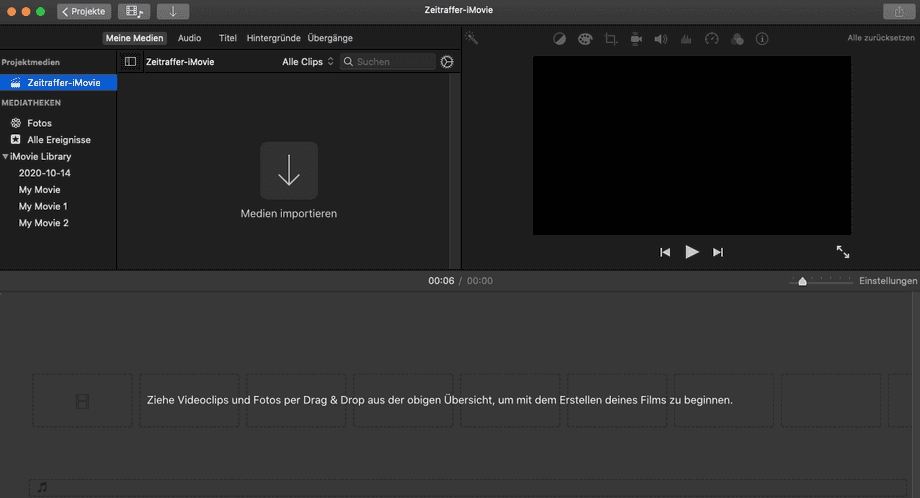
Back in the iMovie interface you can now click on Import Media to add your photos to the project:
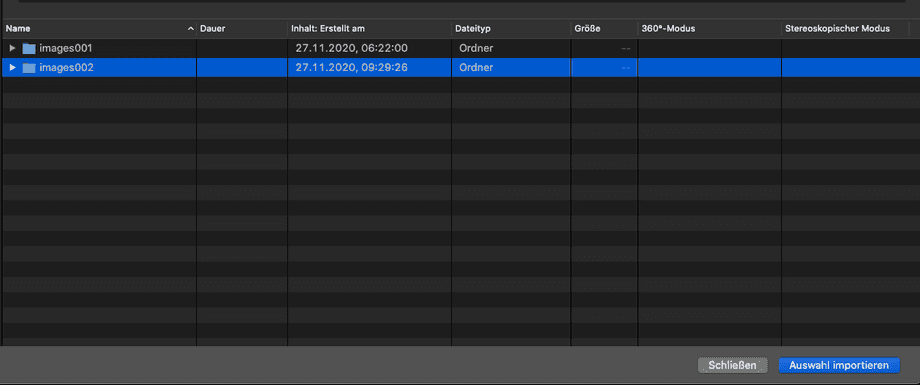
Then select the folder that contains your photos:
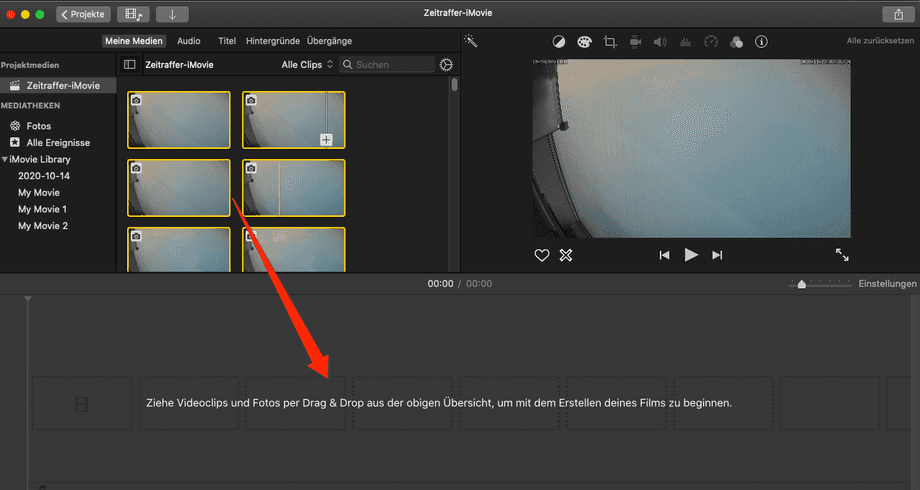
Your photos are now displayed in the Media Panel. Select all photos and drag them into the project timeline:
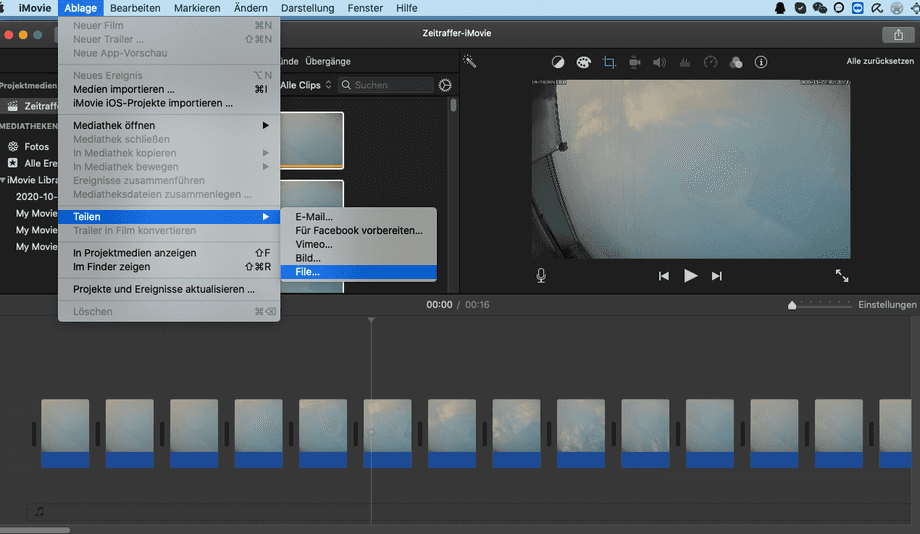
In the iMovie menu you can now go to Share in Ablage and export your movie as a video file:
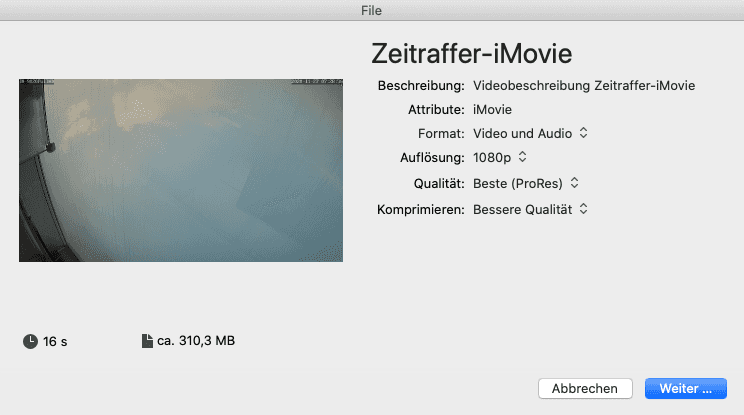
Select the quality settings for the video here - Caution: at the bottom left you can see the size the file will have at the end. You can see that the file can become very large with maximum quality:
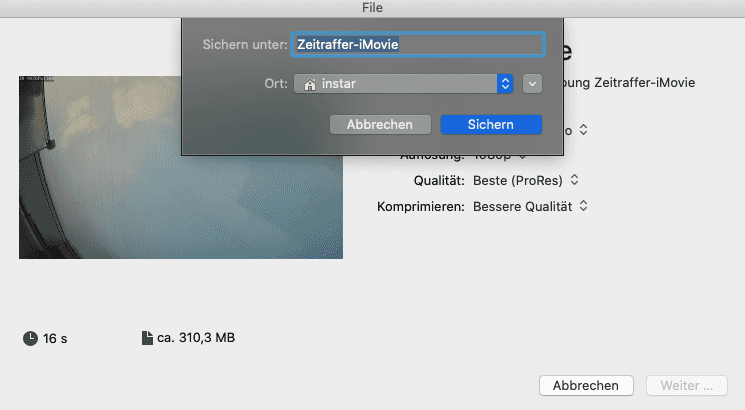
You can give the video file a name by clicking Next:
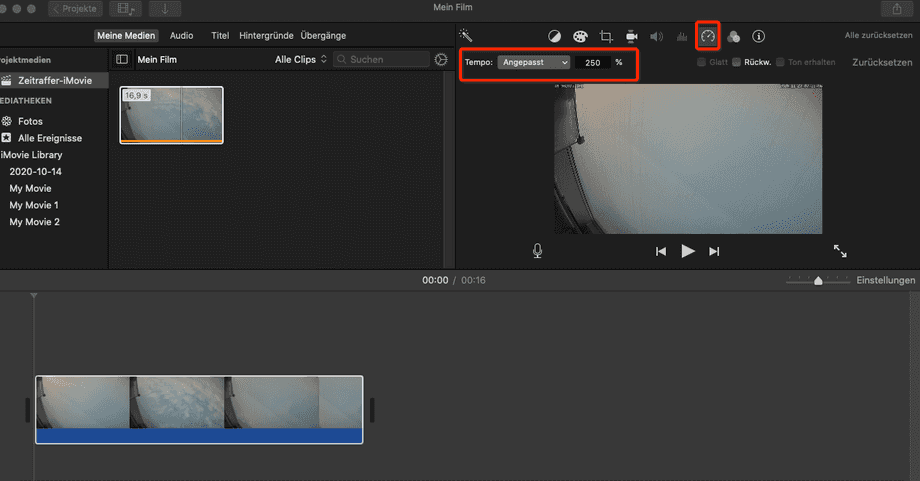
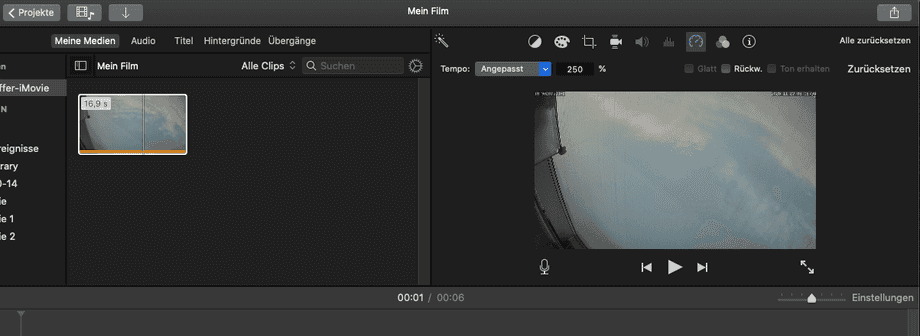
The resulting file can now be post-processed if desired. In the example the speed of the video is adjusted to shorten the length of the video from 16s to 6s:
