VPN Tunnel
General information for the Fritz.box VPN function
In order for the Fritz! Box to become the VPN server, first check System / Update, if the latest firmware version is installed. Then, make sure that it is permanently connected to the Internet and that the connection is not disconnected when it is inactive. In order to be able to access the router or the VPN server on the way, you must know its address. Since the address changes every 24h, however, you could theoretically register with a DDNS provider to get a fixed Internet address. However, since your INSTAR camera already uses a built-in DDNS service, you can use the address under Network DDNS in the web interface of the camera.
Wir erklären in diesem Video wie man eine VPN Verbindung, also einen Tunnel aufbauen kann in sein eigenes Netzwerk.
Auf diese Weise haben Sie z.B. die Möglichkeit so auf Ihre INSTAR Kamera zuzugreifen, als seien Sie zu Hause im gleichen Netzwerk. Sie verbinden sich so z.B. mit Ihrem Smartphone mit Ihrer Fritzbox per VPN und können dann die Kamera über die lokale IP Adresse erreichen. Die Verbindung ist dabei komplett verschlüsselt und sicher.
1 Preparations
First go to the AVM services page at AVM-VPN to get the latest version of Fritz! Remote Access for your Windows (Either 32-bit or 64-bit) and then install it by default. The program takes all your security settings and saves them in a configuration file, which you then only have to import into the VPN remote.
2 VPN Settings
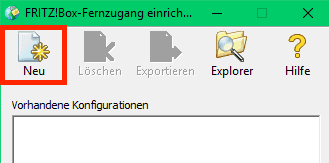
Open the FRITZ! Box remote access program and click on New".
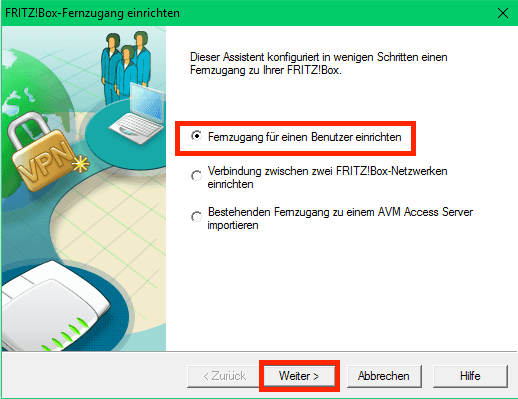
Select the Set up remote access for a user option and click Next.
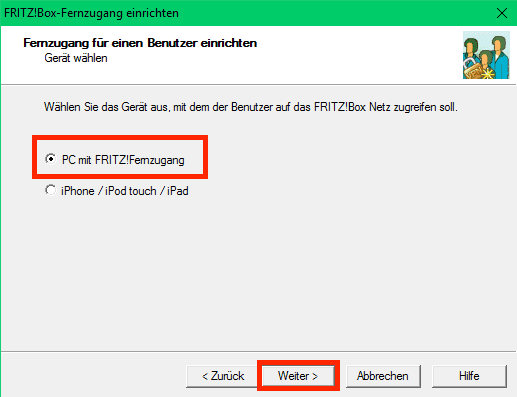
Select the option PC with FRITZ! Remote Access and click on Next.
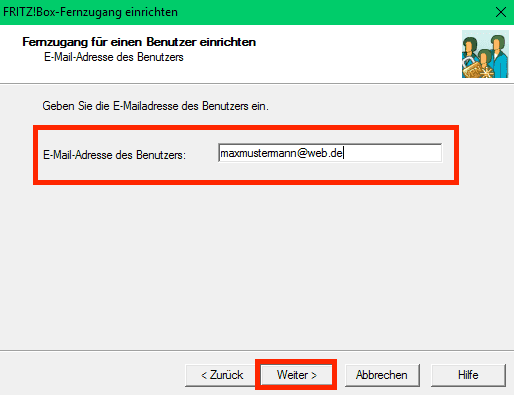
Enter the e-mail address of the user who is to establish VPN connections to the FRITZ! Box, and click on Next.
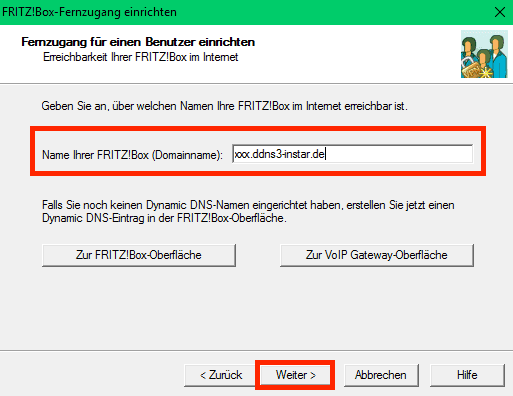
Enter the DDNS address in the input field Name (see the network interface of the camera under Network - DDNS) and click on Next.
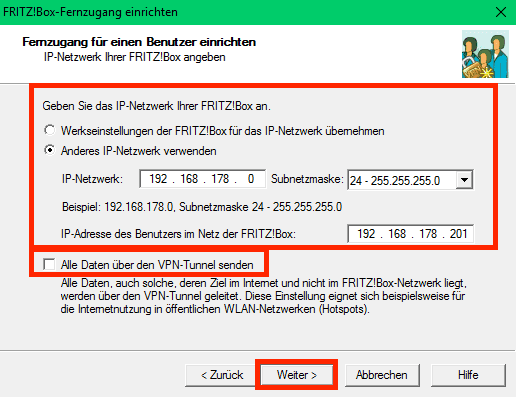
Assign an IP address to the computer in the FRITZ! Box network. You can use the standard data if the Fritz box has the factory settings (192.168.178.1). If you enter the data manually, make sure that you do not enter the IP address of the Fritz box, but the address of the network (e.g., 192.168.178.0).
If you want to send the entire Internet traffic via your home network, you can activate the function Send all data via the VPN tunnel.
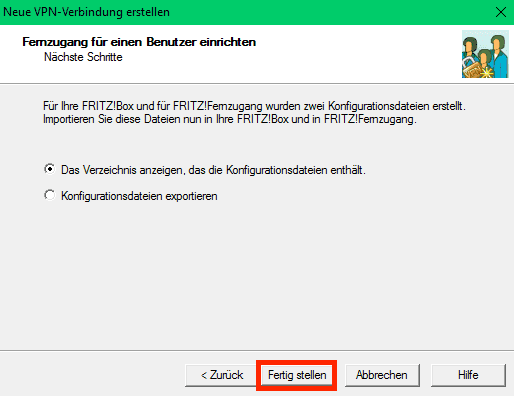
In this field, leave the default setting and click Finish.
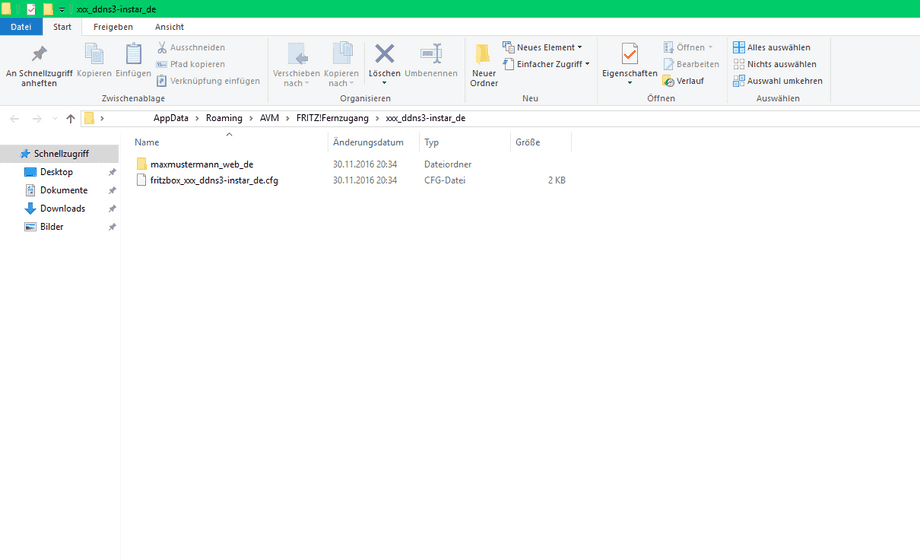
Now FRITZ! Box remote access set up the VPN settings. Afterwards, a Windows folder opens automatically, which contains the file fritzbox [...]. Cfg and a subfolder with the file _vpnuser _ [...]. Cfg.
NOTE You can access this folder at any time by selecting the FRITZ! Box name of the FRITZ! Box in FRITZ! Box remote access and clicking on the Explorer button.
3 VPN settings in Fritz.Box import
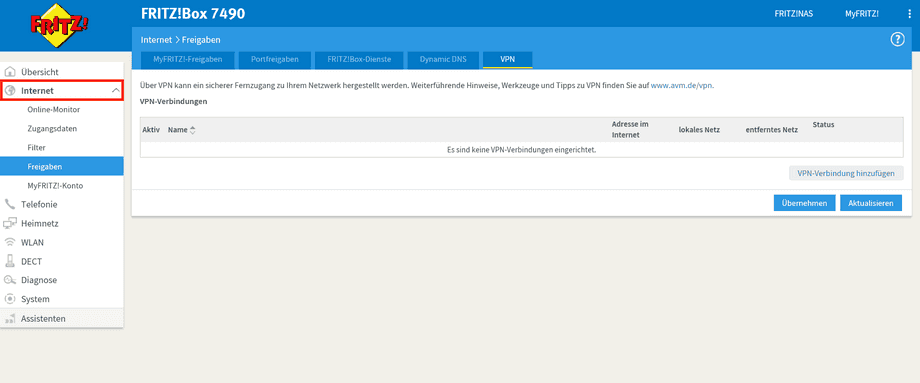
Click on Internet in the FRITZ! Box user interface.
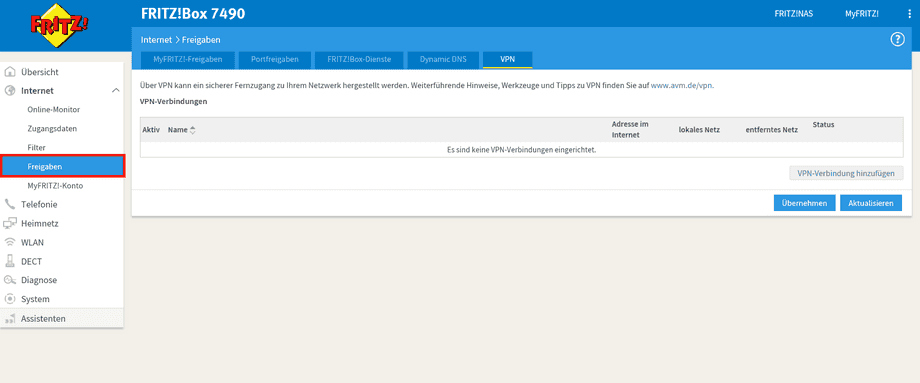
On the Internet menu, click Share.
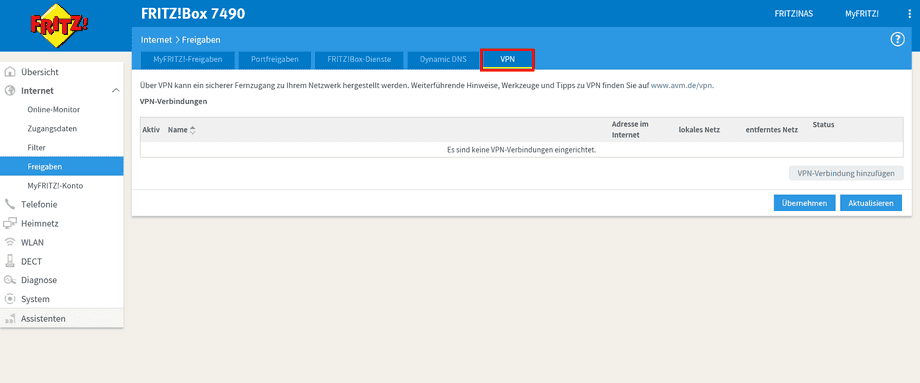
Click the VPN tab.
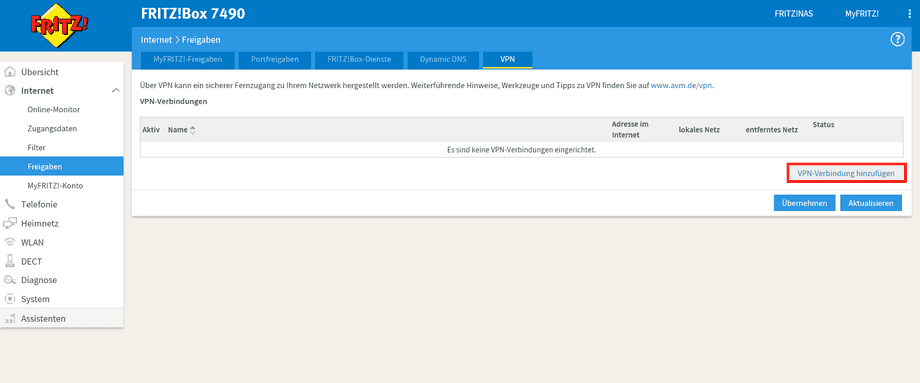
Click Add VPN Connection.
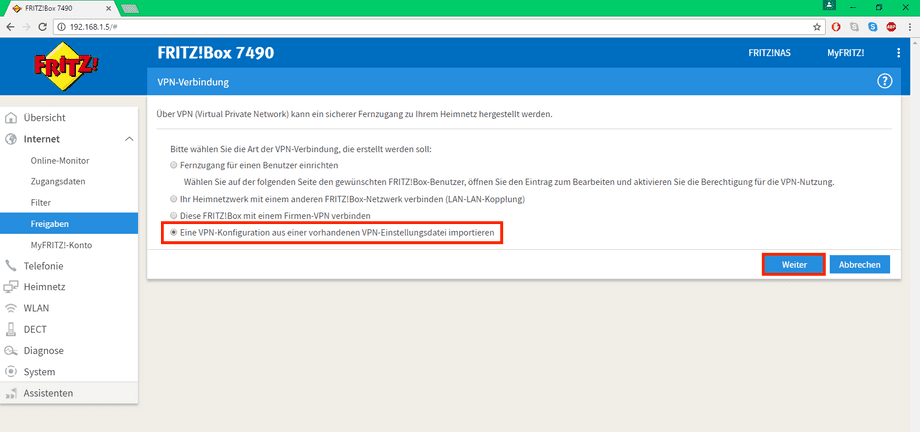
Click Import a VPN configuration from an existing VPN settings file.
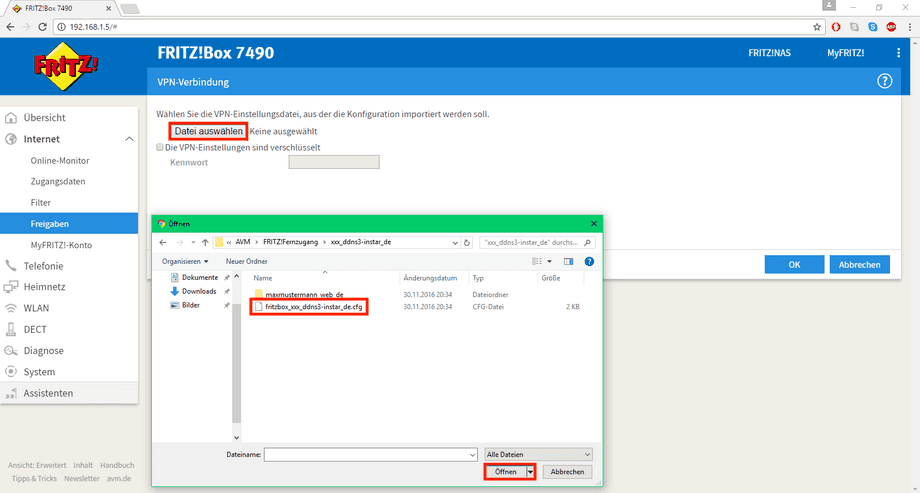
Click Select File.
Select the fritzbox [...]. Cfg created with FRITZ! Box remote access setup and click on _open.
Click OK.
4 VPN settings in FRITZ! Remote access
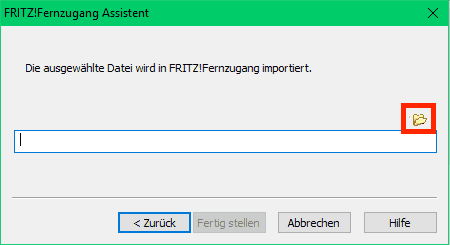
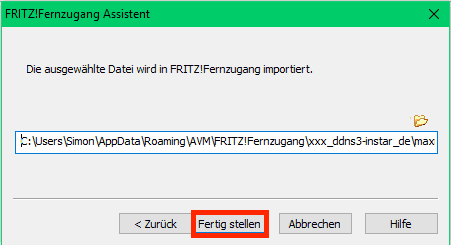
Open the FRITZ! Remote Access application from the Windows Start menu and click on the Explorer icon in the program.
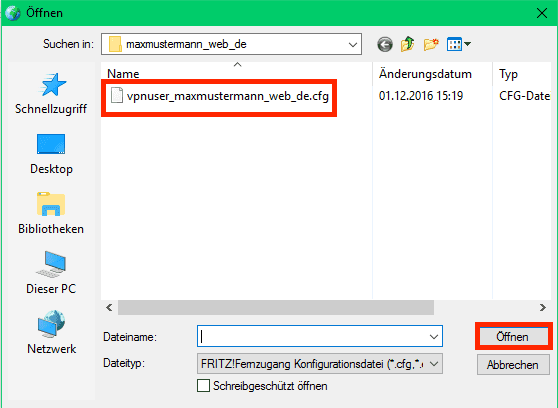
Select the file vpnuser _ [...]. Cfg.
Click Open and Finish.
5 VPN connection
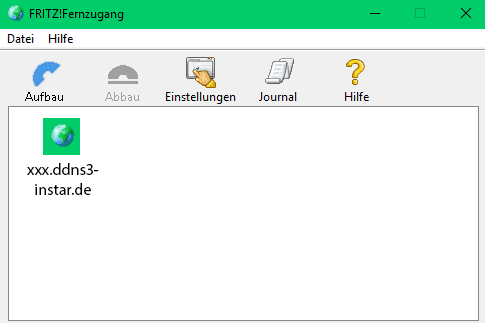
From the computer with FRITZ! Remote access, establish an Internet connection and call the program Fritz! Remote access. Click the DDNS name icon, and then click Design.
