Configuring the MQTT Binding
MQTT Broker
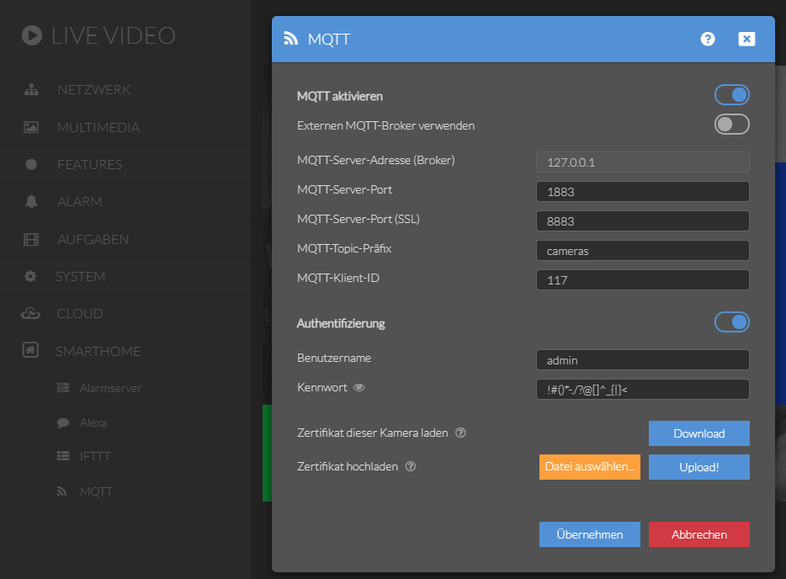
I will start by adding my INSTAR IP camera as MQTT Broker to OpenHAB. The broker is configured as follows:
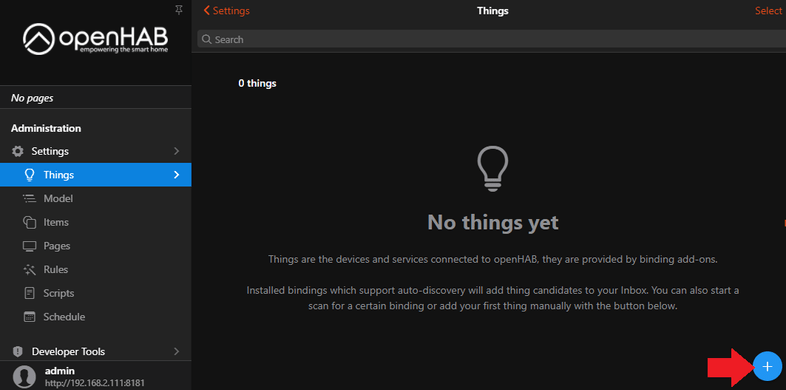
Go to the Things settings and click on the blue plus icon to add the MQTT broker
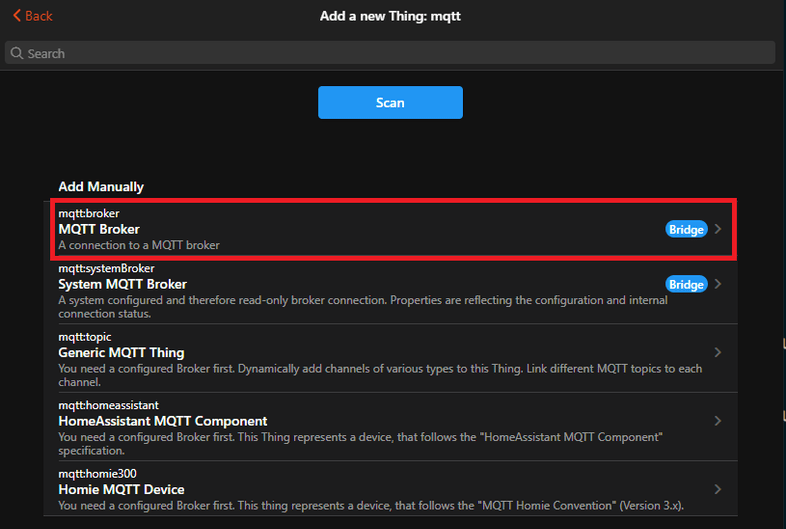
Select the MQTT Binding:

Select the MQTT Broker preset:
Give your Broker a unique ID and label and add all the information from your MQTT broker like IP, port and login:
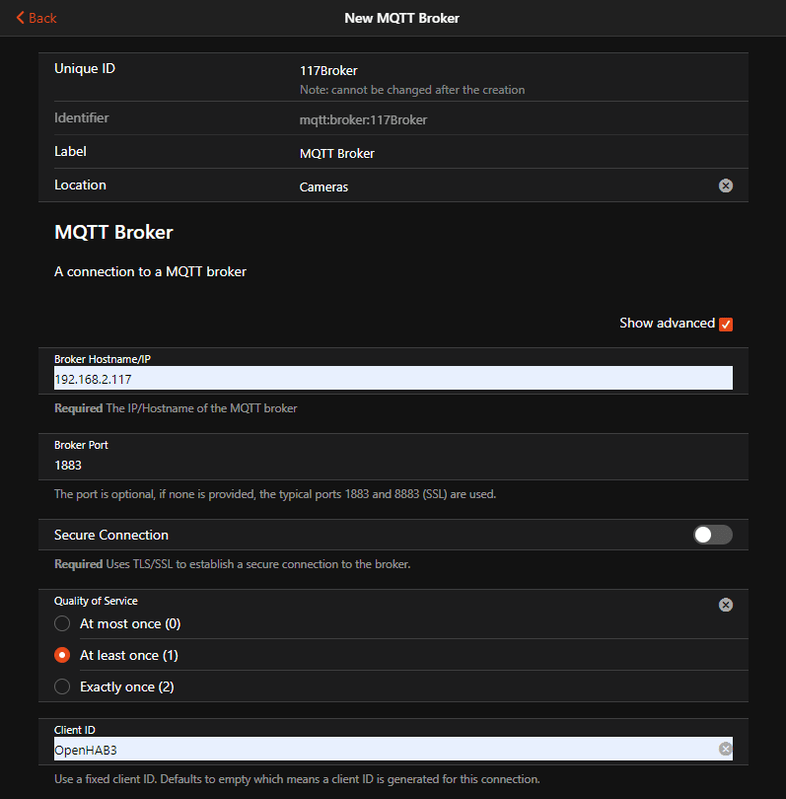
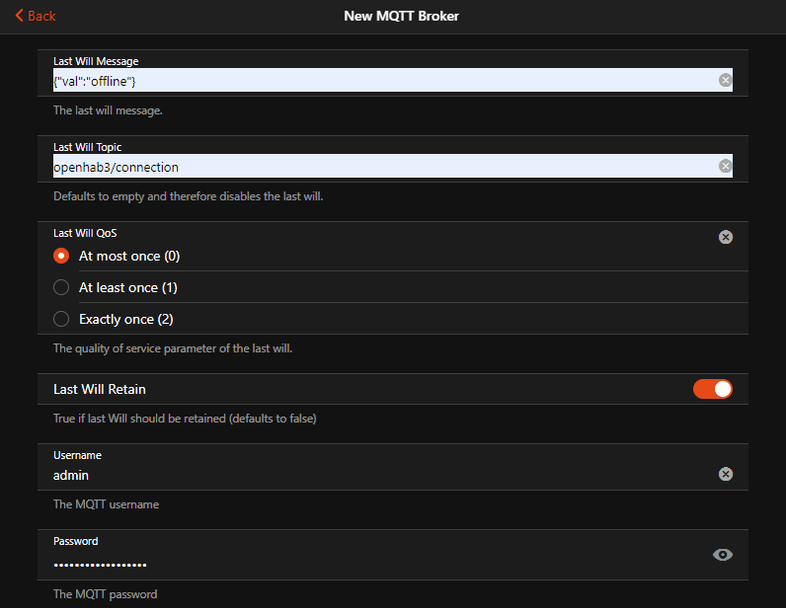
Then click on Save to add the broker to OpenHAB.
MQTT Client
I now want to add Thing that allows me to switch the Alarm Areas of my camera. For this I will add a Generic MQTT Thing:
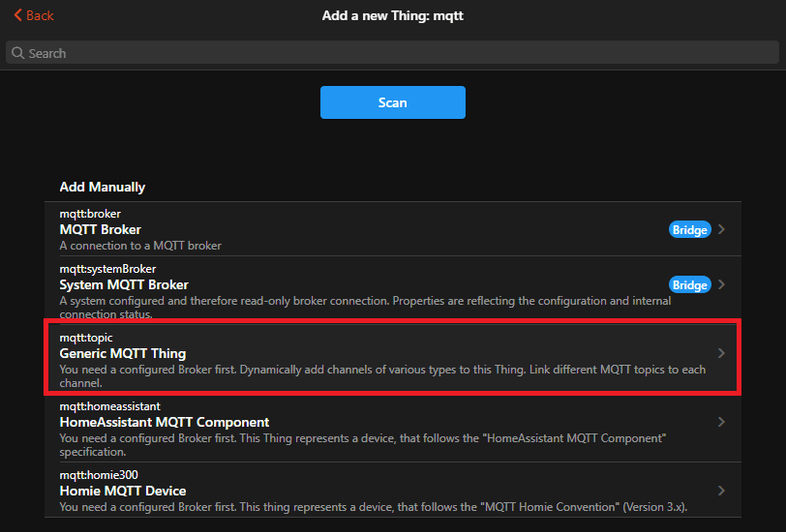
Add a unique ID (and a unique label that I forgot in the screenshot), add the MQTT Broker we created in the first step and click on Create Thing:
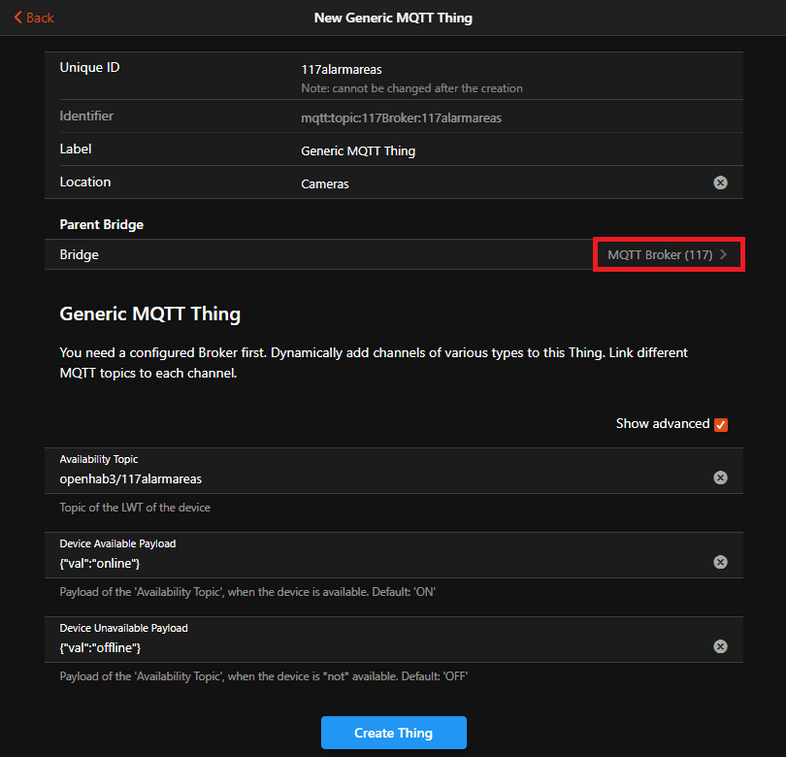
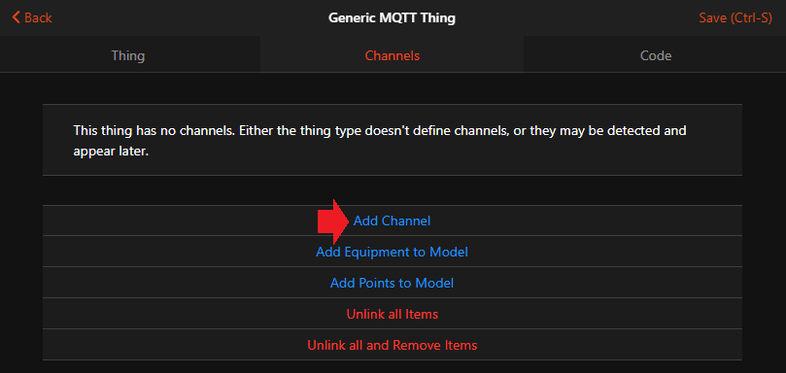
Now click on the Thing and switch to the Channel tab to add channels for the 4 alarm areas of your camera:
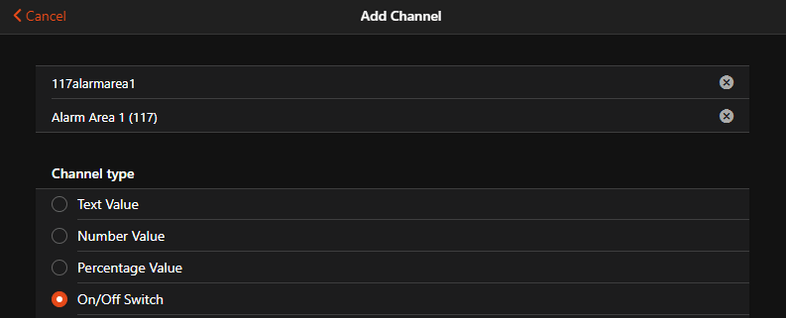
Again, add a unique ID and label and assign an ON/OFF Switch as a template:
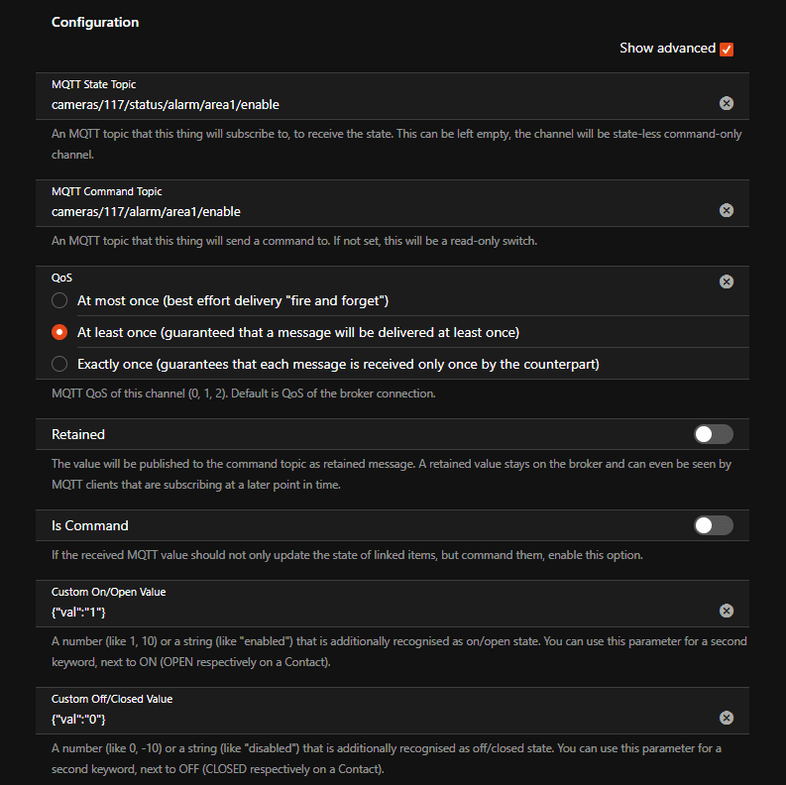
This opens up the advanced configuration options. First we need to assign the State and Command topic that we want to switch with the toggle:
| AREA 1 | AREA 2 | AREA 3 | |
|---|---|---|---|
| STATE | cameras/117/status/alarm/area1/enable | cameras/117/status/alarm/area2/enable | cameras/117/status/alarm/area3/enable |
| COMMAND | cameras/117/alarm/area1/enable | cameras/117/alarm/area2/enable | cameras/117/alarm/area3/enable |
Note: that my camera is configured to use the
camerasprefix and117client ID.
The ON value has to be set to {"val":"1"} and the OFF value to {"val":"0"}.
Click to save the Channel and then continue by Linking it to an Item so that you can start using it inside the UI:
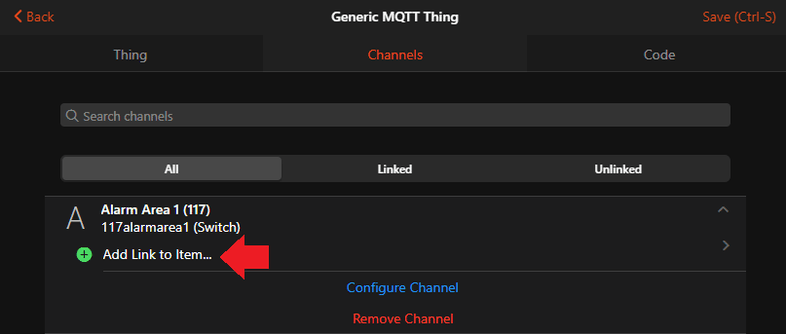
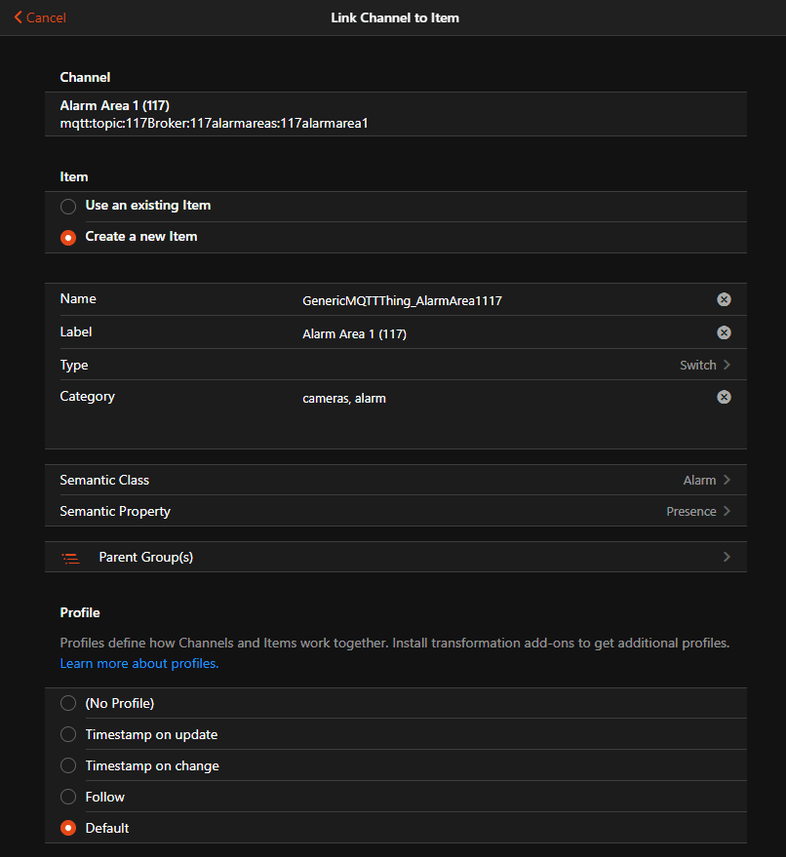
Repeat those steps for all 4 areas:
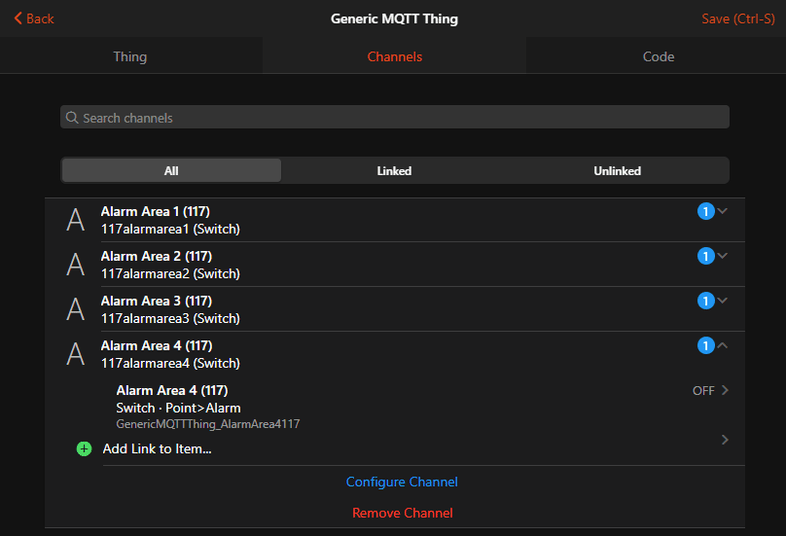
Now switch to the Overview page and switch to the Properties tab:

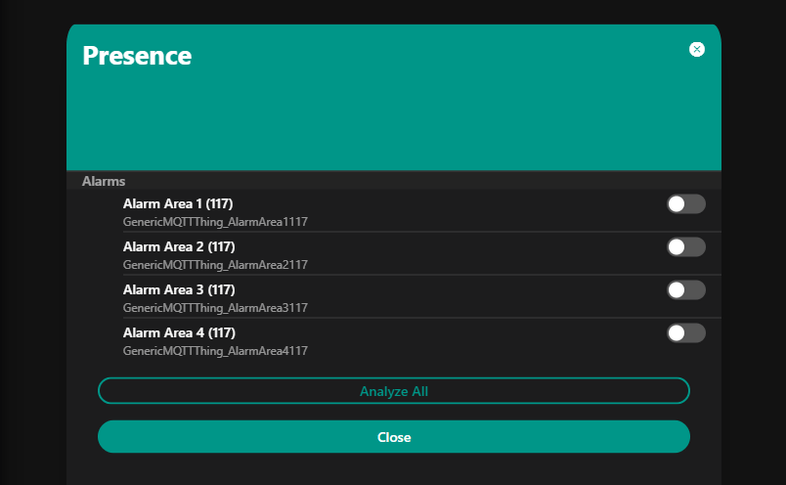
Since I assigned the created items to the Presence property, the switches will be listed there:
