II-e-1 Activate WPS
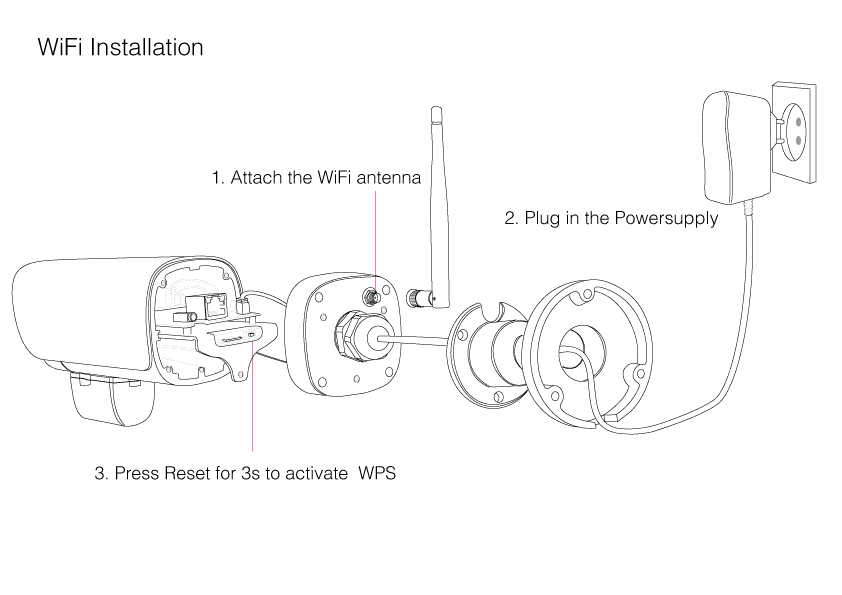
Connect the WiFi antenna and make sure that the antenna cable is still connected (see step #3 Here). Now plug in the power supply and wait for the camera to boot. Press the Reset/WPS button for 3s to activate the WPS function (Caution: pressing it for 10s will reset your camera!).
II-e-6 Internet Access
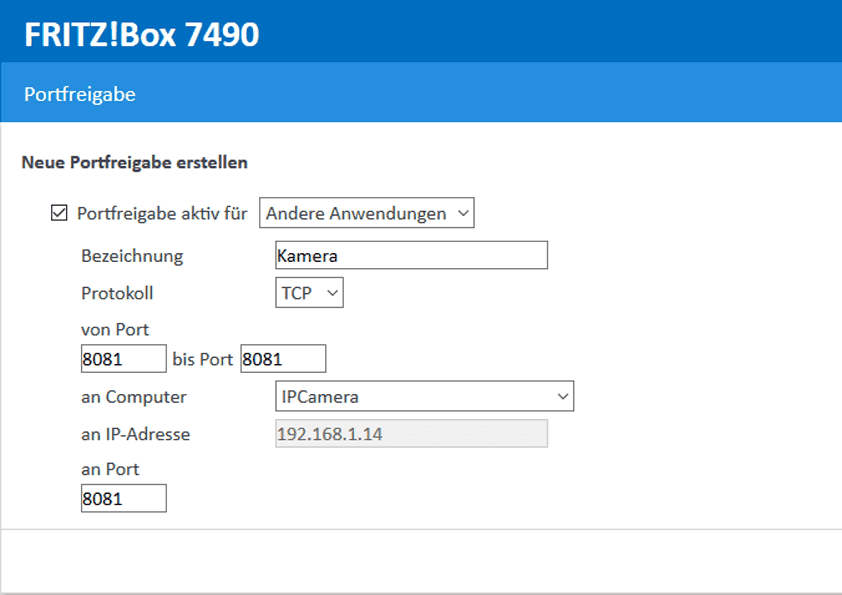
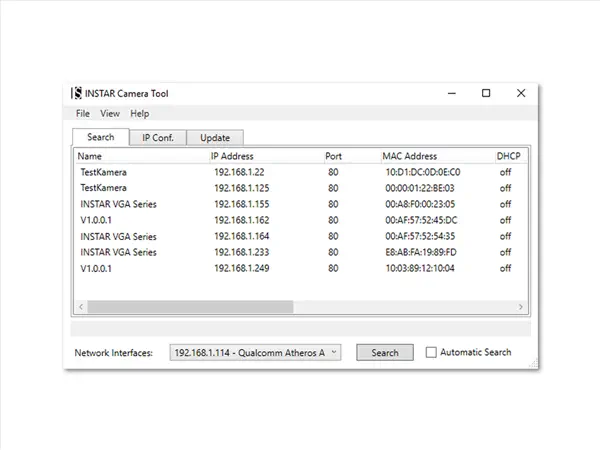
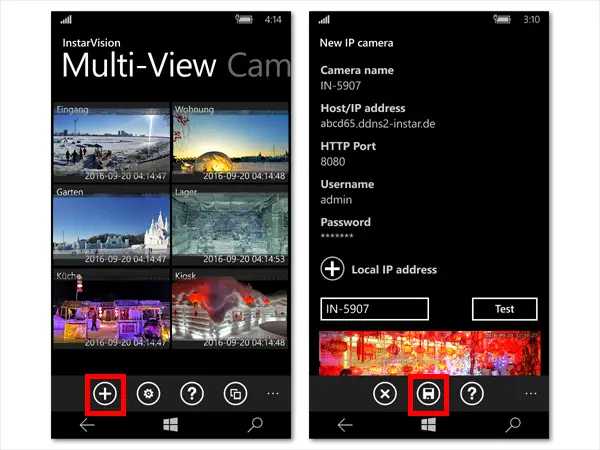
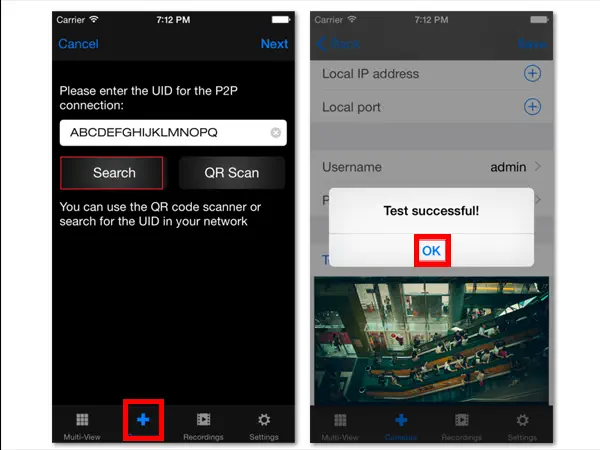
You need to Forward a Port inside your router, if you want to access your camera over it´s DDNS Address from the internet. Alternatively, you can use the P2P User ID to access your camera with our smartphone app (see Step 12 below).
II-e-9 Reassemble
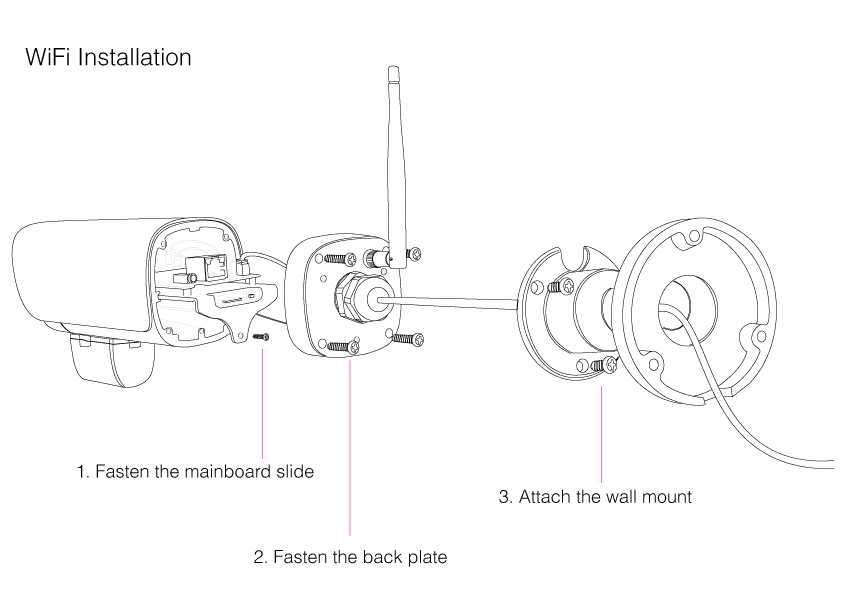
Fasten the mainboard slide and use the 4 screws to mount the back plate back onto your camera casing. Screw the wall mount to the back of the camera.
II-e-10 Final Installation
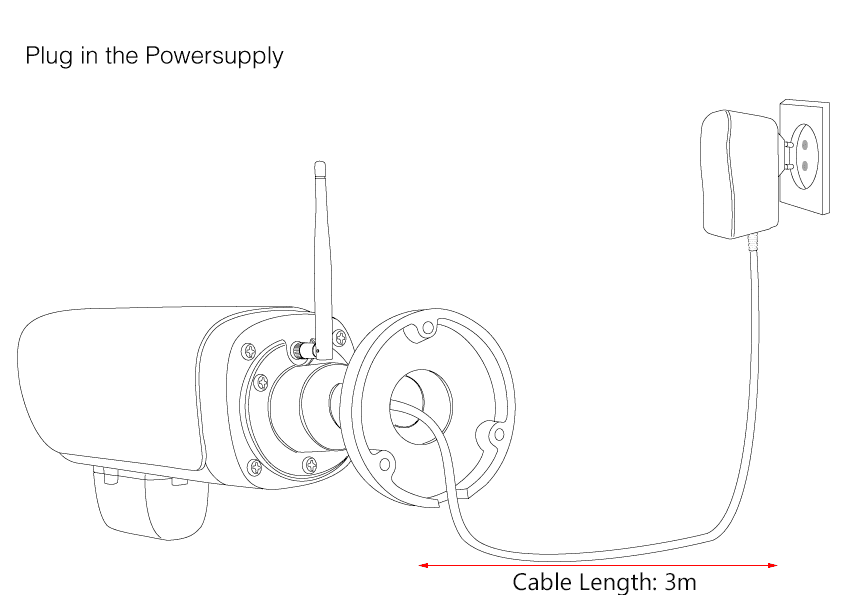
Install your camera and plug in the power supply. The camera should automatically reconnect itself to your WiFi network.
