Raspberry Pi & openHABian
Machen Sie Ihrer Kamera zum Herzstück Ihres Smarthomes
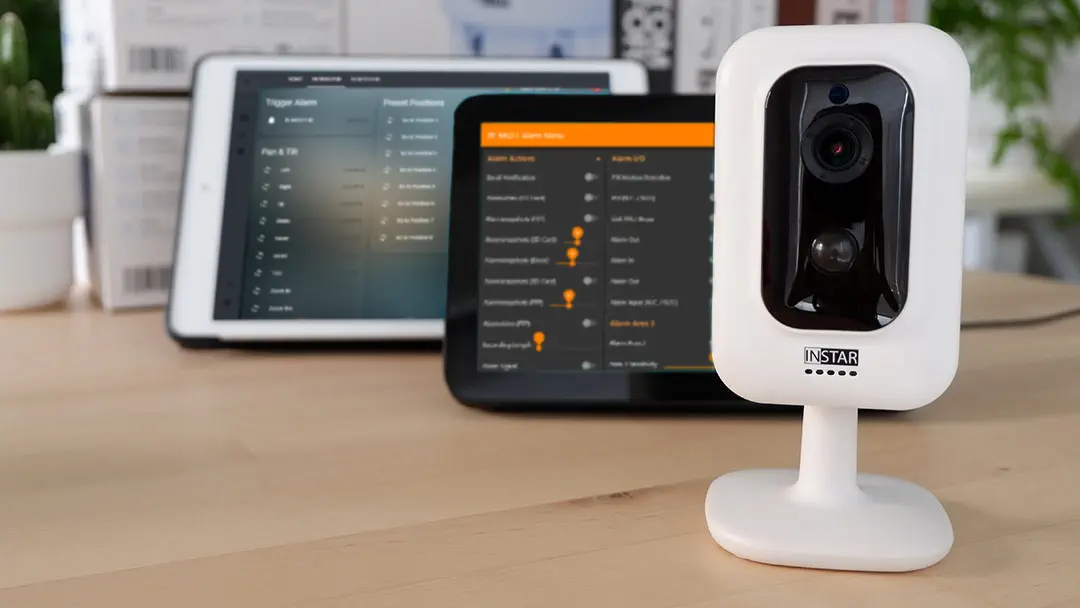
Mithilfe der MQTT Schnittstelle Ihrer INSTAR Full HD Kameras können Sie diese zu einem bestehenden Smarthome-System (Home Assistant, OpenHAB, Node-RED, Athom Homey, Homematic, ioBroker, Loxone, homee) hinzufügen kann. Oder auch zum Haupt-Broker für Ihre MQTT Sensoren machen. MQTT ermöglicht es Ihnen ALLE Funktionen Ihrer Kamera zu automatisieren und mit anderen Diensten in Ihrem Smarthome zu verknüpfen.
Kontrollieren Sie Ihre Kamera über den IFTTT Online Dienst

Auf der IFTTT-Plattform stellten wir einen Dienst namens INSTAR zur Verfügung. Die INSTAR Applets bieten Ihnen die Möglichkeit, einige Einstellungen Ihrer INSTAR Kamera oder INSTAR Cloud mit IFTTT zu steuern. Sie können INSTAR mit Auslösern für Ort (Geo Location) und Datum & Zeit verbinden, Benachrichtigungen versenden und vieles mehr. Zum Beispiel können Sie die INSTAR Applets mit dem IFTTT-Ortungsdienst verbinden und automatisch den Alarm deaktivieren lassen, wenn Sie zu Hause ankommen. Sie können die INSTAR-Applets auch verwenden, um Ihre eigene Automatisierung zu erstellen und sie mit anderen Applets von Drittanbietern zu verbinden.
Use a Raspberry Pi to control your INSTAR Network Camera. The OpenHAB Linux distribution openHABian aims to provide a self-configuring Linux system setup specific to the needs of every Raspberry Pi user. ## Install openHABian on a Raspberry Pi Following the Quick Start Guide you first have to download the newest version of the openHABian the Etcher tool to prepare your SD card:

Insert the SD card into the Raspberry Pi, connect Ethernet and power and wait approximately 15-45 minutes for openHABian to be installed. As can be seen in the screenshot below, the whole process can take a lot longer on an older Pi - use your SSH terminal (Windows user can use the free Terminal from Mobaterm) to connect to your Pi (default login: user = openhabian and password = openhabian) and check the installation progress:

Once the installation is completed, restart your Pi and log-in again:

If you see the same Error message as in the screenshot above FireMotD: Info: No FireMotD ExportFile detected follow this Guide to get FireMotD set up. Give your Raspberry Pi some time to boot then access the OpenHAB web interface under http://openhabpi:8080 (or alternatively via its local IP address) and choose the Standard Package to get started.

Congratulation, you have successfully installed OpenHAB 2 on your Raspberry Pi!
