
Q: How do I use a custom SSL certificate for the INSTAR MQTT Broker with Home Assistant?
A: We already showed how to set up your INSTAR MQTT Broker with a self-signed SSL cert. Following this guide we now have one camera configured as our MQTT Broker and a second cameras configured to be a MQTT Client on our MQTT network. Both cameras communicate SSL encrypted using a self-signed certificate.
Camera Setup
The broker camera is using the broker.pem file as SSL certificate:

And is configured to use it's own MQTT broker (127.0.0.1) with a user login:

Home Assistant Setup
Start by adding the MQTT Broker to the HA configuration.yaml. But make sure that you only have one MQTT broker added to HA. If you already added your broker without SSL, following our installation steps, you can go to Configuration/Integrations and delete this instance before continuing:
configuration.yaml
mqtt:
  broker: 192.168.2.117
  port: 8883
  certificate: ./mqtt/client.pem
  client_id: homeassistant
  username: admin
  password: instar
  tls_insecure: true
This will add our broker camera with the IP 192.168.2.117 via the SSL port 8883 and with the broker login we set inside the camera's webUI. For the certificate I created a folder next to the HA configuration.yaml file called mqtt and uploaded the public key client.pem that we created for our MQTT broker earlier.
At this stage HA was complaining that the certificate did not match the domain 192.168.2.117 which is why I set the flag tls_insecure: true which shouldn't be a security issue since we are our own authority. When using a CA certificate (not self-signed) this option should not be necessary.
We can clean this configuration up by removing our secret login and adding it to the secrets.yaml file that should be in the same directory as the configuration.yaml:
configuration.yaml
mqtt:
  broker: 192.168.2.117
  port: 8883
  certificate: ./mqtt/client.pem
  client_id: homeassistant
  username: !secret mqtt_username
  password: !secret mqtt_password
  tls_insecure: true
secrets.yaml
mqtt_username: admin
mqtt_password: instar
Now we have to check if our configuration is valid by going to Configuration/Server Controls:

And if it is all ok, we can hit Restart to load our configuration update:

To test if the connection is successful we can use the MQTT test provided under Developer Tools. My camera has the MQTT ID 10D1DC218F96. So updating the following topic with the payload 1 should activate the Alarm Area 1 of my camera:
instar/10D1DC218F96/alarm/area1/enable/raw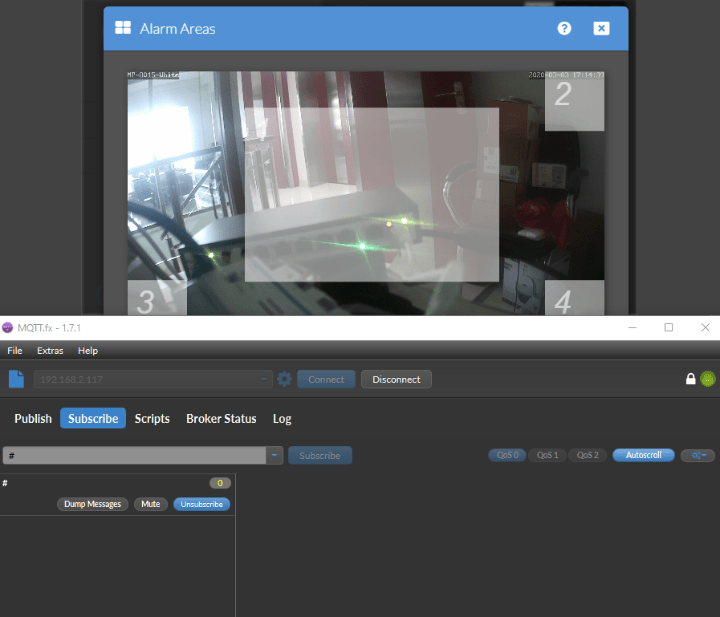
It works!
Now you can continue with our regular tutorial to add your first switches and automations.