Add a Camera Thing
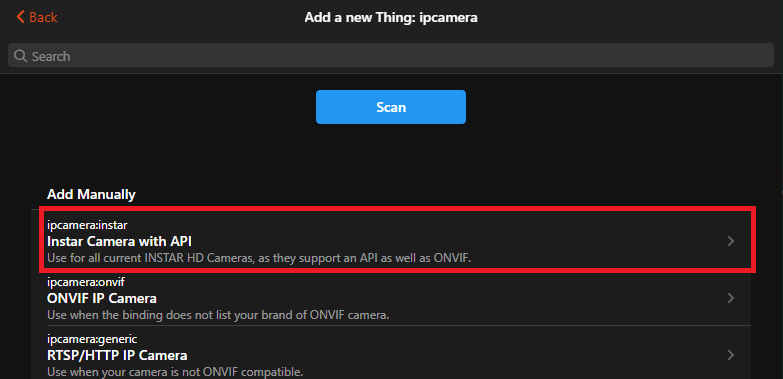
After installing the camera binding we can continue with adding our camera. Go to Things and select the camera binding (install it if it is missing by clicking on Install More Bindings):

Select the INSTAR preset for your camera:
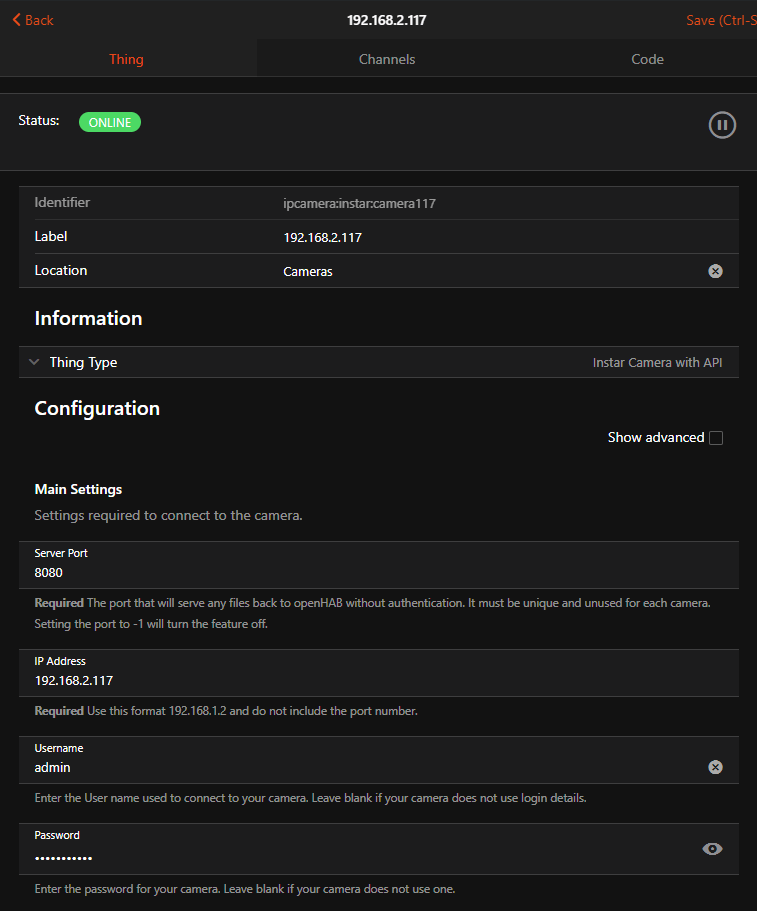
Now configure the Thing with your camera IP, ONVIF server port (default 8080 - make sure to deactivate authentication in your camera's webUI) and your camera admin login:
Installing FFMPEG
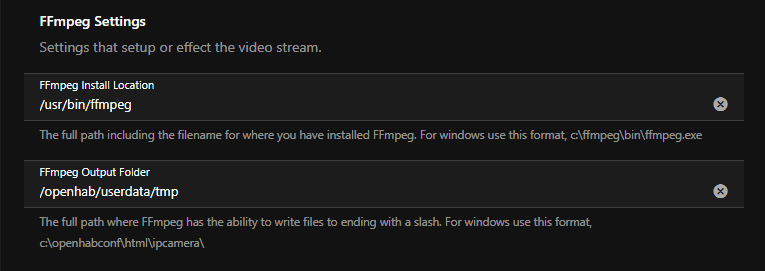
The camera binding is using FFMPEG to provide video streams and snapshots from your camera. Make sure that FFMPEG is installed on your system by running ffmpeg -version. Also verify the installation path - default /usr/bin/ffmpeg:
In my case I am using the Alpine Linux Docker image of OpenHab which does not come with FFMPEG. I will install it by entering the openhab container (I tagged my container openhab - if you did not supply a tag when running the container, replace the openhab tag with your container ID) and run the installation command:
docker exec -ti openhab /bin/ash
apk add ffmpeg
ffmpeg -version
Remember that when you remove this container and recreate it - e.g. after updating the container image - you have to re-install ffmpeg!
Add an Snapshot Channel
Click save and re-enter the camera Thing you created. Now we can continue by adding Channels and link them to Items on our OpenHab dashboard:
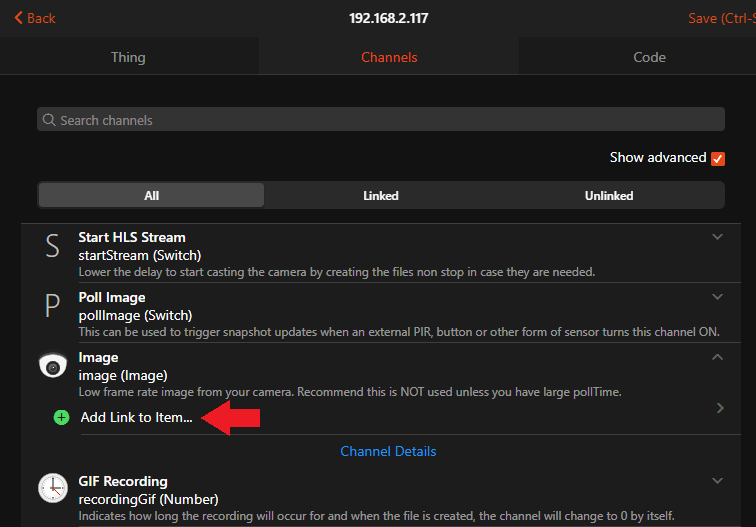
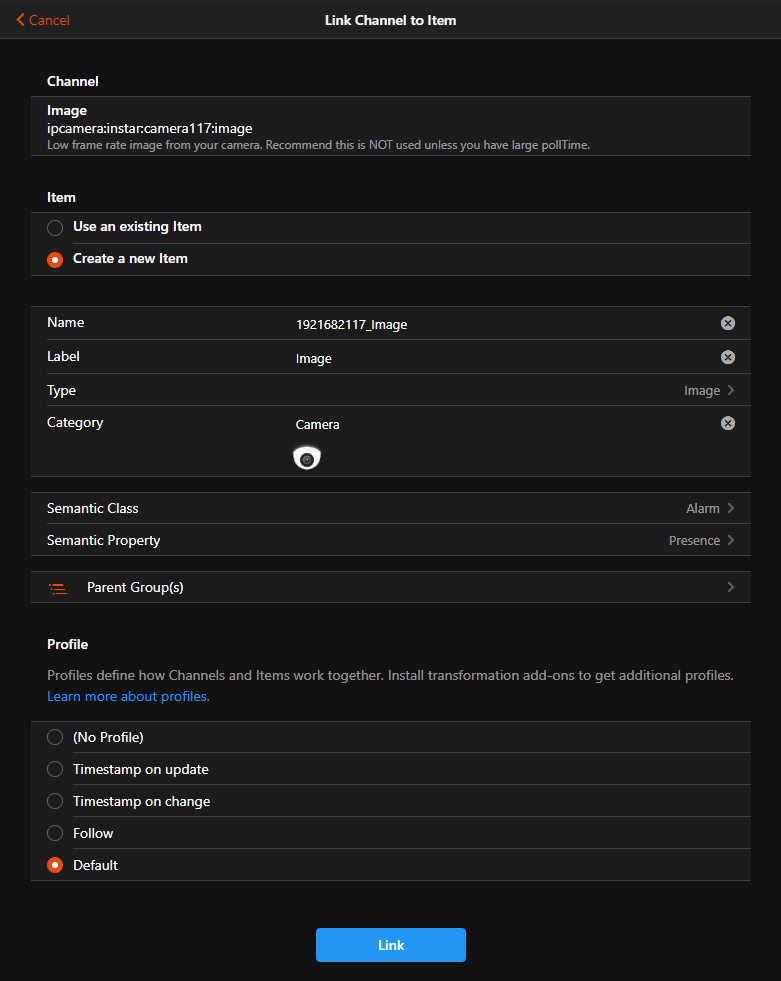
I choose the Image channel and assign it to the Semantic Property Presence:
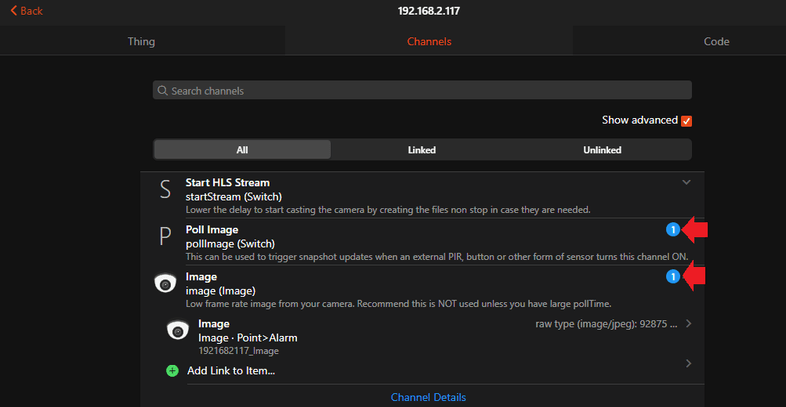
Click save and additionally add a Poll Image channel and add it to the same dashboard Item. It allows us to start the image polling service.
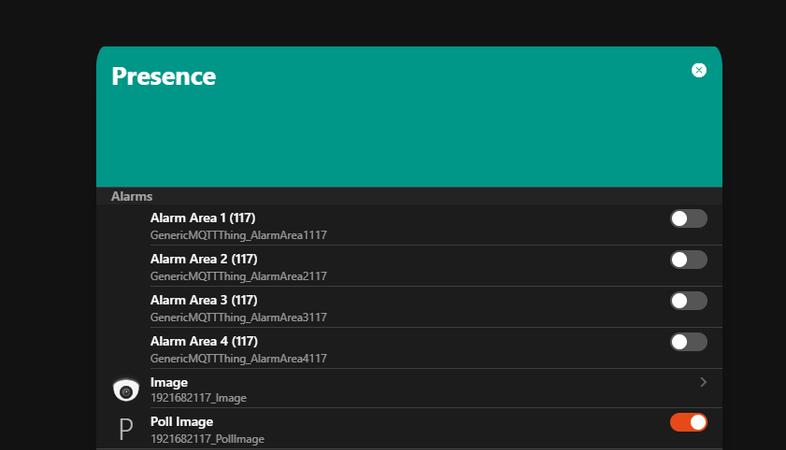
On the properties tab on my dashboard I am now able to see the Presence Property. Clicking on the Image Item allows me to access a snapshot from my camera:
Camera Control
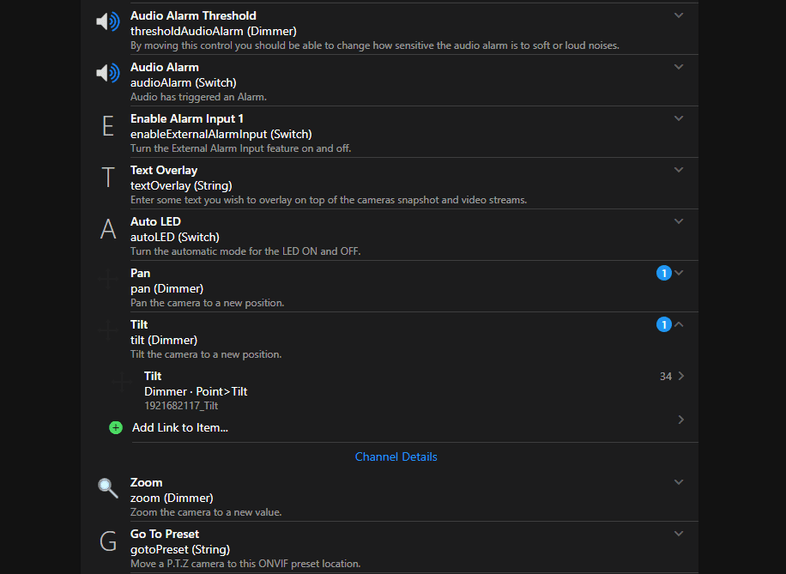
You can continue adding camera channels to take control over your camera from the OpenHab dashboard - e.g. the Pan&Tilt control:
