III-a Power & Ethernet Cable

Thread the 3m power and 3m Ethernet cable through the wall mount, screw cap, 2-holed sealing ring and the back plate of your camera.
III-b Sealing Ring

Press in the Sealing Ring.
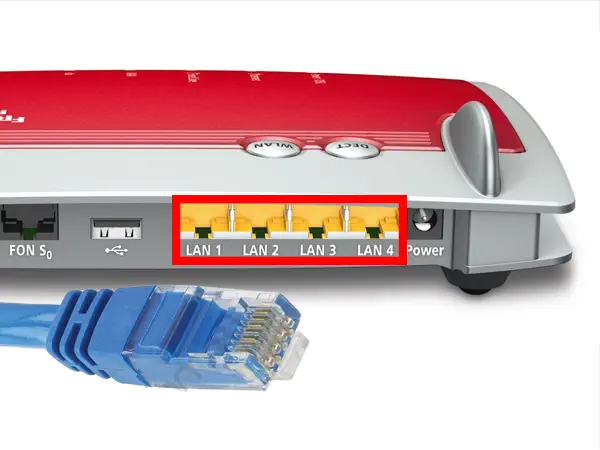
III-c Power, Ethernet & Antenna Cable

Plug in the 3m Power Supply and 3m Ethernet Cable. Fasten the Antenna Cable - if previously removed.


III-h Reassemble

Fasten the mainboard slide and use the 4 screws to mount the back plate back onto your camera casing. Screw the wall mount to the back of the camera.
III-i Internet Access

You need to Forward a Port inside your router, if you want to access your camera over its DDNS Address from the internet. Alternatively, you can use the P2P User ID to access your camera with our smartphone app (see Step 12 below).

III-l Final Installation

Install your camera and plug in the power supply. The camera should automatically reconnect itself to your WiFi network.