IN-6014 HD Point-2-Point Guide

Attach the WiFi antenna to the cameras antenna connector as shown here (#11). (only for the non-PoE Version!)
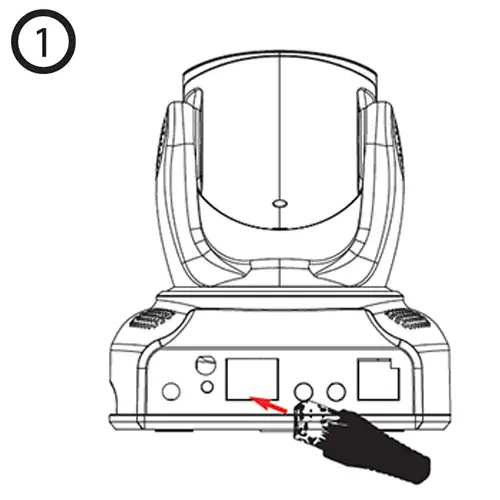
Plug in the power supply (#7). to start the camera. In case you are installing the PoE model, plug in the LAN cable (#12), connect it to your router and skip the WiFi section below.

Plug in the power supply (#7) to start the camera.

If your router supports the WPS (Wireless Protected Setup) function, please press the WPS button on the router, which looks similar to the example above. (only for the non-PoE Version!)

Press the cameras reset button for 3 seconds to activate the cameras WPS service (#9). Wait for max. 5min for the camera to connect to your WiFi network. If you press it for 10s, the camera will be reset to its factory defaults!

Start our Android, iOS or Windows Phone app Instar Vision. Choose to add a new p2p camera and start the QR code scanner. Your QR code is located on a label on the camera case (s. above).

The QR code contains all the necessary information to add your camera. Please be aware that the default login credentials will be used. If you want to change the default password, please check the Quick Installation Guide. The password can only be changed in the web user interface.
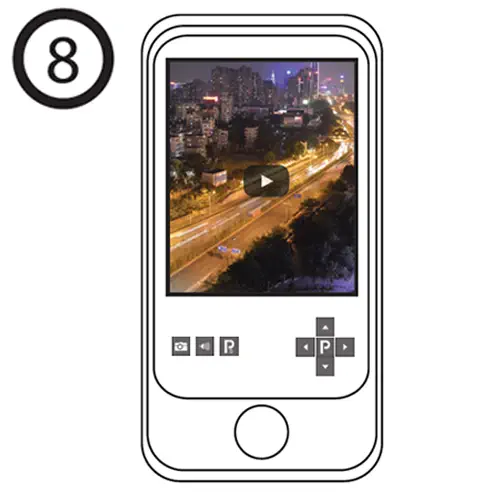
The app will now connect to your cameras live stream and you will be able to pan & tilt the device, as well as to activate the audio stream of the internal microphone and to take snapshots.
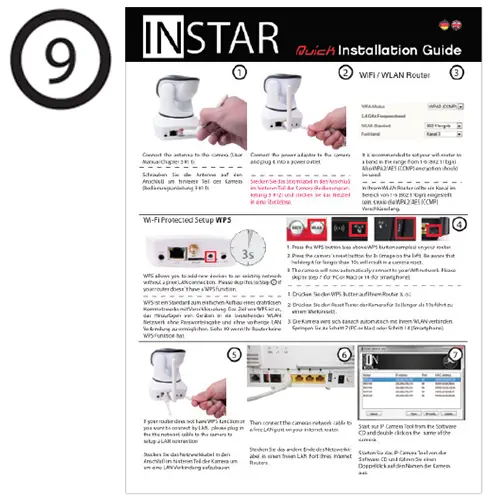
The WPS / P2P method allows you to quickly connect your camera and check the cameras live stream. Please refer to the Quick Installation Guide for instruction on how to access additional camera features.