Homebridge to Homekit without MQTT
Q: I found your guide to use Homebridge with INSTAR cameras. But this only works with Full HD cameras that have the MQTT interface. Is it possible to connect INSTAR HD cameras to Homekit as well?
Control your camera with Alexa terminal

We offer both a INSTAR Cloud Skill and a INSTAR Camera Skill in the Alexa Skill Store. For the INSTAR Cloud Skill, all you need is an INSTAR Cloud account and an Alexa device with a display. Add the Skill on your Alexa device and use it directly.
Control your camera with your iPhone or iPad

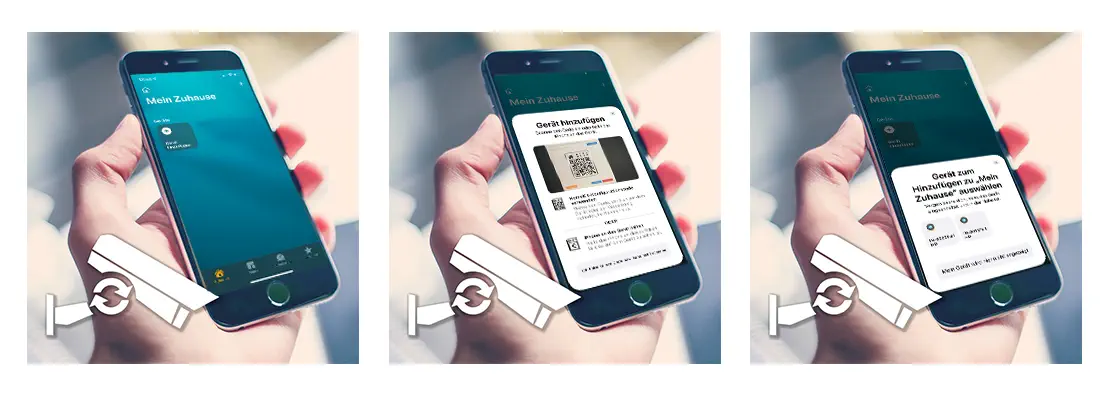
The connection to the Homekit service is available from firmware version 3.2(361) (June 2021) for all Full HD models. You can upgrade the firmware of your camera directly via the Web interface.
A: Yes - you can also use the HTTP interface (CGI Commands) to control your camera through Homekit applications. This can be done with the homebridge-http-switch that can be installed through the Homebridge UI - please read our Homebridge MQTT Tutorial for details on how to set up Homebridge with Docker:
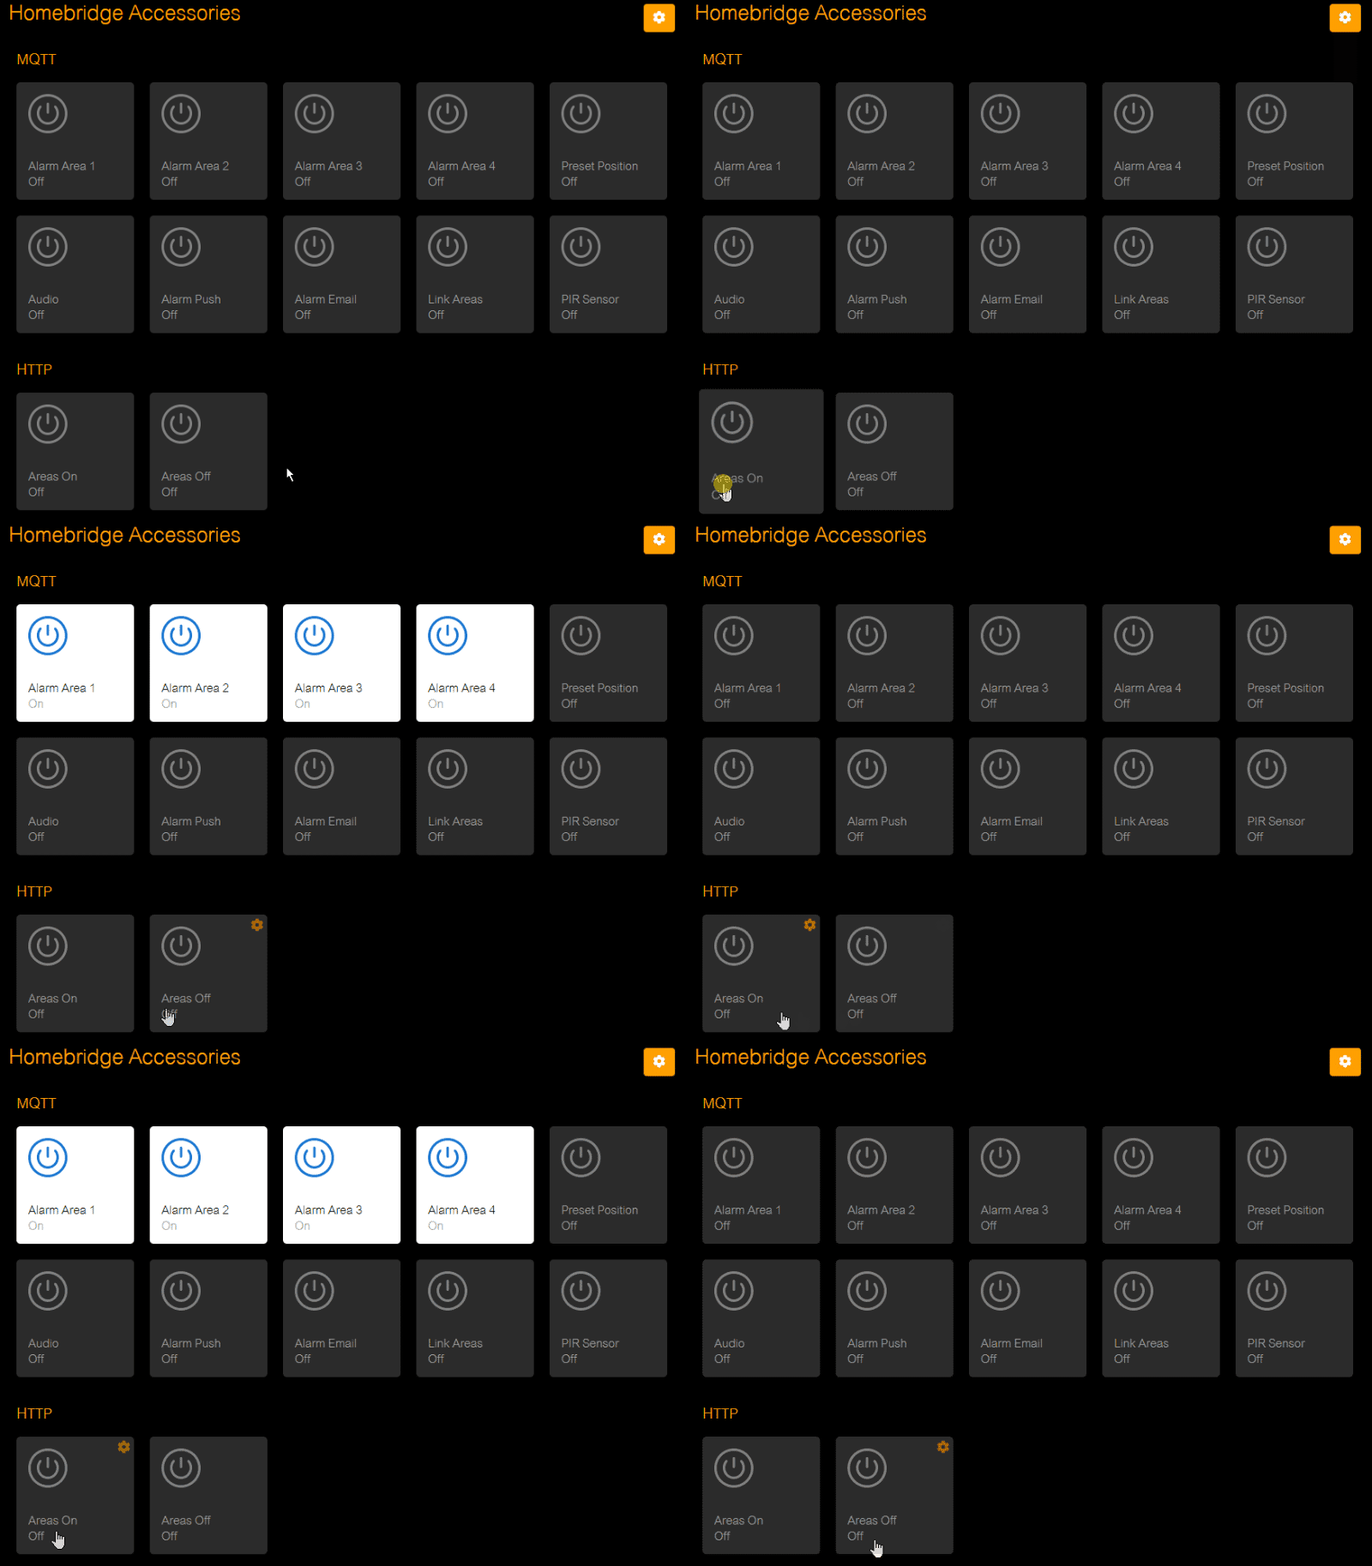
In our Homebridge MQTT Tutorial we now added MQTT Buttons to control our camera - simply replace them by HTTP switches as shown below:
{
    "bridge": {
        "name": "Homebridge",
        "username": "CC:22:3D:E3:CE:35",
        "manufacturer": "homebridge.io",
        "model": "homebridge",
        "port": 51826,
        "pin": "031-45-155"
    },
    "description": "This is an example configuration file with one fake accessory and one fake platform. You can use this as a template for creating your own configuration file containing devices you actually own.",
    "ports": {
        "start": 52100,
        "end": 52150,
        "comment": "This section is used to control the range of ports that separate accessory (like camera or television) should be bind to."
    },
    "accessories": [
        {
          "accessory": "HTTP-SWITCH",
          "name": "Areas On",

          "switchType": "stateless",
          "onUrl": [
            "http://admin:instar@192.168.2.117/param.cgi?cmd=setmdattr&-name=1&-enable=1&cmd=setmdattr&-name=2&-enable=1&cmd=setmdattr&-name=3&-enable=1&cmd=setmdattr&-name=4&-enable=1"
          ]
        },
        {
          "accessory": "HTTP-SWITCH",
          "name": "Areas Off",

          "switchType": "stateless",
          "onUrl": [
            "http://admin:instar@192.168.2.117/param.cgi?cmd=setmdattr&-name=1&-enable=0&cmd=setmdattr&-name=2&-enable=0&cmd=setmdattr&-name=3&-enable=0&cmd=setmdattr&-name=4&-enable=0"
          ]
        }
      ],
    "platforms": [
        {
            "name": "Config",
            "port": 8080,
            "auth": "form",
            "theme": "dark-mode",
            "tempUnits": "c",
            "lang": "auto",
            "sudo": false,
            "accessoryControl": {
                "debug": true
            },
            "platform": "config"
        }
    ]
}
Pressing the Areas On button will switch all alarm detection areas on our camera with the IP address 192.168.2.117 and the admin login admin / instar on. The Areas Off button will reverse it.
The CGI Command for this action is:
/param.cgi?cmd=setmdattr&-name=1&-enable=1&cmd=setmdattr&-name=2&-enable=1&cmd=setmdattr&-name=3&-enable=1&cmd=setmdattr&-name=4&-enable=1/param.cgi?cmd=setmdattr&-name=1&-enable=0&cmd=setmdattr&-name=2&-enable=0&cmd=setmdattr&-name=3&-enable=0&cmd=setmdattr&-name=4&-enable=0You are now able to operate all camera functions through buttons in the Homekit UI using the INSTAR CGI Commands.

