Kerberos.io video surveillance and INSTAR cameras
Installation with Docker
Keberos offers a number of ways to install the software. The recommended way is via a Rapsberry Pi image. This just needs to be "burned" onto an SD card and the Pi then booted. For more information, please see the Kerberos Online Documentation. I will now go the Docker route here. Docker must be installed on the system. This path can then be used under LINUX as well as Windows and macOS.
Download
Start by pulling the appropriate image from the Docker Hub:
docker pull kerberos/kerberosNow you can start up an instance (container) of this image for each of your cameras:
docker run --name garage -p 8080:80 -p 8889:8889 -d kerberos/kerberosRunning the Software
This will start a container named garage (as an example - name the container so that you can associate it with a camera). That provides the web interface on port 8080 and the MJPEG video stream of the camera on port 8889. If you want to add more cameras, start a separate container for each with a unique port:
docker run --name frontdoor -p 8081:80 -p 8890:8889 -d kerberos/kerberos
docker run --name garden -p 8082:80 -p 8891:8889 -d kerberos/kerberos
You will then find the web interface of these cameras under the port 8081 and 8082 and the video stream under 8090 and 8091. I.e. if you open your web browser on the same computer on which you started the containers, you can access the cameras via the following URLs:
http://localhost:8080
http://localhost:8081
http://localhost:8082
From another computer on the same network, simply replace localhost with the local IP of the computer running the Docker container.
Note that Docker will delete all data created by the software inside the container when you remove the container. If you want to keep the data, you need to "mount" a so-called volume in the container. This turns the command to run the container UNDER LINUX for the garage camera into:
docker run --name garage \
-p 8080:80 -p 8889:8889 \
-v /opt/kerberos/config:/etc/opt/kerberos/config \
-v /opt/kerberos/capture:/etc/opt/kerberosio/capture \
-v /opt/kerberos/logs:/etc/opt/kerberosio/logs \
-v /opt/kerberos/webconfig:/var/www/web/config \
-d kerberos/kerberos
You can see that 4 volumes are assigned to the container here, which can all be found on our Linux PC under /opt/kerberos. This folder must be created by us and the Docker user must have write access to it!
mkdir -p /opt/kerberos/{config,capture,logs,webconfig}Configuration of the Camera
We have now started a container that can be reached via port '8080' with our web browser. Since I started the container on the server with the IP 192.168.2.111, I can access the Kerberos web interface via the following address:
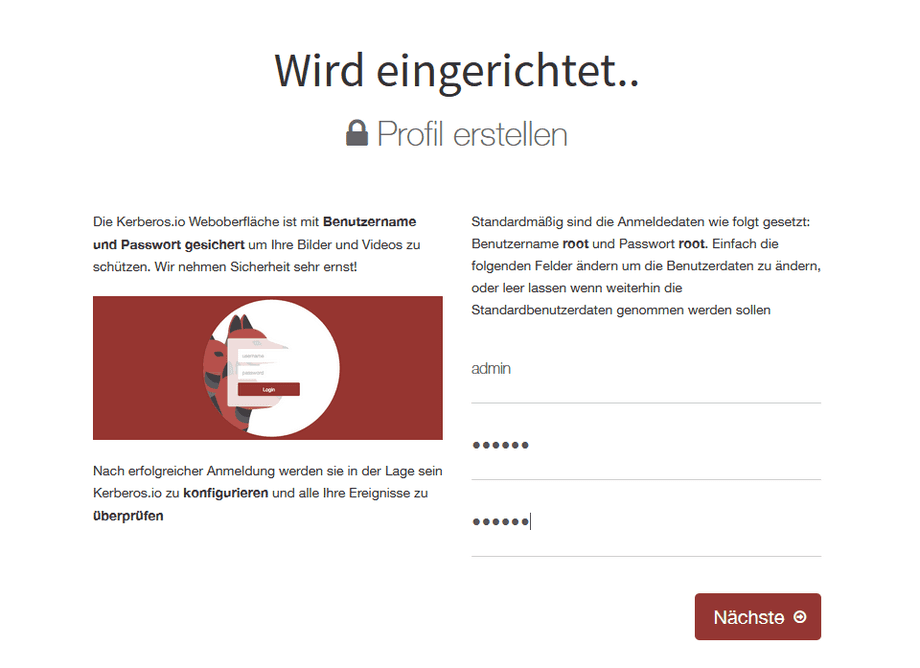
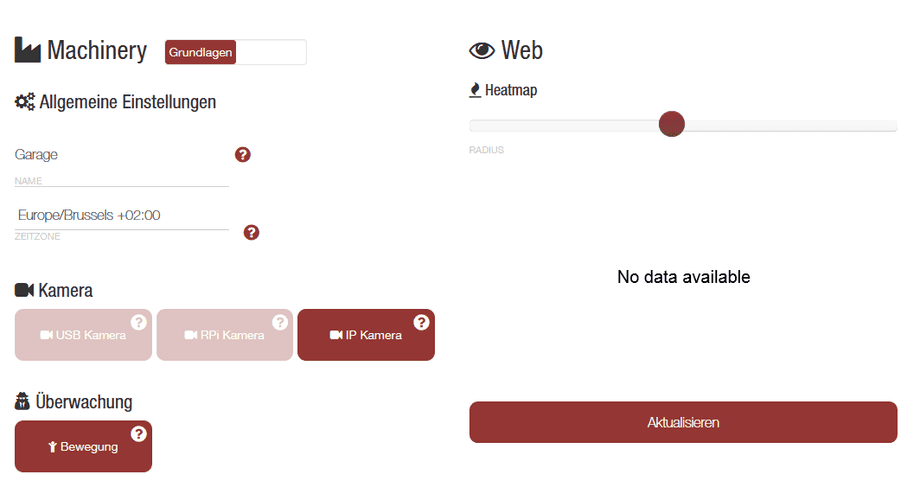
http://192.168.2.111:8080After creating a user, I can log in with this user and start configure the camera on the Configuration tab:
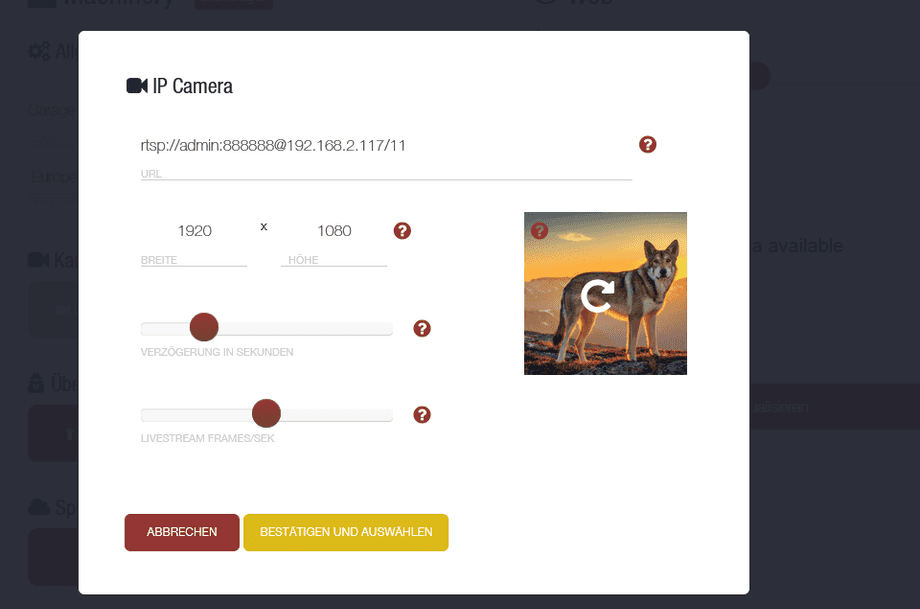
Click on IP Camera to add the access data for your INSTAR IP camera:
Here you need the RTSP video stream of your camera. At this point I take the /11 stream, which provides me with the full resolution of the camera - for Full HD cameras this is the 1920x1080 stream. Confirm the entries and don't forget to press Update in the Configuration menu at the bottom left to save the entries (not at the bottom right - this Update button only updates the snapshot above. However, as you have not saved the data at this point, it will not be displayed there).
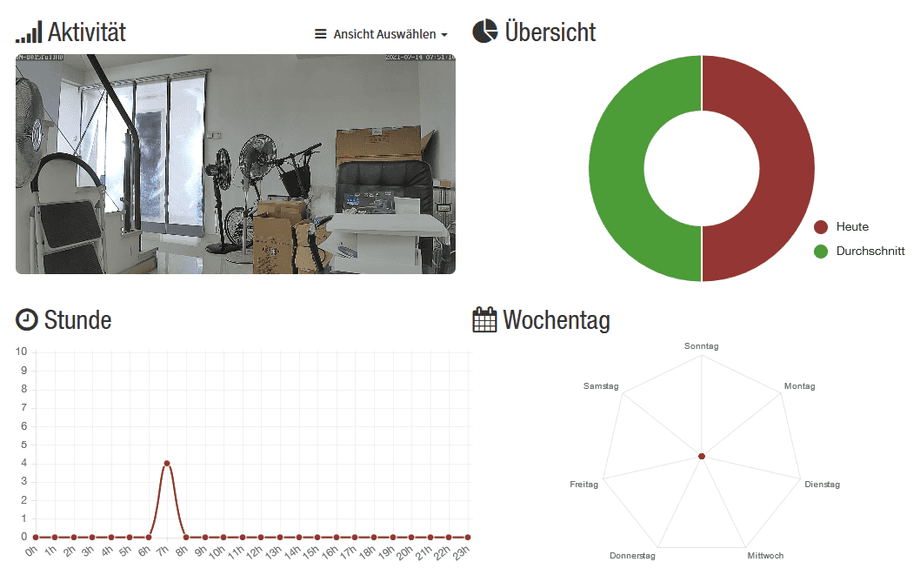
It will take a moment for Kerberos software to start providing the stream - switch to the Dashboard tab and refresh the tab until the camera is displayed:
Motion Detection
Back on the Configuration tab, we can now press the Motion button under Surveillance to set the alarm actions:
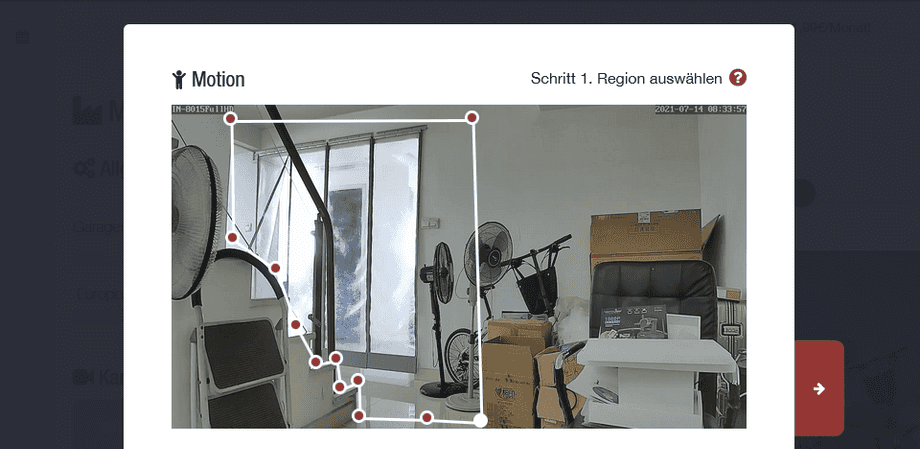
First you can draw an area in the camera snapshot in which the motion detection should operate:
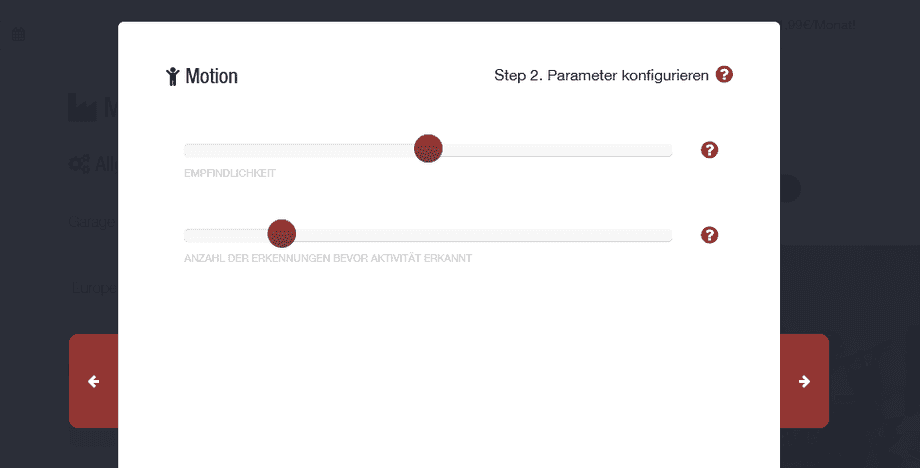
Set the sensitivity and threshold of the detection here:
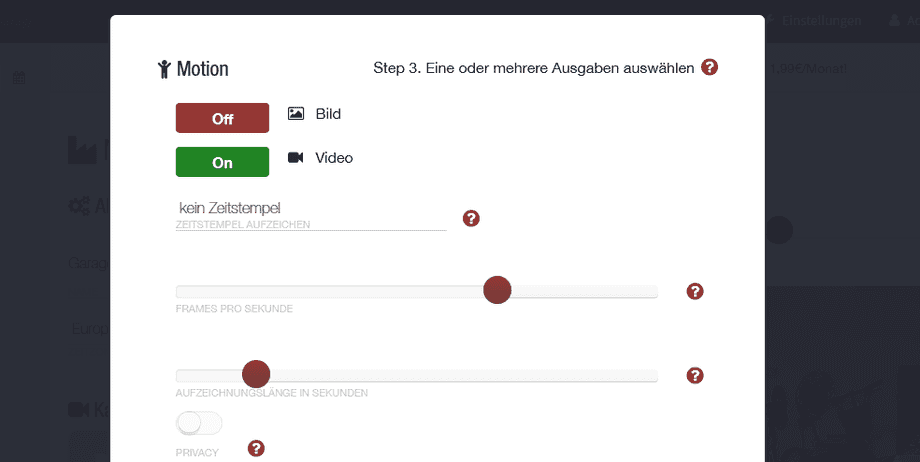
In the next step, you can specify whether you only want snapshots or also alarm videos, whether the software should "burn" a time stamp into the video image and how long the camera should record in the event of an alarm:
Alarm Notifications
Kerberos offers you 4 optional notifications:
- HTTP Alarmserver (Webhook): Contact an HTTP address in your automation software to trigger further actions there. Here we have an example of how you can integrate the INSTAR HTTP alarm server of your camera into Node-RED - this will work the same way with the Kerberos webhook.
- Script: Run any shell script on your Linux system (the Linux system here is the one that is running inside the Docker container!).
- GPIO: If you have installed Kerberos on a Rapsberry Pi, you can let the software directly address the pins on the mainboard and thus operate a device that is connected to the Pi via these pins.
- MQTT: For example, enter the INSTAR MQTT Broker of your camera here. If you have integrated your camera into an automation system via MQTT, you can add another MQTT topic with which you can react to events.
Example: Alarm notification via MQTT:
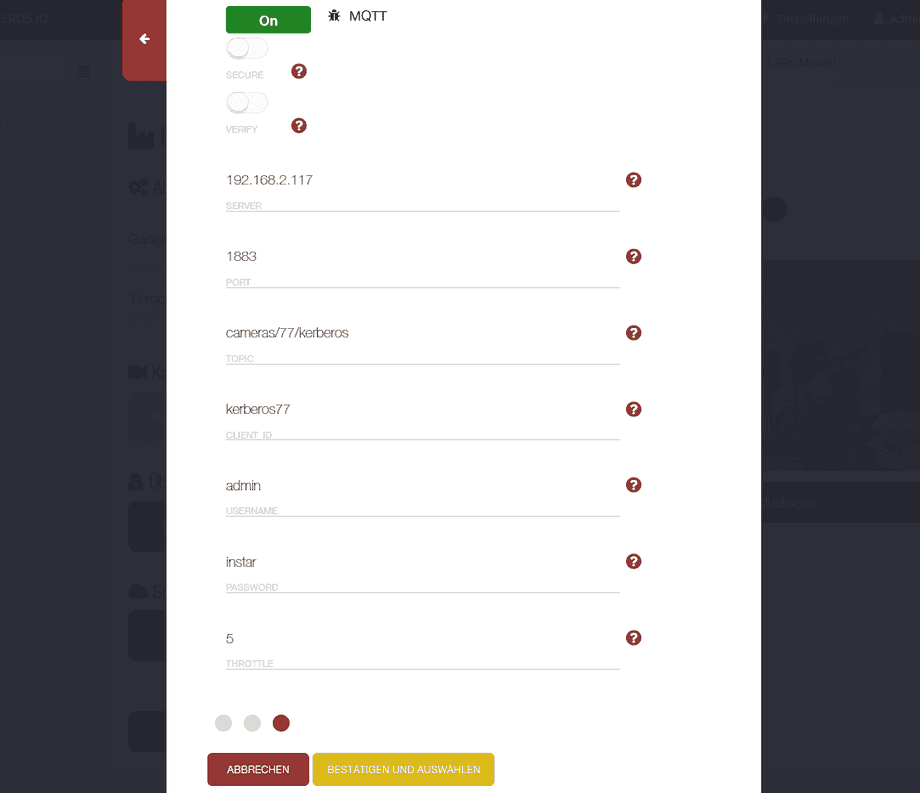
If you select MQTT as the notification form, you will see the following menu:
Enter the access data for your MQTT broker here. The easiest way to do this is to use the INSTAR MQTT Broker directly:
- Server: IP address of your camera.
- Port: Port of the MQTT broker, by default this is the TCP port
1883(or8883if you have activated encryption). - Topic: Enter an MQTT topic here that Kerberos should update in the event of an alarm - for example
cameras/garage/kerberos(it is best not to use special characters). - Client ID: Kerberos must log on to your MQTT broker with a client name (it is best not to use special characters).
- Username: The user name with which Kerberos can log on to your MQTT broker must be entered here.
- Password: The user password with which Kerberos can log in to your MQTT broker must be entered here.
- Throttle: To prevent a continuous alarm (e.g. if there is movement in front of the camera for a long time), you can define a cool-down in seconds between triggers here.
Confirm the entries AND DON'T FORGET to also click on Update at the bottom left of the Configuration tab to save the entries.
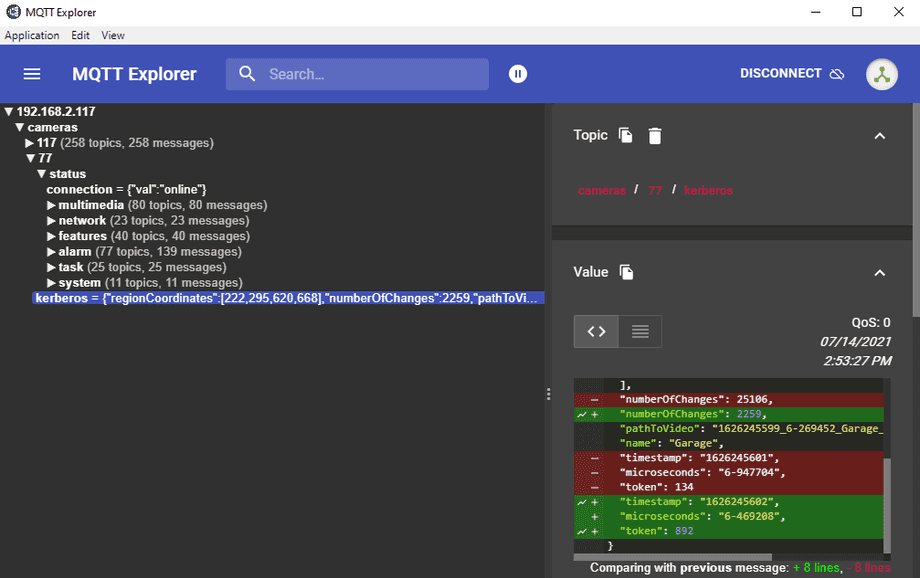
Every time an alarm is triggered, I now also see a message from Kerberos in the MQTT Explorer:
With the following information:
{
    "regionCoordinates": [
        537,
        472,
        575,
        583
    ],
    "numberOfChanges": 69,
    "pathToVideo": "1626245349_6-879541_Garage_537-472-575-583_69_215.mp4",
    "name": "Garage",
    "timestamp": "1626245349",
    "microseconds": "6-889345",
    "token": 215
}
Alarm Recordings
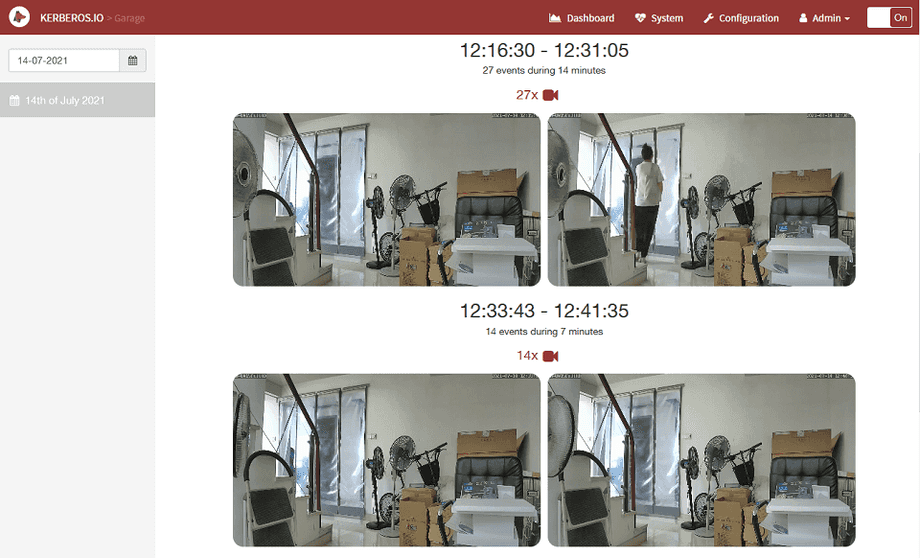
You can view the video recordings of your camera under the Dashboard tab after you have selected a date in the input field at the top left:
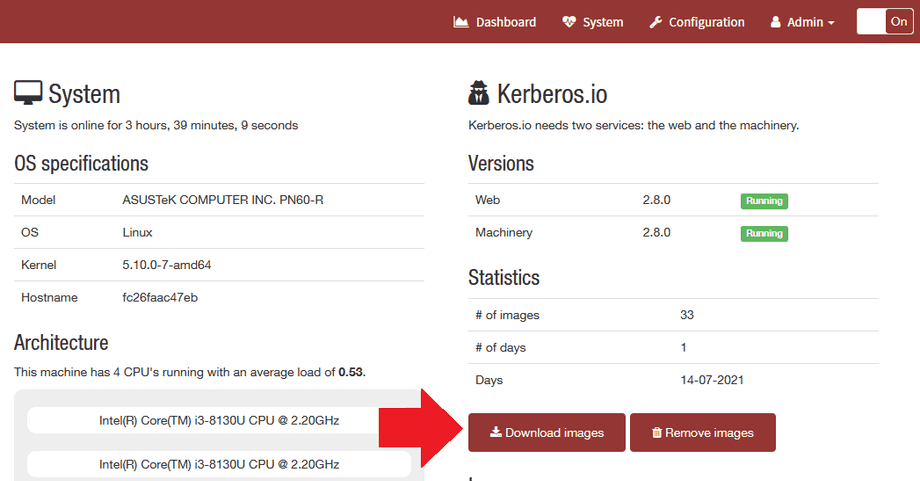
If you switch to the System tab, you can download the alarm recordings of your camera and delete them from the server:
Videostreaming
Kerberos provides the video stream of your camera in MJPEG format. This has an advantage because it allows you to circumvent the limit of a maximum of three simultaneous accesses to the camera. So we can let Kerberos access the camera directly and then serve the stream from Kerberos to a large number of clients - the camera will only see one access at a time, regardless of the number of clients.
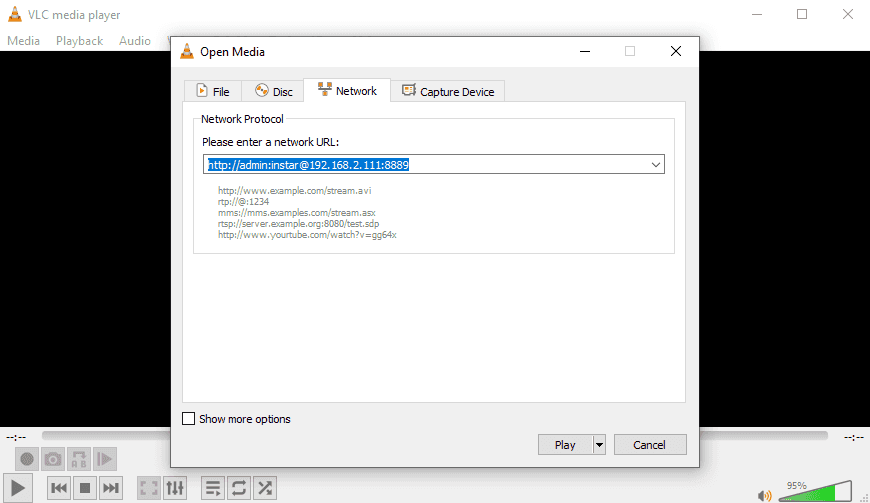
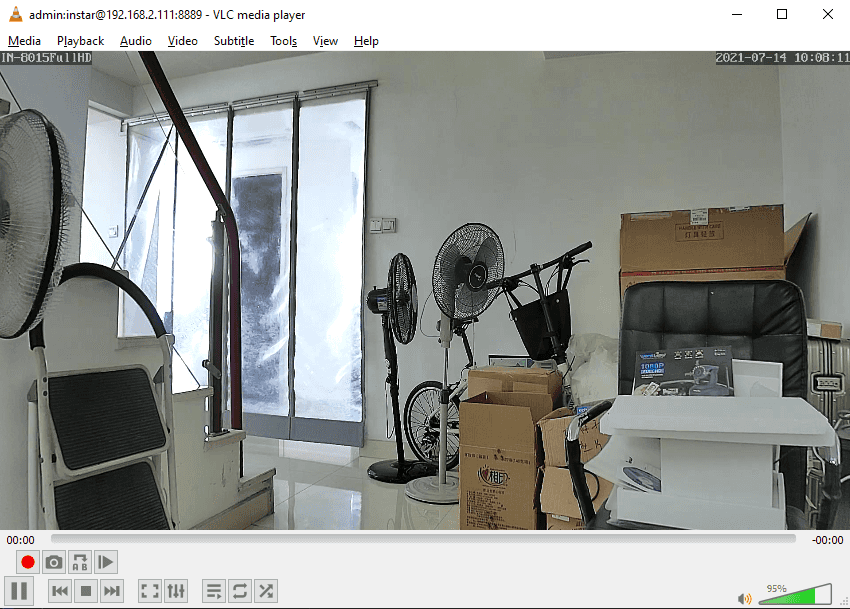
You can test this, for example, with the VLC Player. Open VLC Player and select to play a network stream:
The MJPEG stream is output via HTTP and we had set the streaming port 8889 for the camera garage above. If the IP address of the server (running Kerberos) is 192.168.2.111 and you have chosen admin/ instar as the Kerberos login, the Streaming URL would be:
http://admin:instar@192.168.2.111:8889After you have pressed Play, the MJPEG stream will be played from Kerberos:
