Alexa and Monocle Gateway for the Echo 5
- Part 1: Installation of the Monocle Gateway (Windows)
- Part 1: Installation of the Monocle Gateway (Debian)
- Part 2: Add exception in AVM Fritzbox and possibly other routers
- Part 3: Create camera in Monocle platform
- Part 4: Add Monocle in Alexa
- Part 5: Access to the camera (s)
- Part 6: Known problems or peculiarities
To connect to the cameras (HD and FullHD series) e.g. With an Echo Show 5 it is necessary to use Monocle's Monocle Gateway. The gateway creates an interface so that Alexa devices can access the cameras. If you are using an Echo Show 2, an Echo Dot, or any other Echo device that is older than the Echo Show 5, you can skip this step and continue with Part 3.
Starting with the Echo Show 5, Amazon requires access via port 443 with HTTPS encryption, so your Echo Show can only access via HTTPS and is not able to directly access the RTSP stream locally from the surveillance camera.
If you have an old PC that you can run permanently, you can use it, otherwise we recommend a small Raspberry PI Linux based PC which is energy saving and can be used as a gateway.
Control your camera with Alexa terminal

We offer both a INSTAR Cloud Skill and a INSTAR Camera Skill in the Alexa Skill Store. For the INSTAR Cloud Skill, all you need is an INSTAR Cloud account and an Alexa device with a display. Add the Skill on your Alexa device and use it directly.
Control your camera with your iPhone or iPad
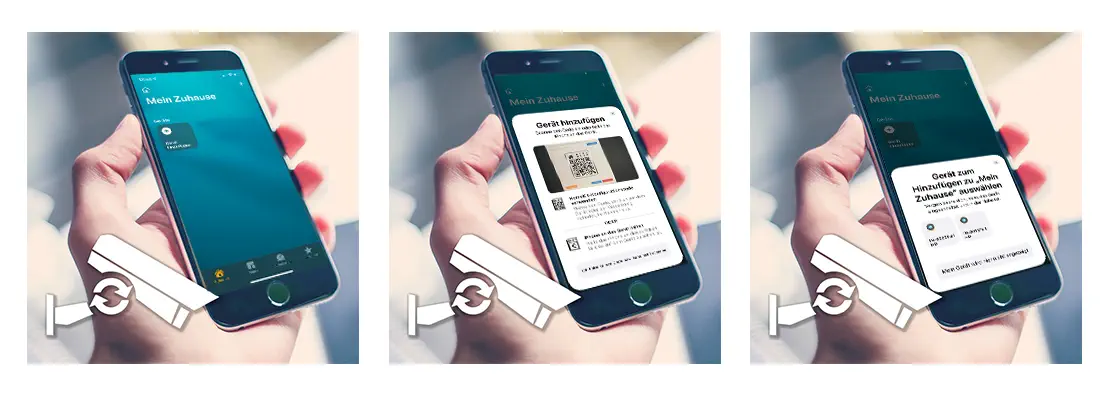
The connection to the Homekit service is available from firmware version 3.2(361) (June 2021) for all Full HD models. You can upgrade the firmware of your camera directly via the Web interface.
Part 1: Installation of the Monocle Gateway (Windows)
We show you how to install the Monocle Gateway on Windows. The procedure is identical in itself under each Windows based system. So, if you, for example, Use Windows 10, the procedure would be the same as in Windows 7.
You will find all Monocle files here as well as a English manual.
- As a prerequisite that the gateway runs correctly under Windows, it is necessary that "Microsoft Visual C ++ 2010 Runtime Dependencies" are installed on your Windows system. Otherwise you can find this on the Microsoft website or here:
- If the requirements are now met, download the latest version of the Monocle Gateway. These can always be found on the Monocle website at this link.
The direct link to download the most current version would be:
Save the file to a desired directory on your computer:
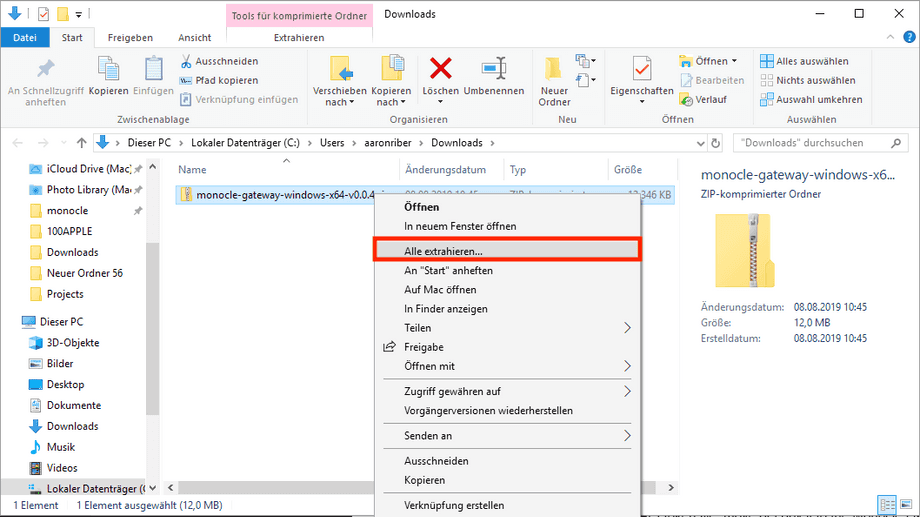
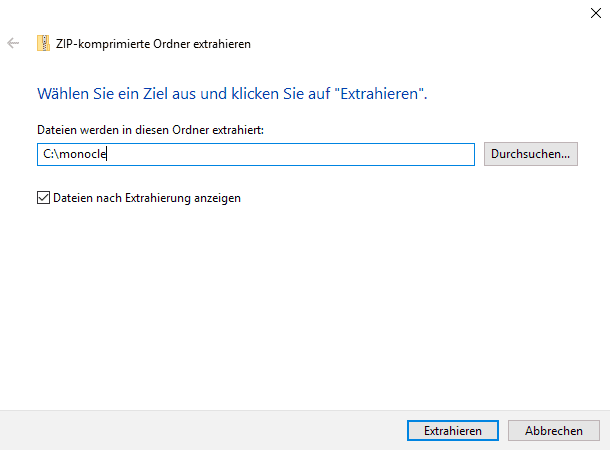
Now unzip the ZIP file that has just been downloaded to a directory such as C:\monocle. It is important that all files are unzipped.
Now you need to create an access token for the Monocle API. This is half as wild. Go to the website of Monocle which you can find here.
If you have not yet registered there, please do so and create a free account.
The website is unfortunately in English, but the registration should be relatively self-explanatory.
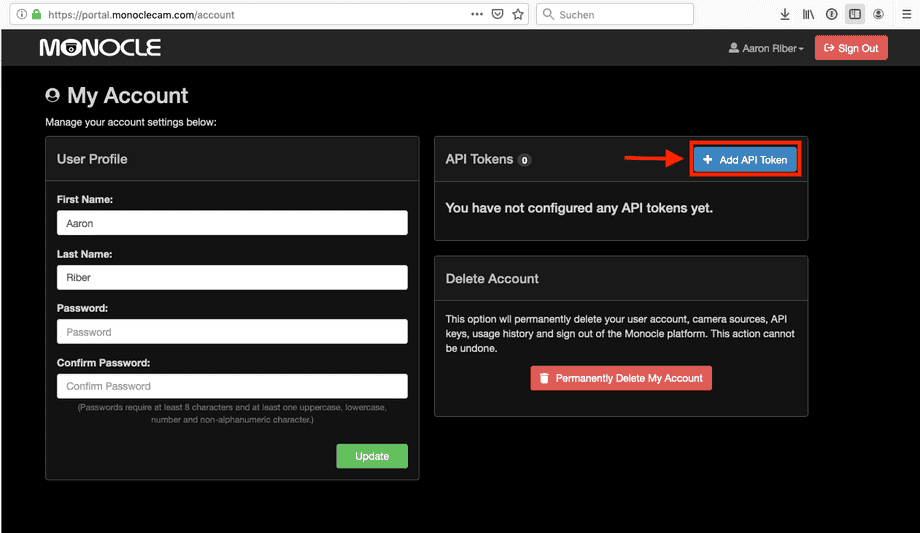
After registering, please log in to the platform with your access data and go to the top right of your username and there on My Account.
There you will find the point API Tokens in the right area.
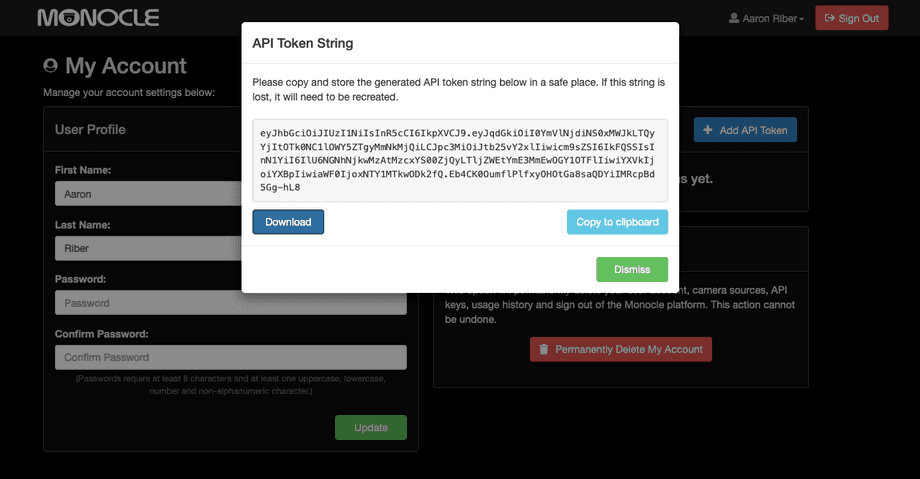
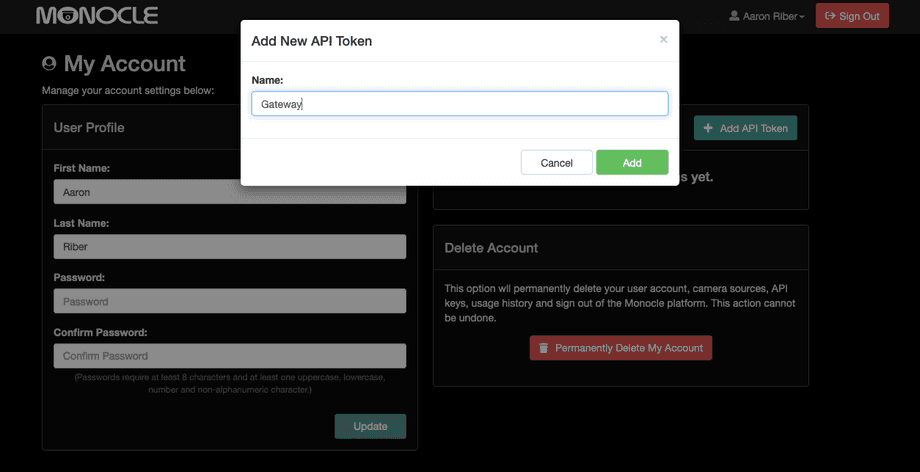
Click on the blue button + Add API Token.
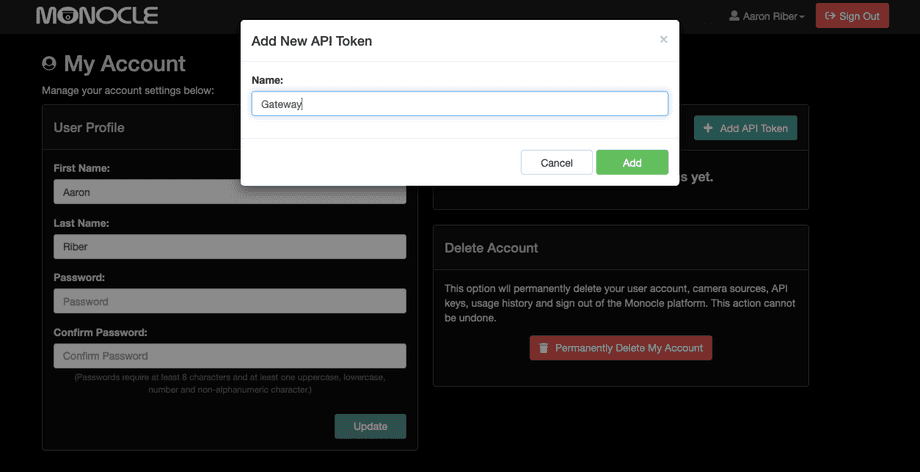
As a name, give Gateway.
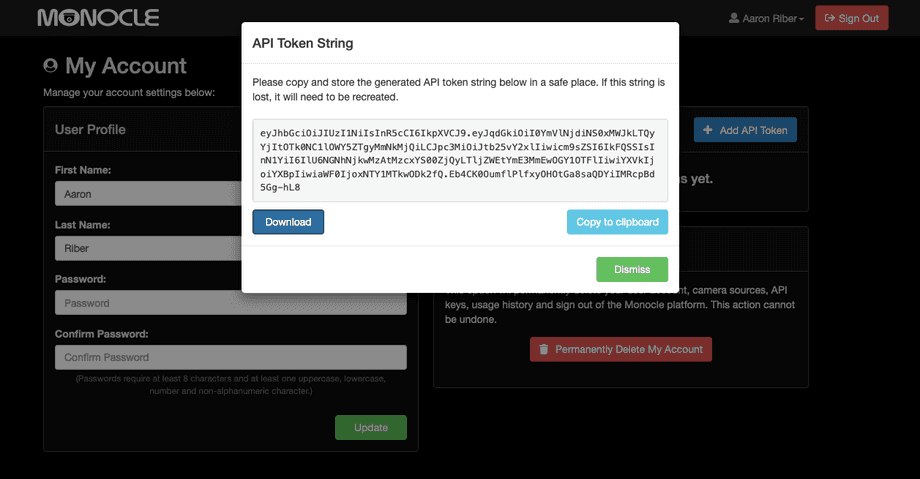
In the next step, you can now download the API token and save the file in the same directory where you unpacked the files before. It is very important that the file is saved in the same directory.
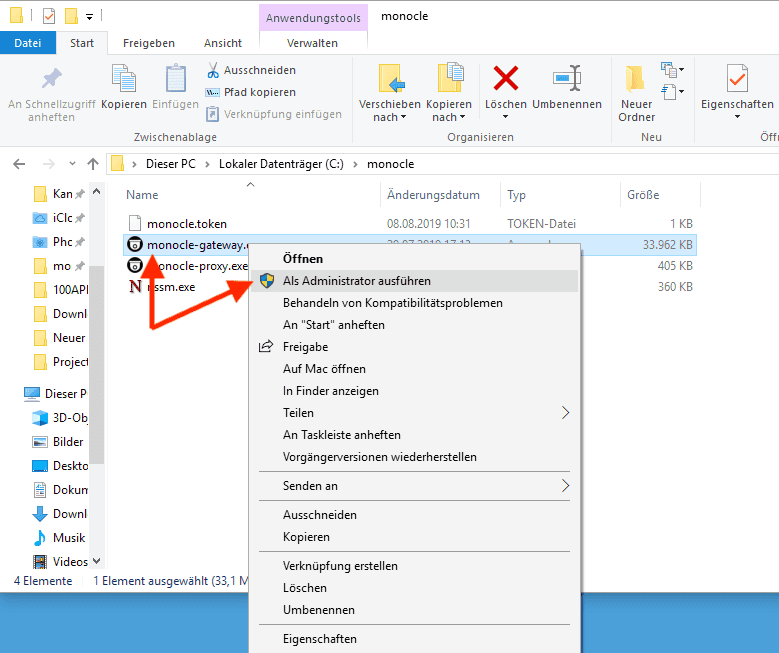
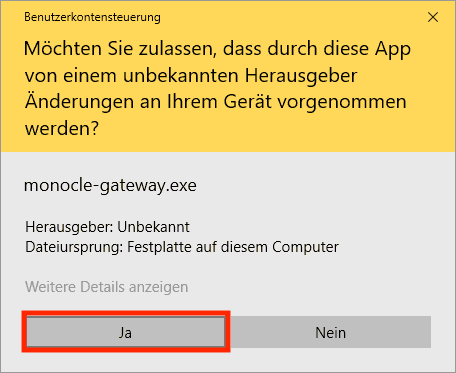
- Now you can start the file monocle-gateway.exe with a right-click and then "Run as administrator". It is important that the file is opened as administrator.
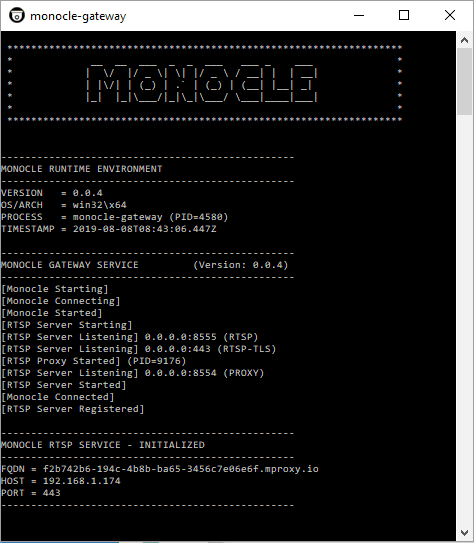
- If you have correctly created the API access in step 4 and stored it in the same directory, the gateway will start now and you will get the message "Monocle RTSP Service - Initialized". If you receive this message, everything is fine.
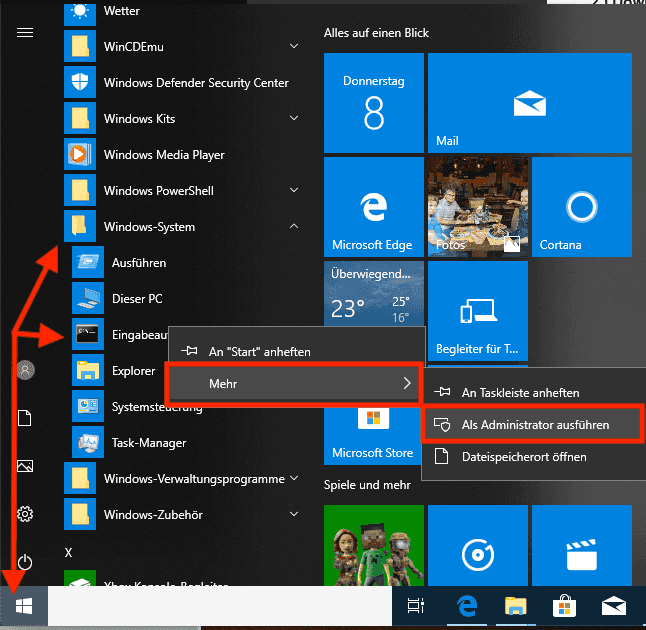
In order to tell Windows that Monocle should always be opened at startup, it is still necessary to install the program as a service. To do this, you would now need to open the command prompt as administrator. To do this, please go to Windows on the bottom left of Windows on the Windows flag and then on "Windows system" and there with the right mouse button on "Command Prompt" and select there "More - Run as administrator".
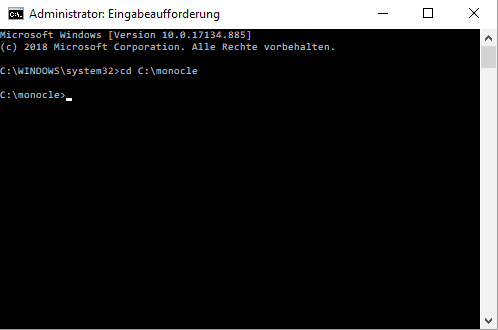
In the window that opens, change to the directory where the Monocle Gateway is located. In our case, under C:\monocle
To change to a directory, you must enter, for example,
cd C:\monocleWith the command:
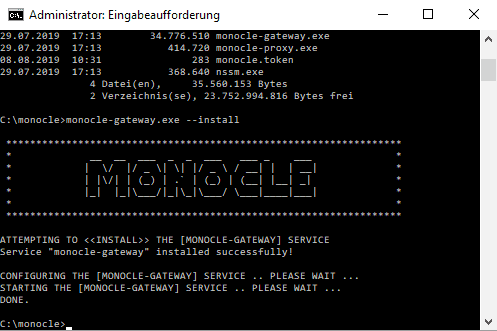
diryou can display all files in this directory. To install the Monocle Gateway as a service, enter the following command:
monocle-gateway.exe --installThis installs the gateway as a service.
You have now completed everything and can continue with the next part 2.
Part 1: Installation of the Monocle Gateway (Debian)
We show you how to install the Monocle Gateway on Debian. The procedure is identical in itself under any Debian based system. So, if you, for example, Use Ubuntu, the procedure would be the same in itself.
You will find all files from Monocle here as well as a English manual.
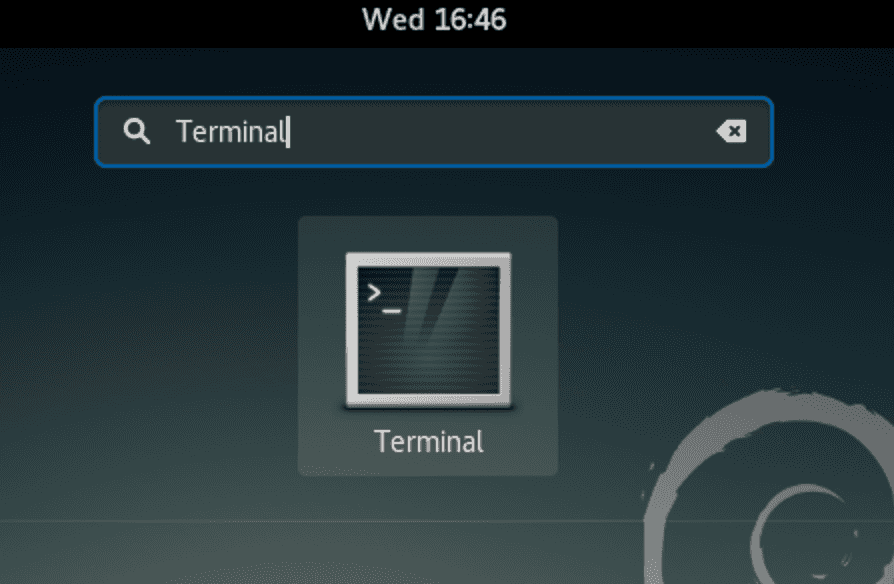
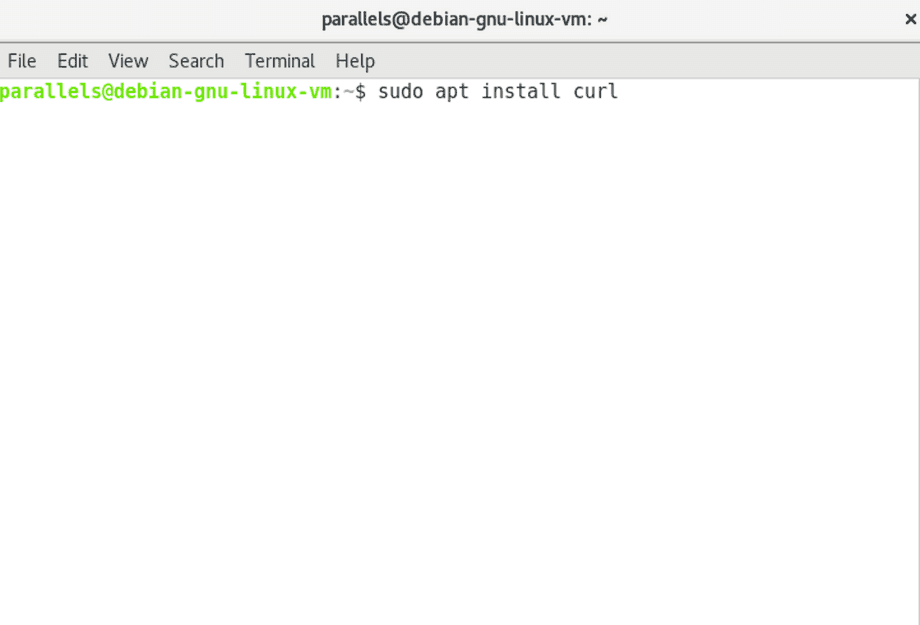
- Open the terminal under Debian. To download the file from Monocle for the Gateway, you need the program Curl. If Curl is not already installed, please use the following command:
sudo apt install curlAfterwards the program Curl will be installed.
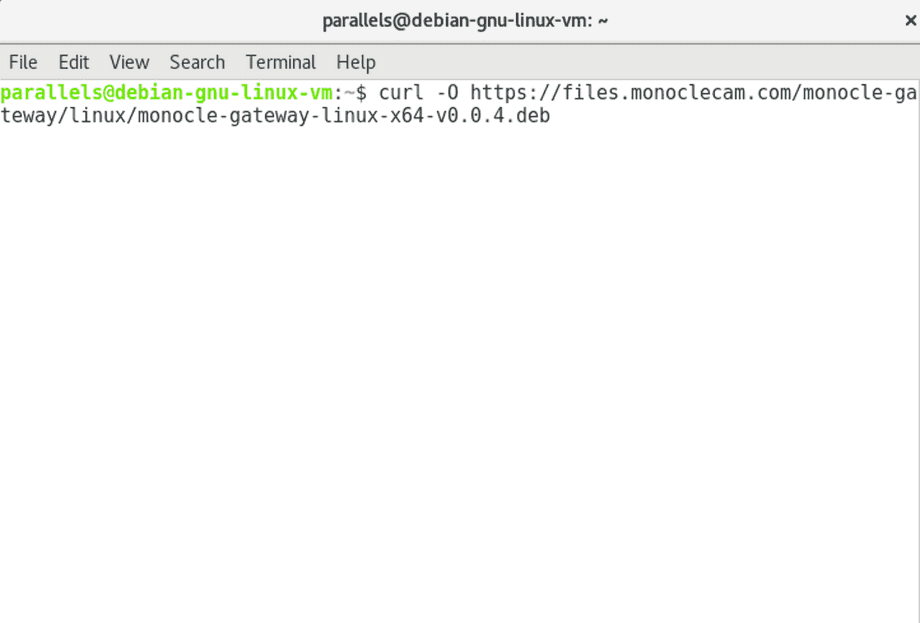
- Now go to the website of Monocle (see link above) and copy there the path to the latest version of the gateway. The path to the latest version for Debian would be the following, copy this command and paste it into the terminal:
curl -O https://files.monoclecam.com/monocle-gateway/linux/monocle-gateway-linux-x64-v0.0.4.debThe Monocle Gateway will then be downloaded in the current version.
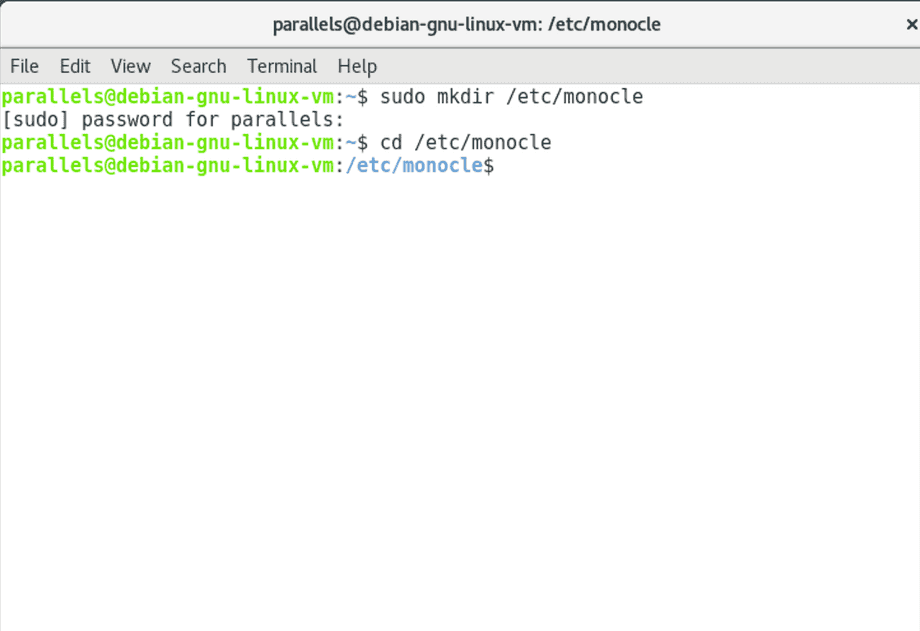
- Next, create a directory where you can immediately set the access for the gateway to communicate with the Monocle platform (API), using the following command:
sudo mkdir /etc/monocleIt creates a folder monocle under /etc/.
- Now you need to create an access token for the Monocle API. This is half as wild. Go to the website of Monocle which you can find at https://monoclecam.com/.
If you have not yet registered there, please do so and create a free account.
The website is unfortunately in English, but the registration should be relatively self-explanatory.
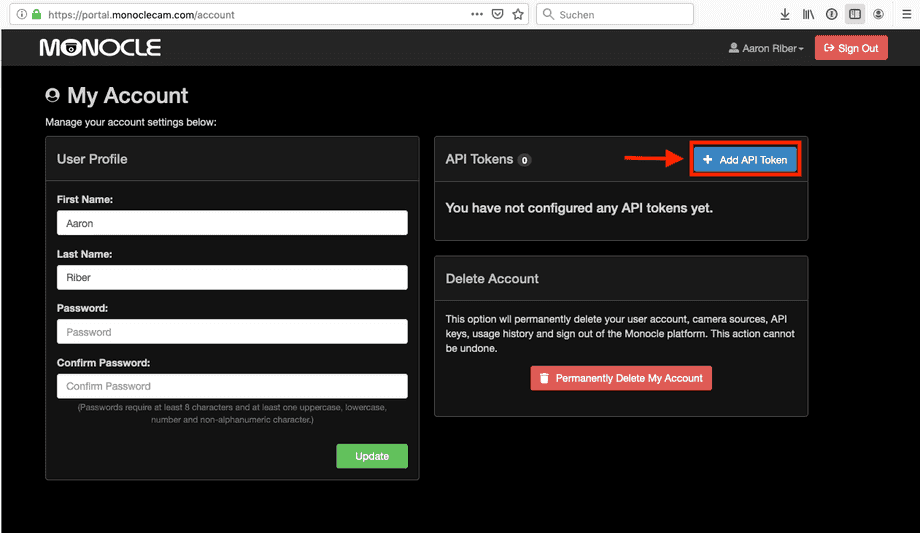
After registering, please log in to the platform with your access data and go to your username in the upper right corner and then click My Account
There you will find the point API Tokens in the right area.
Click on the blue button + Add API Token:
As a name, assign Gateway:
In the next step, you can now either download the API token by pressing Download or you can create the file manually. I explain to you in this step how to create the file manually.
Click Copy to clipboard. Now please go back to the terminal and change to the directory we created earlier. Use the following command:
cd /etc/monocleHere we create a file called monocle.token. To do this, use the following command:
sudo vi monocle.tokenThis opens the VI Editor under Linux. Now press the key "i" which stands for insert. This allows us to insert text now. Now add the API token that you previously copied from the Monocle website. After inserting this, press the ESC key. Then enter:
:wqto save the file with the w (write) and quit the VI Editor with q (quit).
If you have downloaded the token directly instead of creating it as described above, please make sure that you have saved the downloaded file in the folder /etc/monocle.
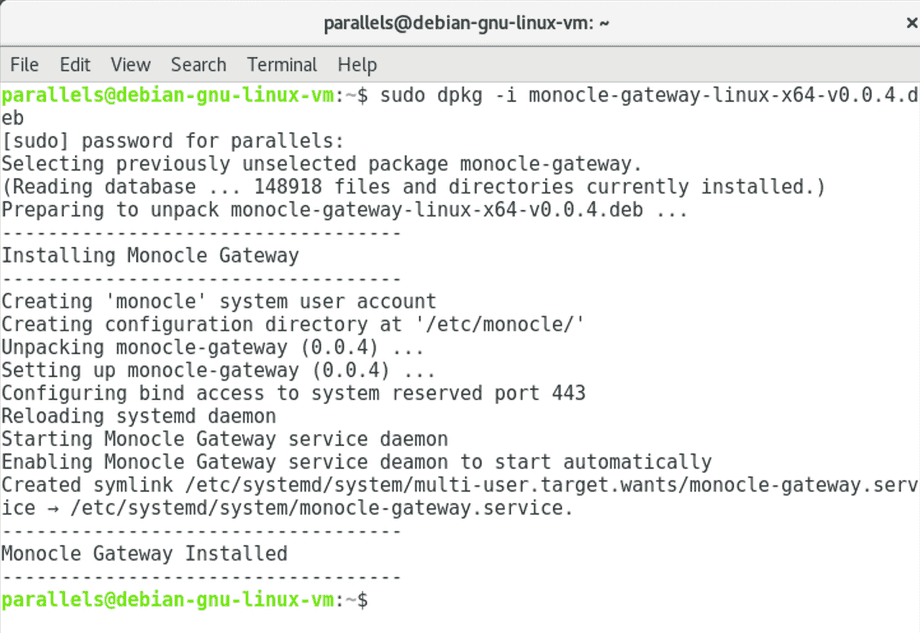
- Now we are ready to install the Monocle Gateway. Make sure you are in the directory where you have previously downloaded the gateway file via curl. Then use the following command to install:
sudo dpkg -i monocle-gateway-linux-x64-v0.0.4.debThe Monocle Gateway is now installed.
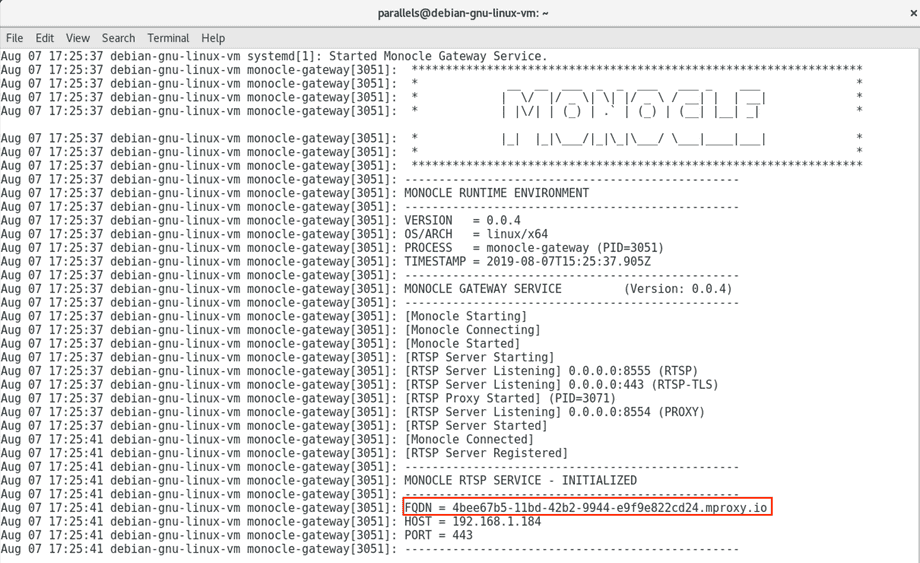
- To check that it is running, use the following command:
sudo monocle-gateway --tailThe whole thing would have to look something like this:
To exit the view, hold down CTRL and then press C to end a process on Linux.
To make sure that the Monocle Gateway is started when booting from Linux, we recommend the following command:
sudo monocle-gateway --enable- We have now done everything so that the Monocle Gateway runs on Linux. Now we continue with step 2 if you have an AVM Fritzbox. If your routers do not block DNS requests by default, you can also proceed directly to Part 3.
Part 2: Add exception in AVM Fritzbox and possibly other routers
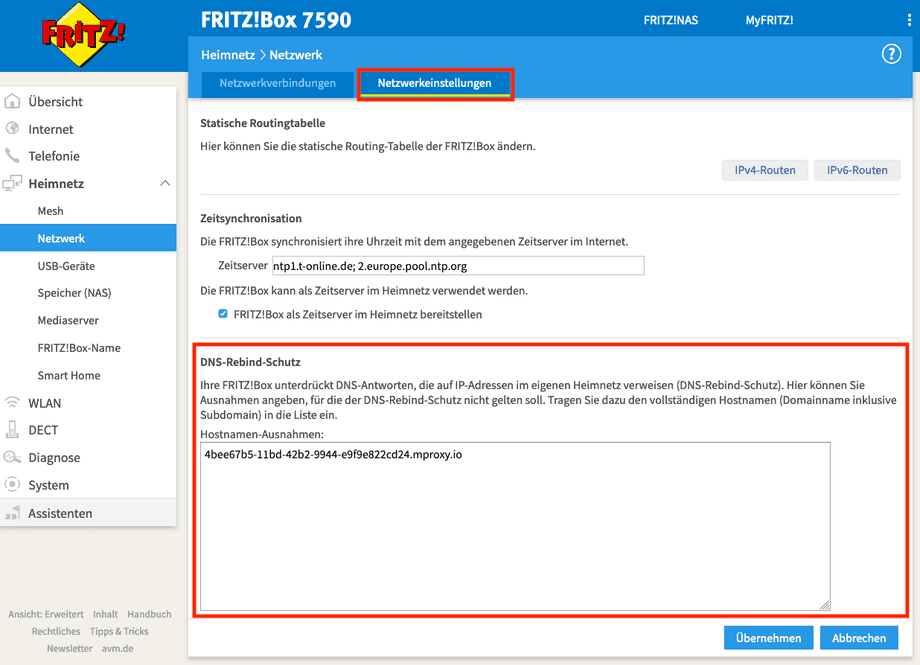
If you have started the Monocle Gateway, you will see a FQDN address there. This address must be added to the exceptions in the AVM Fritzbox because otherwise local DNS servers are blocked.
However, this step is very important because otherwise the requests of the Echo Show would not arrive at the cameras and the gateway would not work.
Open the Fritzbox in the web browser, either by typing http: // fritz.box in the web browser or directly opening the IP, e.g. http: // 192.168.178.1 unless you have changed it.
On the left side, go to Human Network - Network and then to the tab Network Settings. Please go to the bottom of the page where you will find the section DNS-Rebind-Schutz. Here you must enter now the FQDN address which you get displayed at the Monocle Gateway. Copy them there and insert them as shown in the screenshot.
Then click on Übernehmen in the bottom right corner to save the whole thing. We recommend the Fritzbox then restart once so that the settings are active. Either by pulling off the power briefly in the Fritzbox or you can also in the web interface on System - Backup go and there on the tab Neustart to restart the AVM Fritzbox.
Continue with Part 3.
Part 3: Create camera in Monocle platform
To access the camera with our Alexa Show, we need an account at https://monoclecam.com/. If you have not yet created an account and skipped parts 1 and 2, please create an account now and register on the platform. After registering, please log in to the platform with your account.
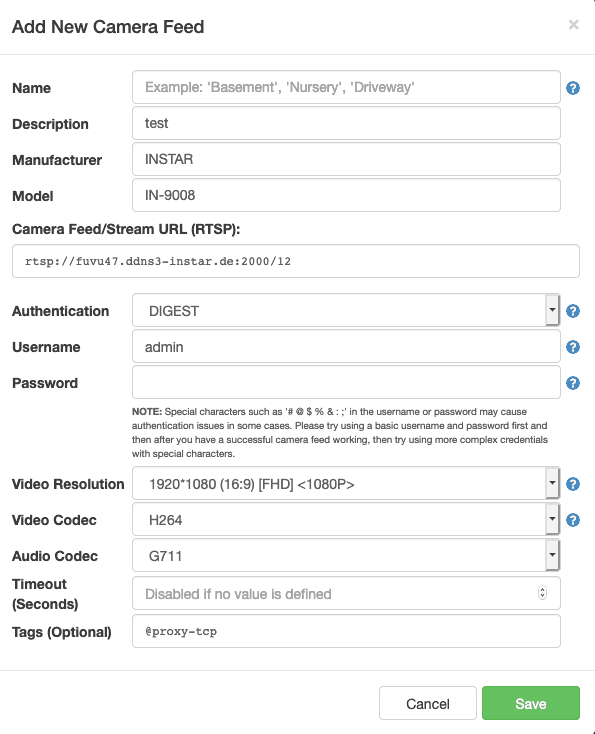
- In the first step we now have to deposit the camera at Monocle. We recommend the camera there with the local IP address to deposit, so your Alexa device then only accesses the camera locally and your camera does not need to be opened to the outside. However, if your Alexa device is in a different location than the camera, then you would have to use and enter the DDNS address.
After signing in to Monocle with your account, we are now creating our first camera in the Dashboard.
Please click on the blue button + Add Camera Feed.
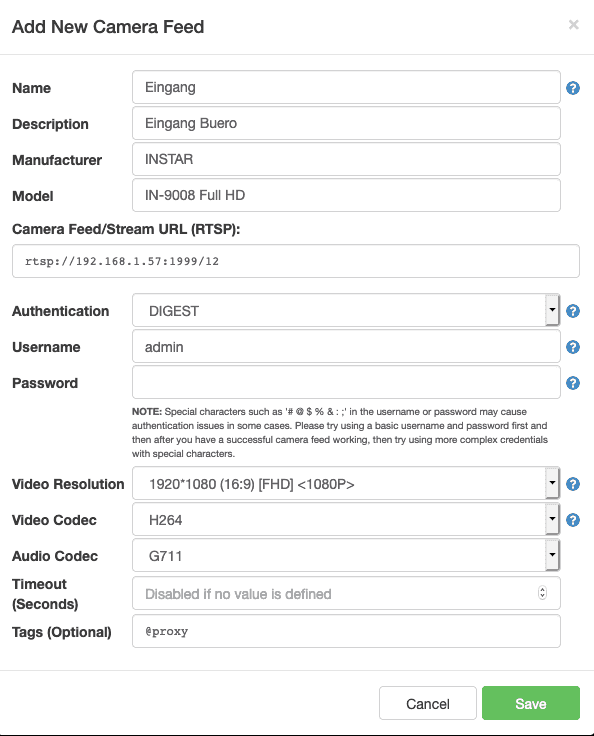
Here we have to enter the data of our camera. Here is an example Using a camera with a local IP address and a camera with a DDNS address.
Name: Here you can enter a free name as you would like to call your camera later. We recommend that you use a unique name that can be easily understood by Alexa, such as: Entrance, living room etc.
Description: This is just an internal note for you if you have multiple cameras and want to take notes to keep them apart later.
Manufacturer: Please enter INSTAR here
Model: Please enter the camera model you are using there. The spelling is not quite as important here, so it would not matter if you write only IN-9008 or IN-9008 Full HD
Camera Feed/Stream URL (RTSP): Here it is very important that you deposit the right path and the right port. If your Alexa device is in the same location, use IP address access. The command is structured as follows:
rtsp://192.168.1.57:554/12- rtsp:// specifies the protocol, in our case RTSP
- 192.168.1.57 is in our example the IP address of the camera in the local network. Of course you have to enter the IP address of "your" camera here.
- :554 Specifies the port used for RTSP. For our cameras, the RTSP port is always 554 unless you have changed it. If you have changed this in your camera, then you would have to adjust it accordingly. / 12 indicates which video stream should be tapped at the camera. The camera generally offers 3 video streams in different resolutions.
/11 would be HD or FullHD, /12 would be VGA and /13 would be QVGA
Since Alexa devices usually have a small display, we recommend to use the middle video stream with /12 to save bandwidth in the network and also to have faster access.
Authentification: Please select DIGEST here
Username: Here you must enter the user name with which you log in to your camera. By default, the username of the camera is always admin, unless you have changed it. Enter admin or the user name you have assigned in the camera.
Password: Enter the password with which you log in to your camera. Make sure that you only use passwords without special characters here because RTSP would not work with many special characters. We therefore recommend simply using a long password with letters and numbers.
Video Resolution: For FullHD cameras, select 1920*1080 (16: 9). For HD cameras, please select 1280*720 (16: 9).
Video Codec: Please choose H264
Audio Codec: Select G711
Timeout (Seconds): You can leave this field blank
Tags (Optional): If you use the Monocle Gateway for access, e.g. with an echo show 5, then enter @proxy. However, if you use an Echo Show 2 or an Echo Dot, leave this field blank.
Save the settings now.
So now we've created the first camera, so if you have multiple cameras, you can now add them all in the same way. After you've added all the cameras, please continue with Part 4.
Part 4: Add Monocle in Alexa
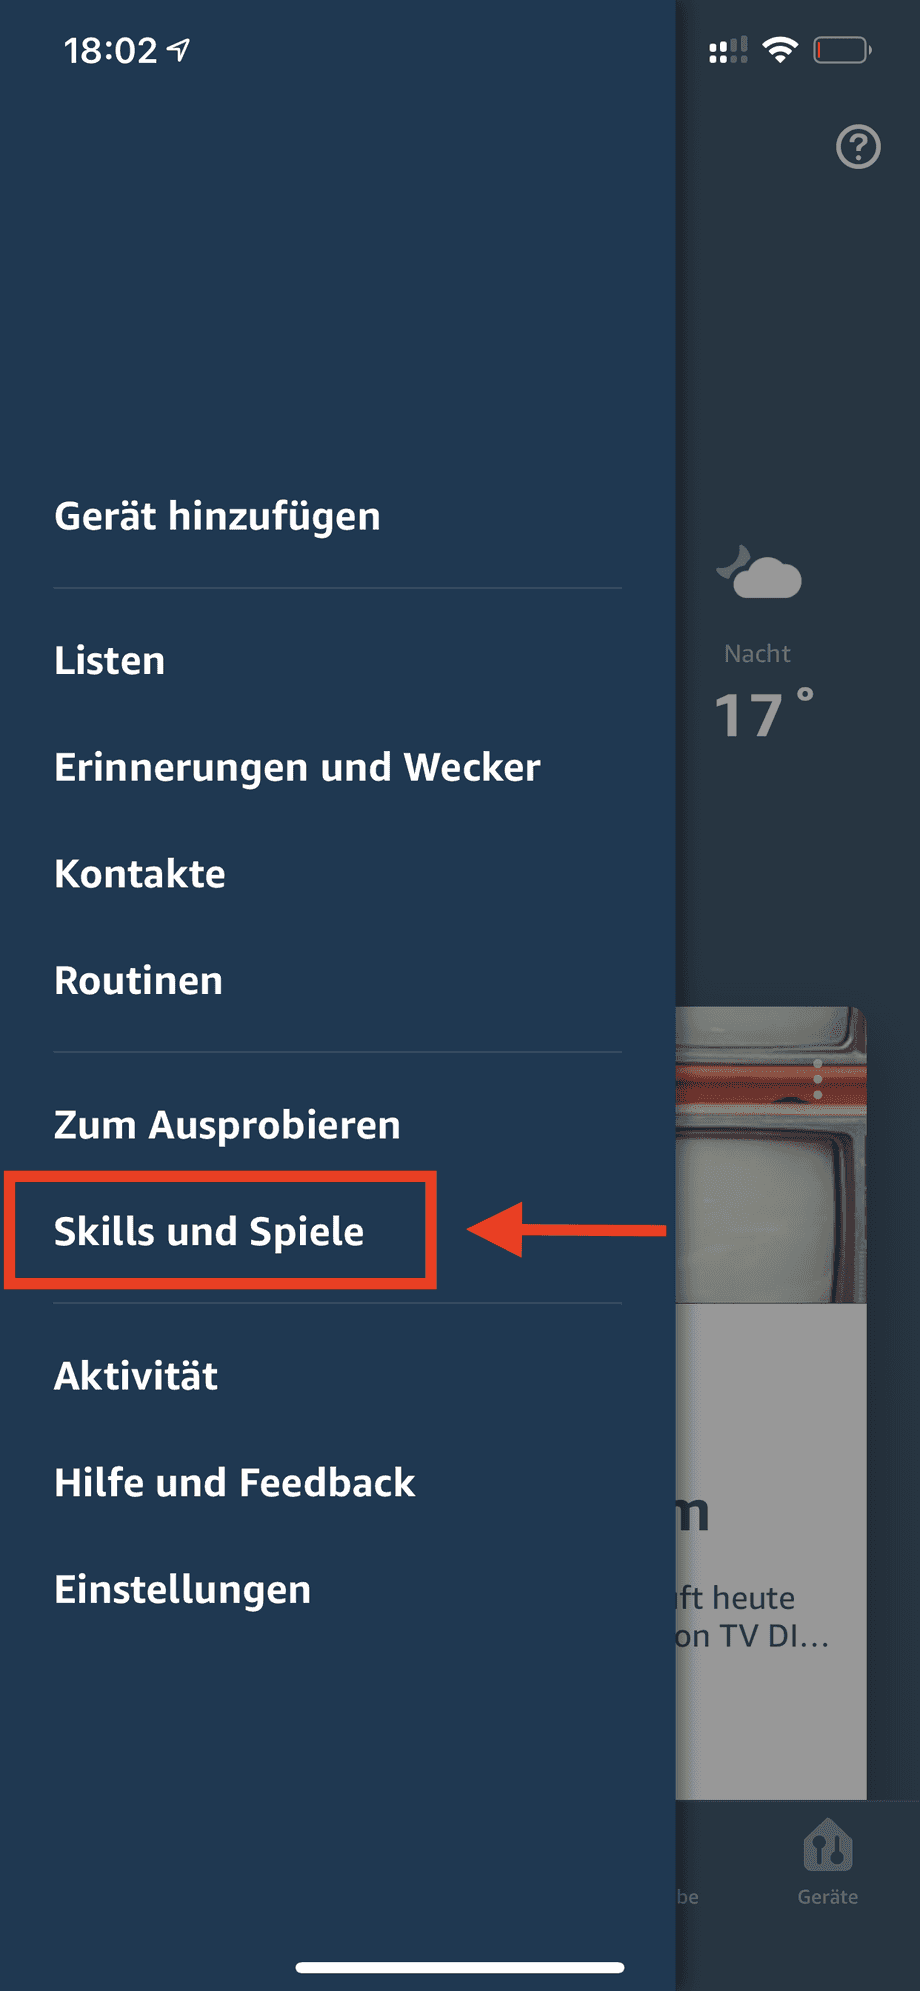
Now to communicate with Alexa, you need to add Monocle as a skill in Alexa. Open the Alexa app on your smartphone:
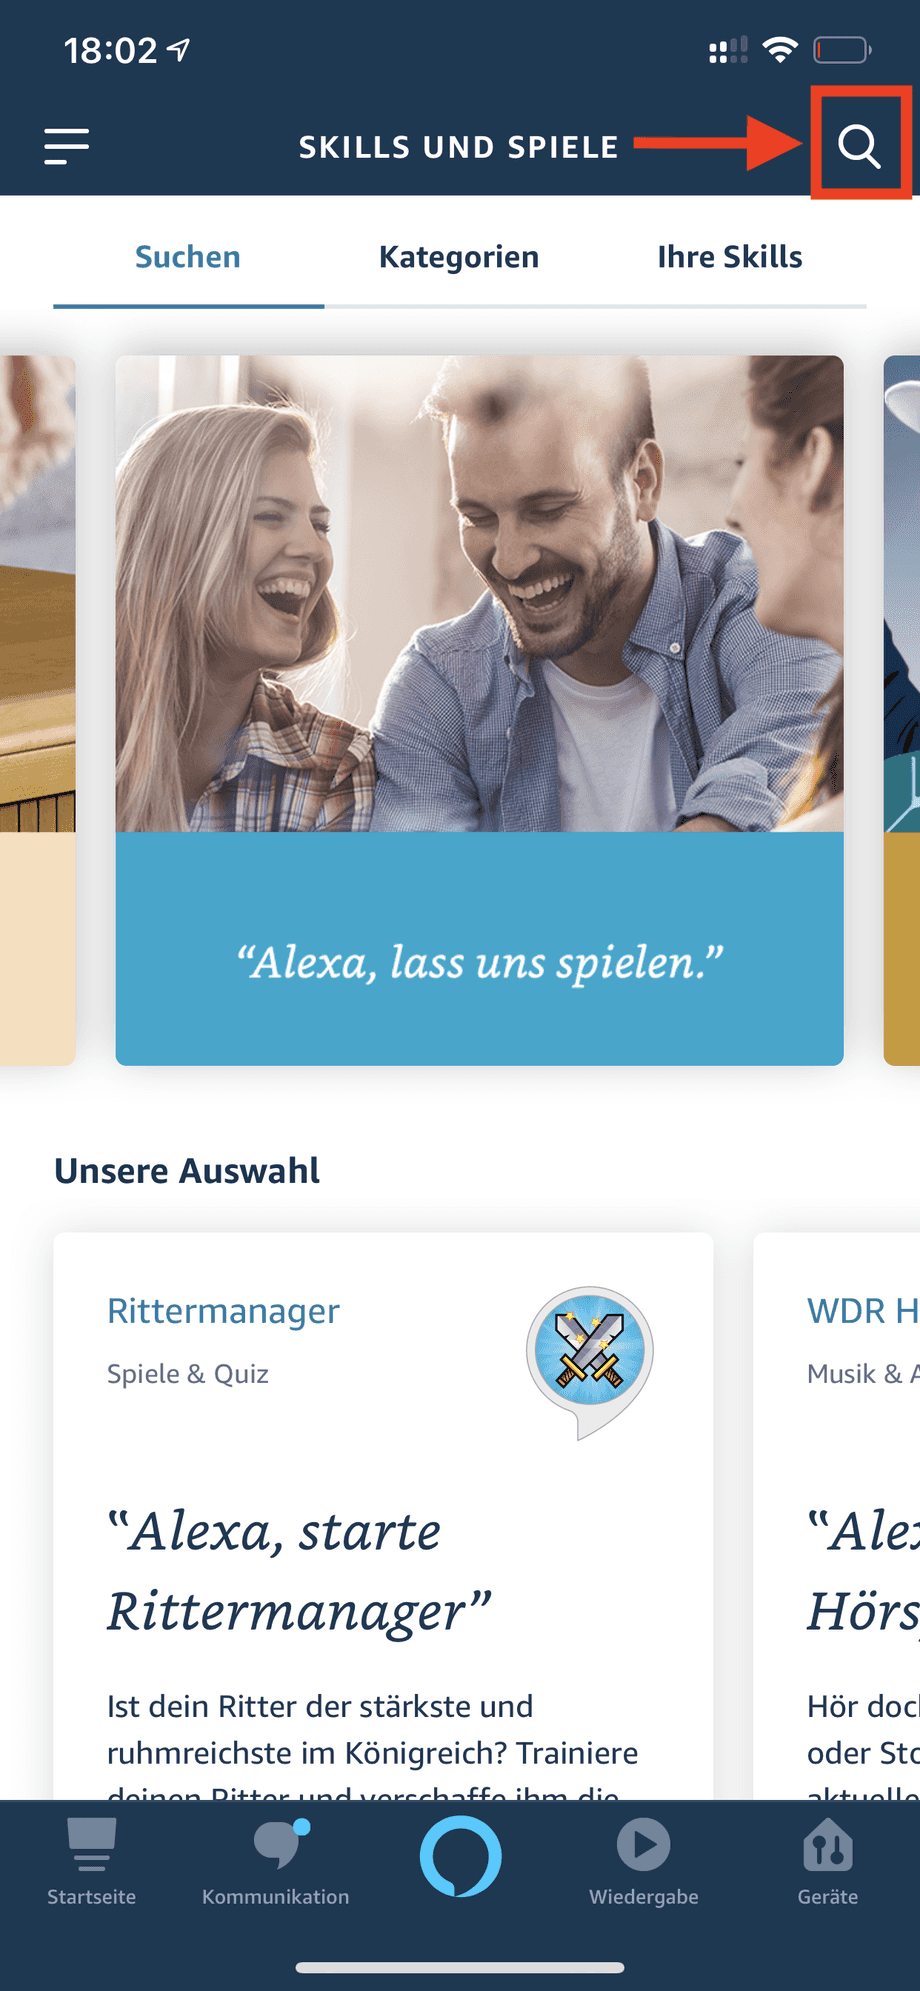
- In the app, go to the top left of the three bars and there on Skills and Spiele.
- Select the magnifying glass on the top right to search for a skill
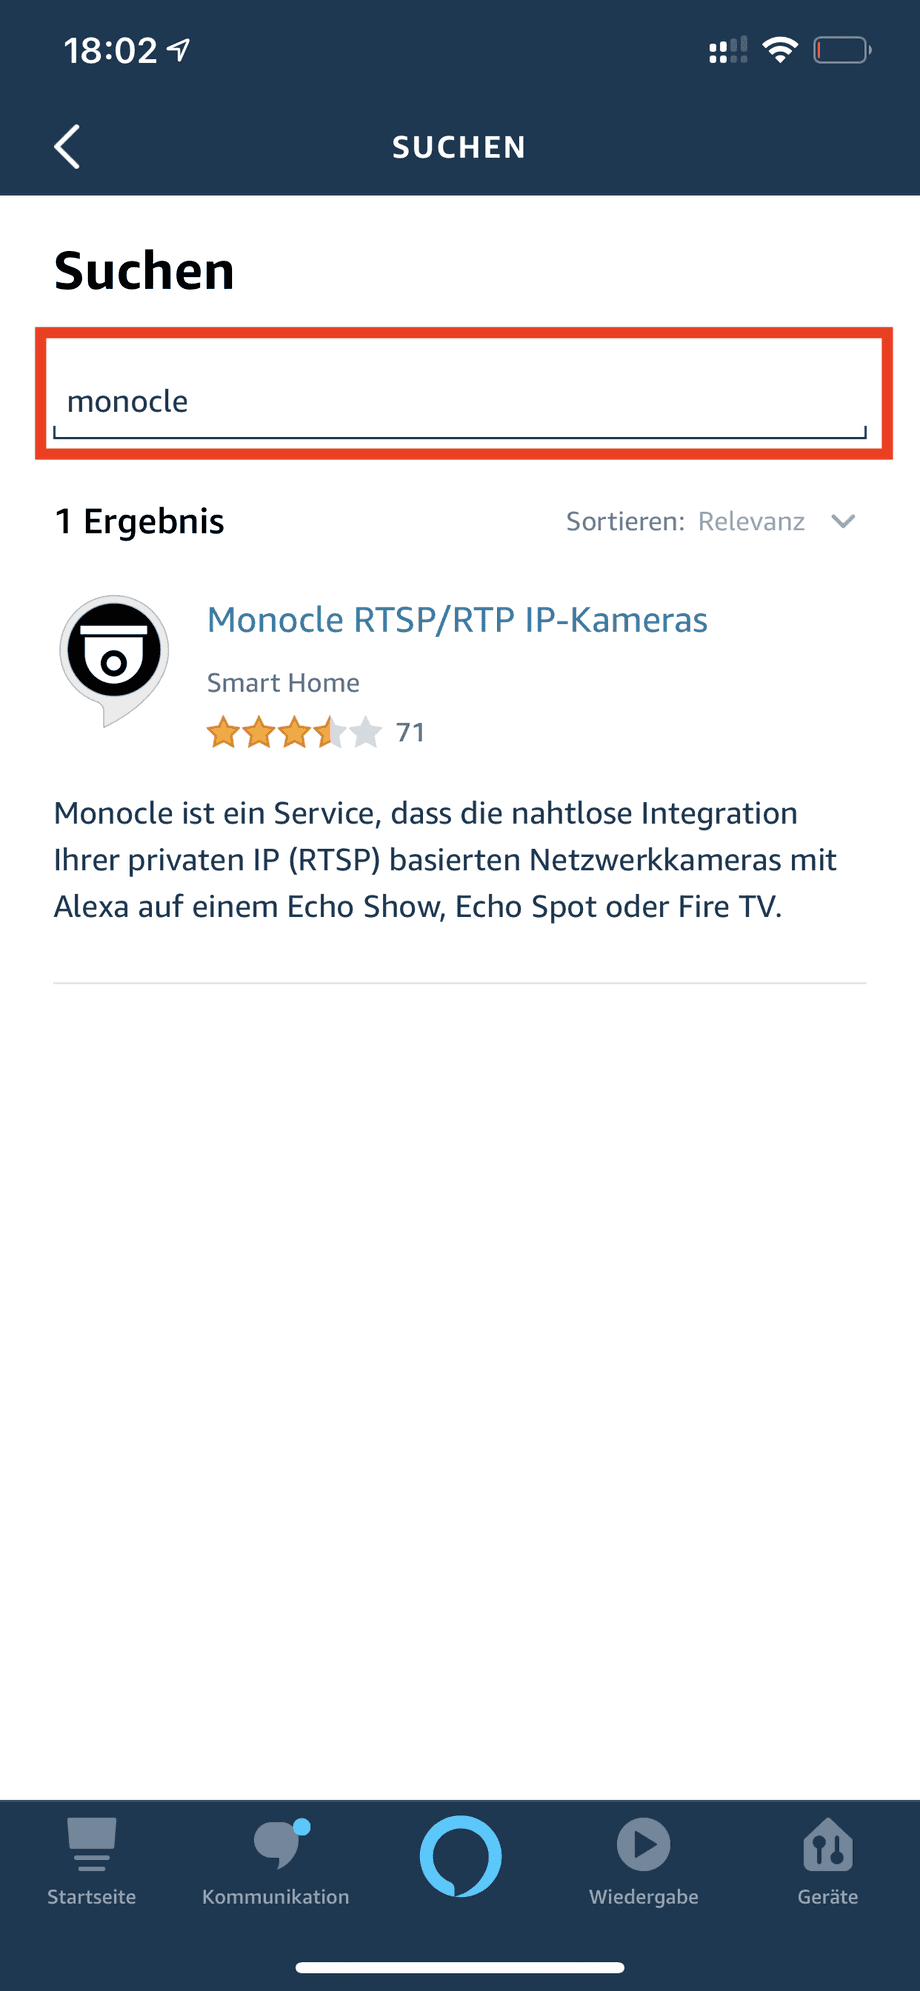
- Search for Monocle and select the skill found.
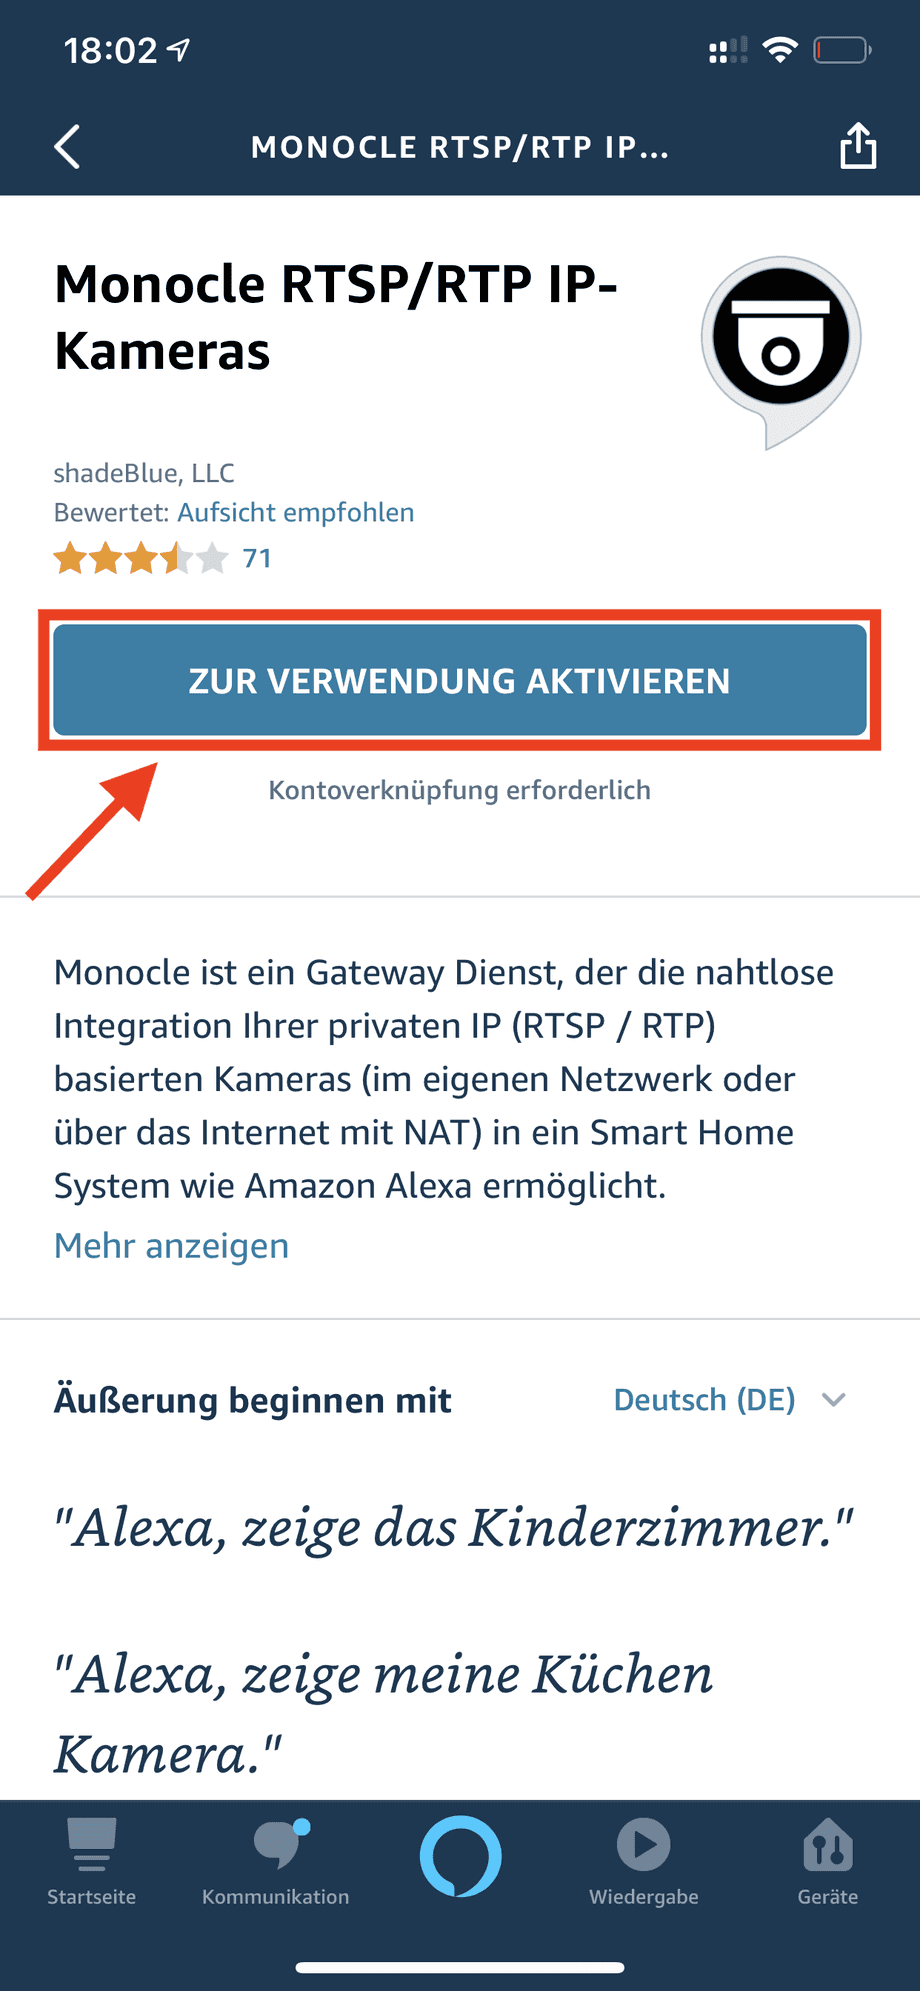
- Click on Support for use, which is highlighted in blue.
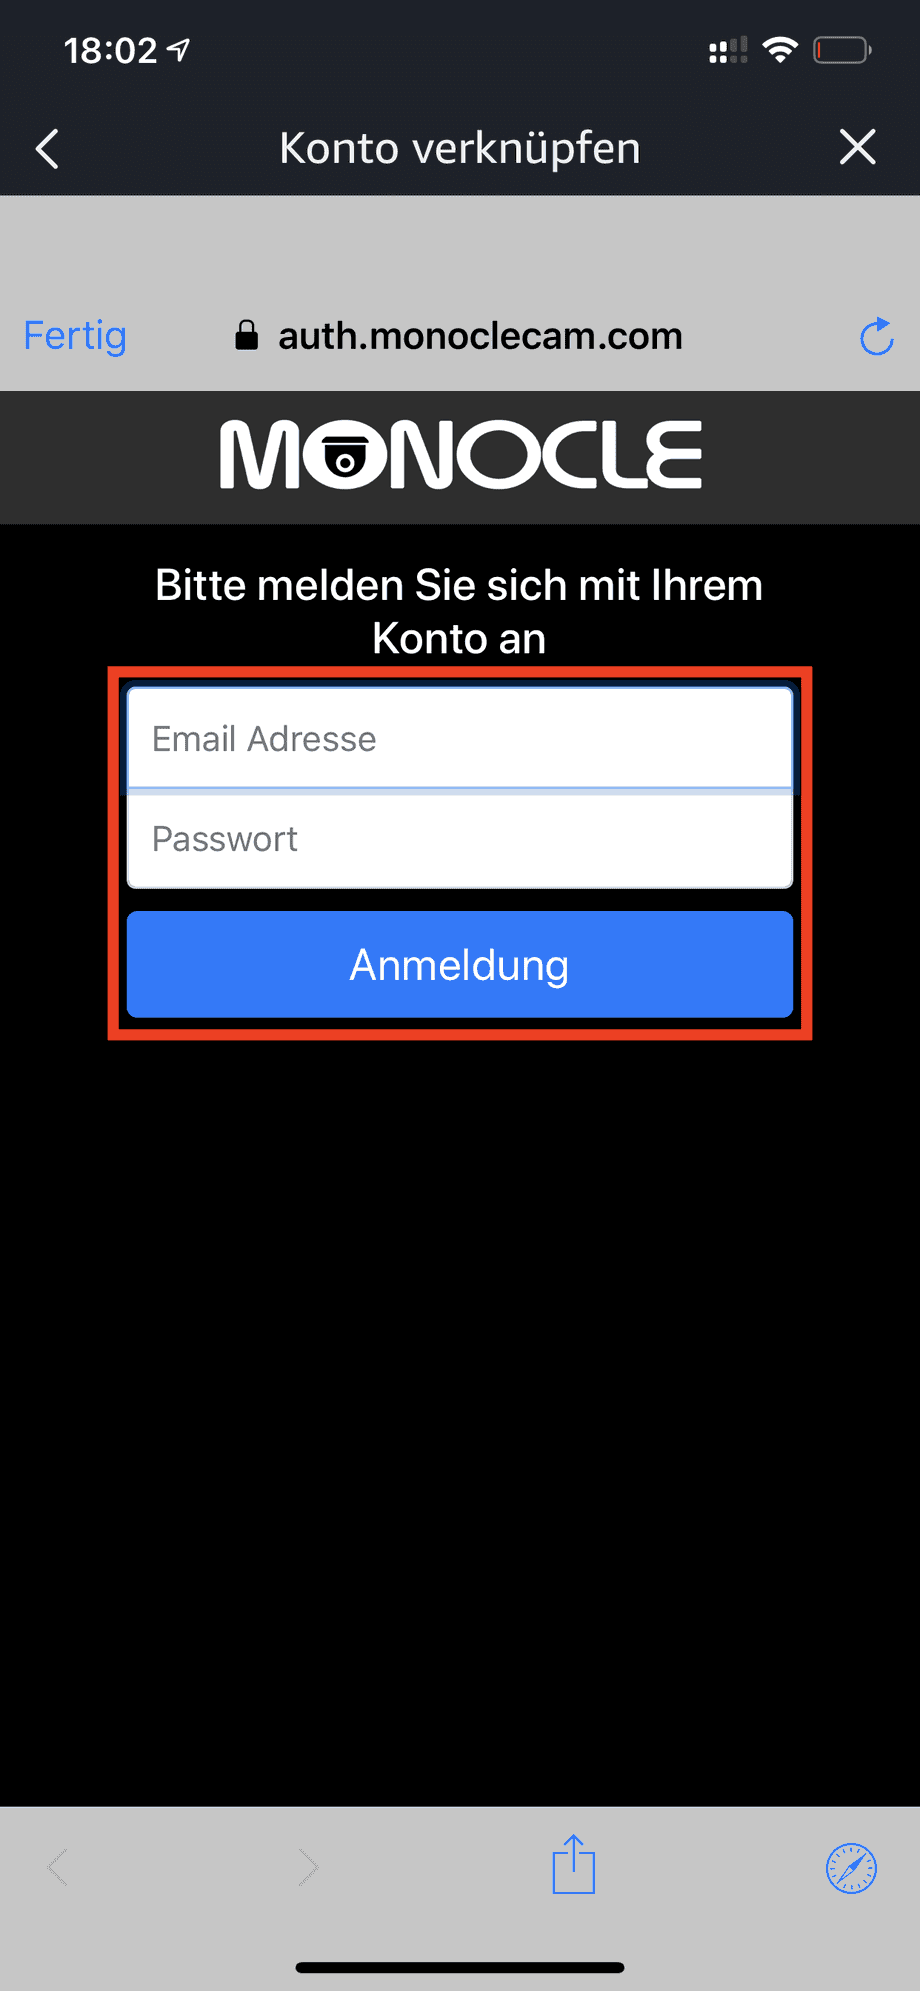
- Log in to the next window with your Monocle credentials to link the skill with Monocle.
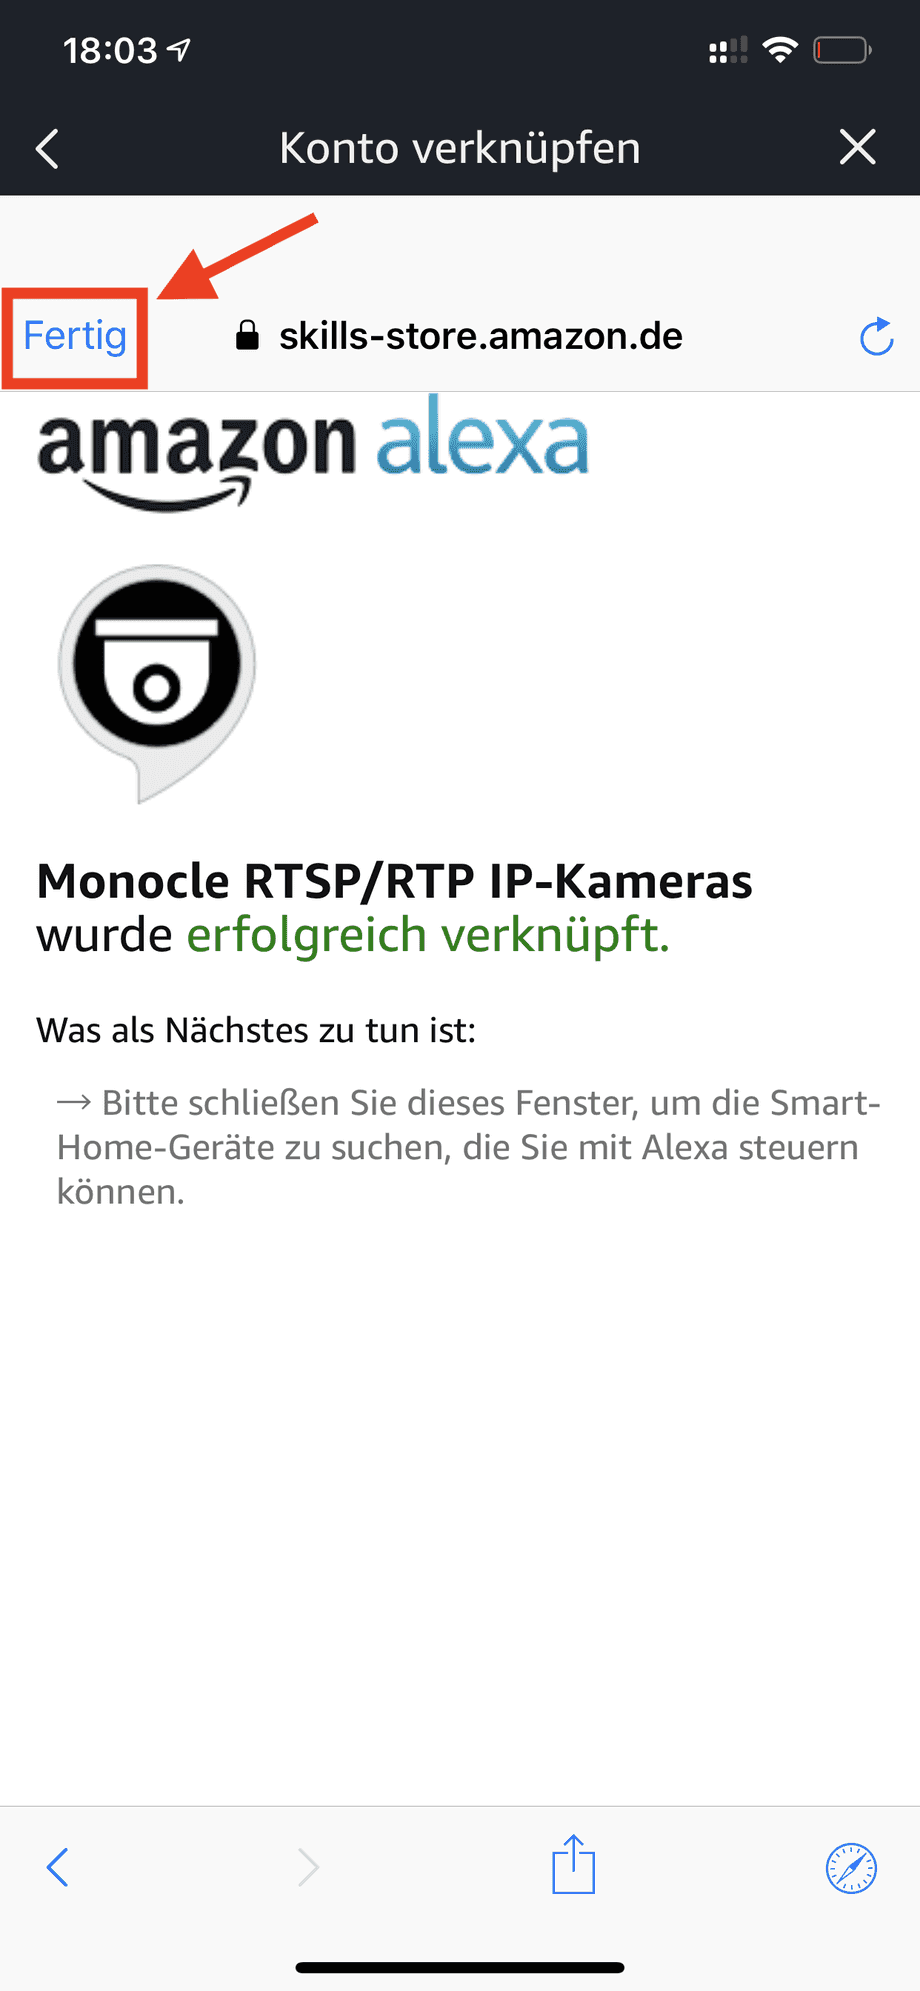
- If you have correctly stored your user data from Monocle, the Alexa Skill is now linked to your Monocle account. It will show you that everything is successful. In the next step, we now have to search for and add the previously created Monocle cameras. Click on "Done" on the top left
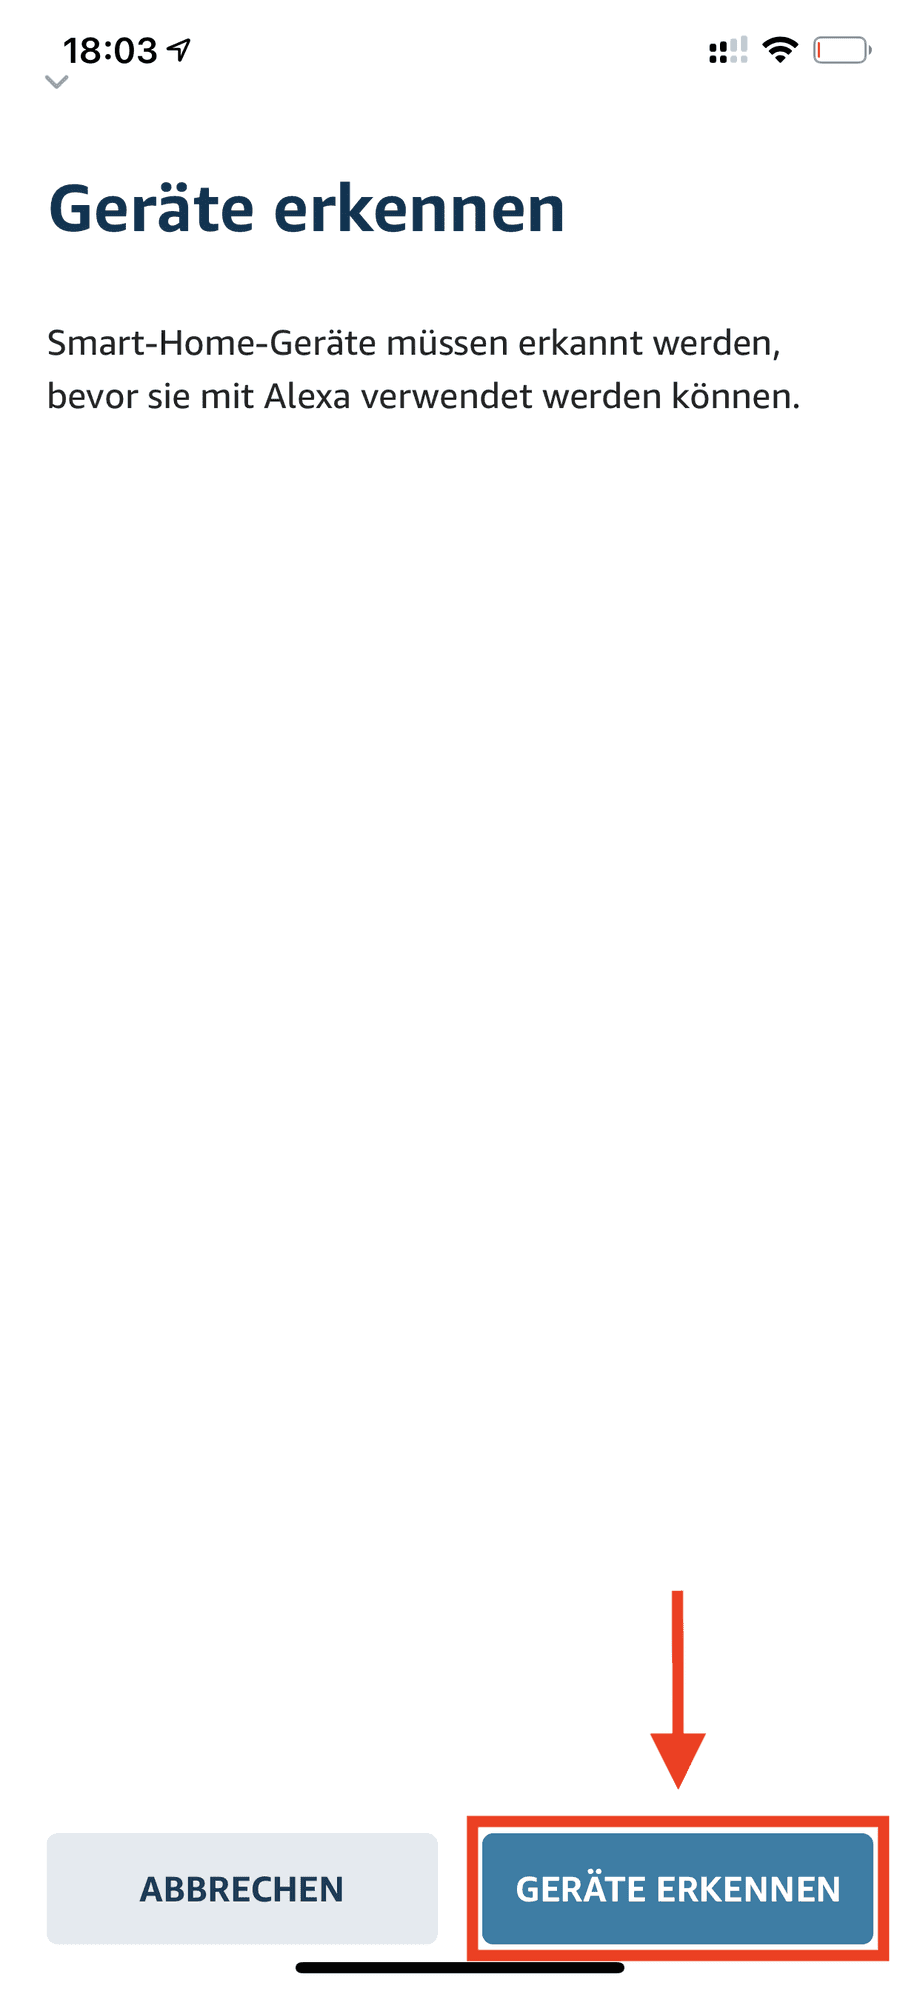
- Then go to recognize devices
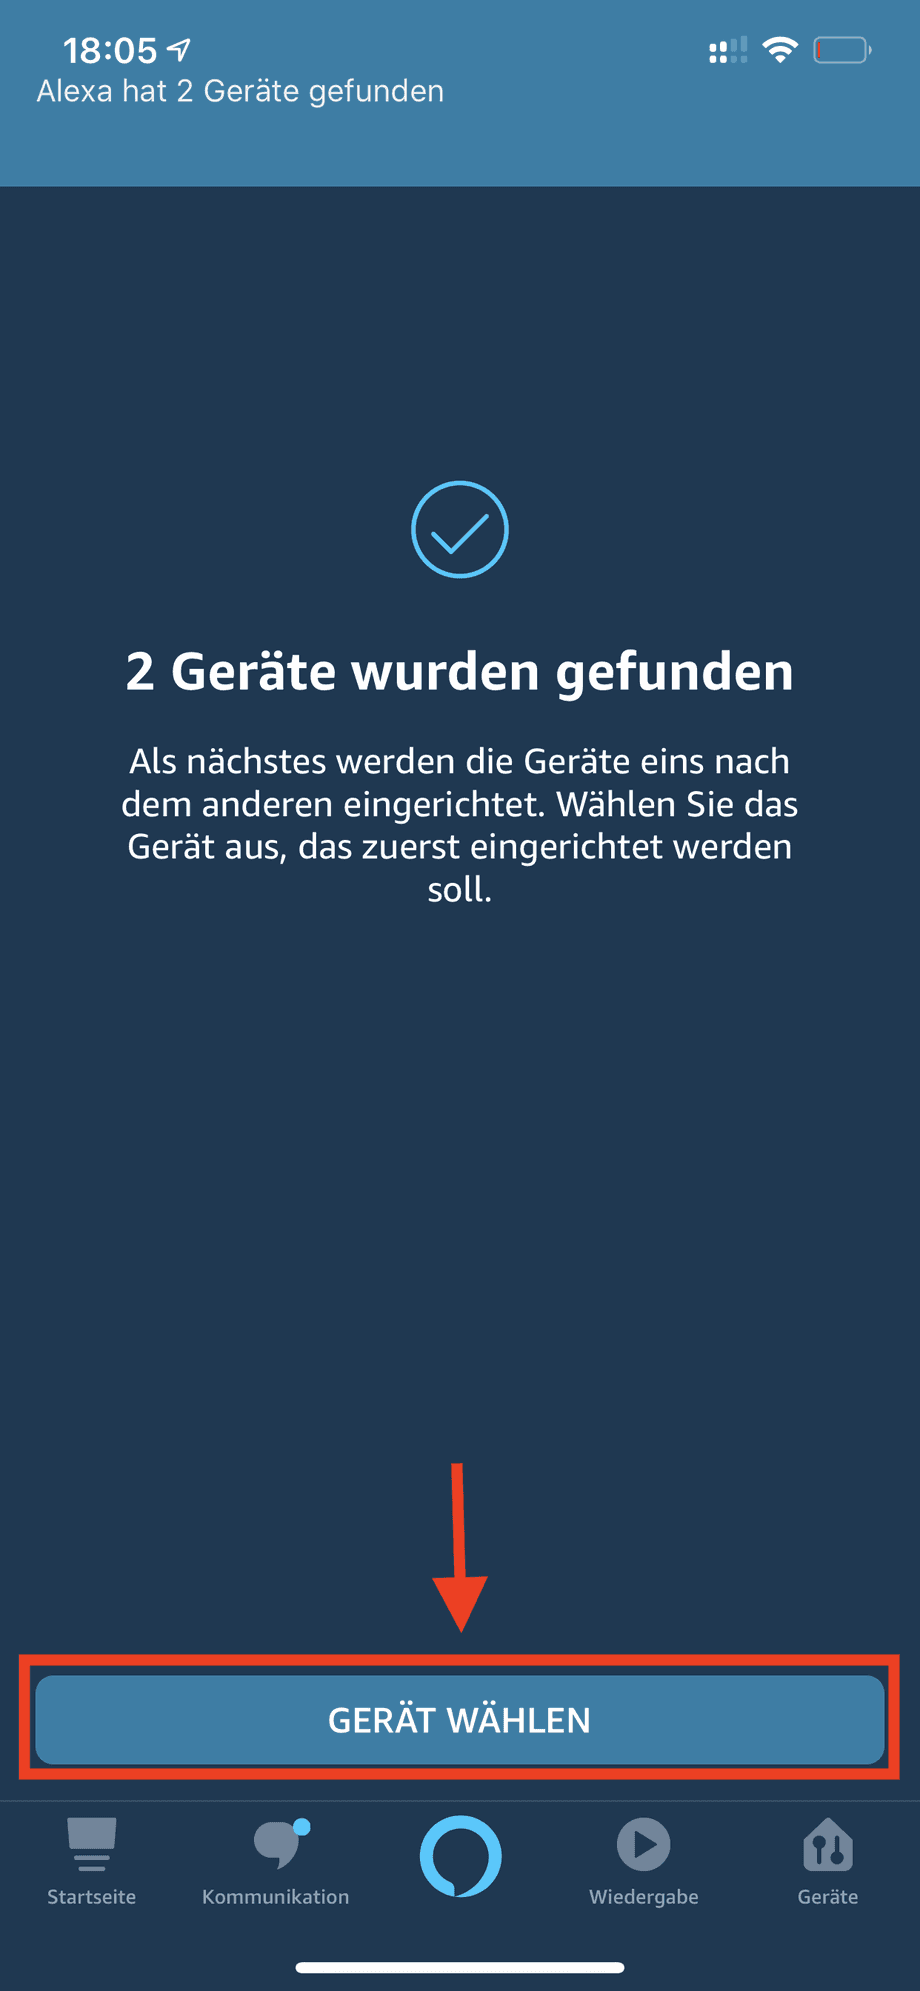
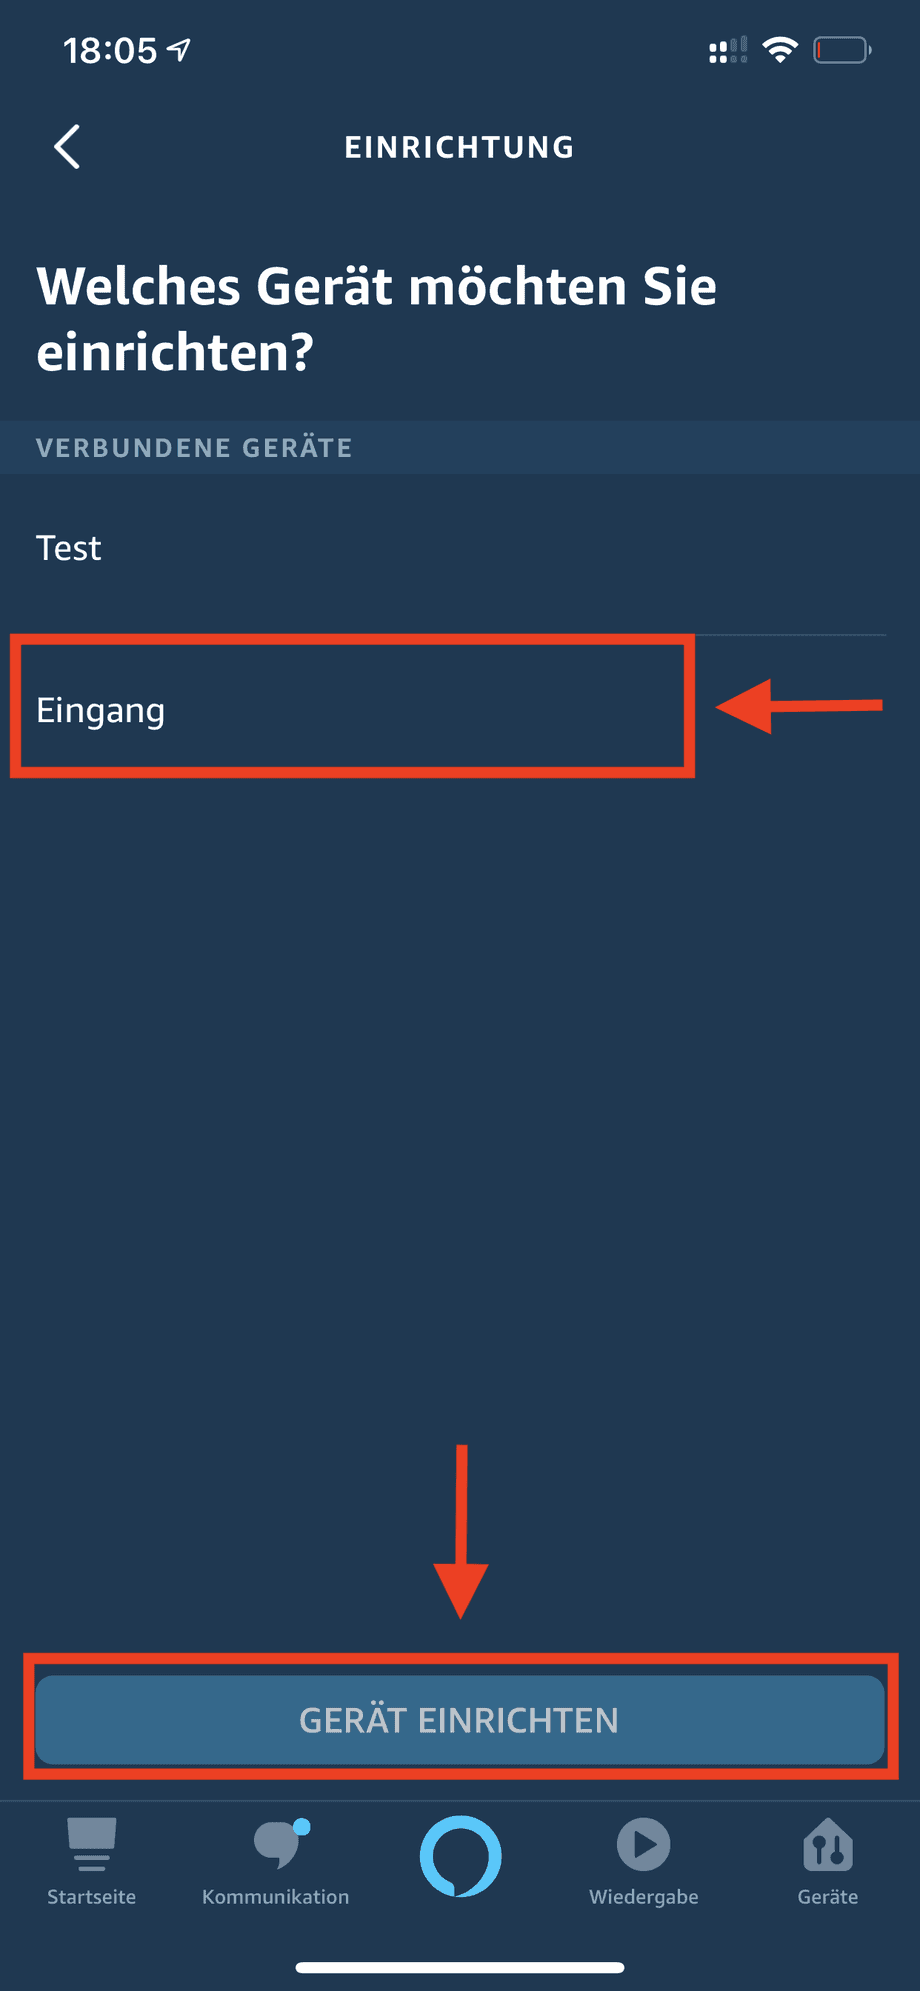
- After about 20 seconds, Alexa will find your devices (camera (s)) and you can then click on device select_. Then select a camera to add and go to "Set up your device".
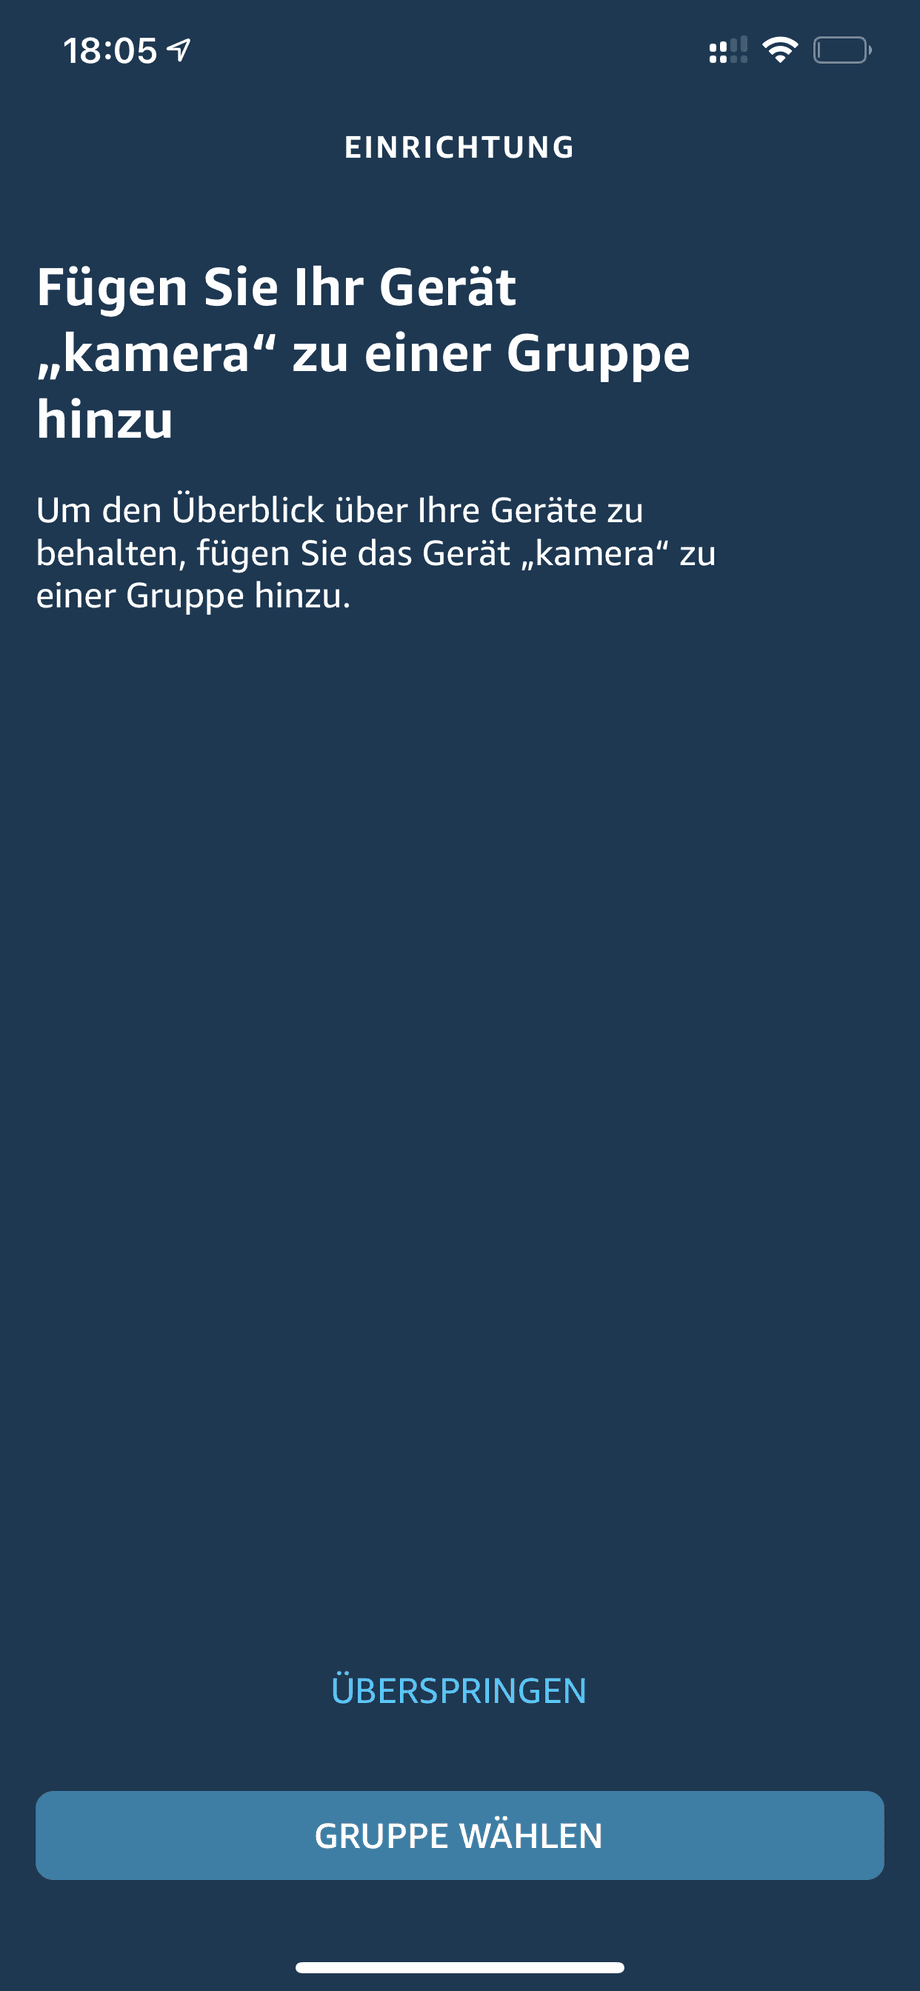
- If you want to add the camera to a group, you can do so. In our example, let's skip this point.
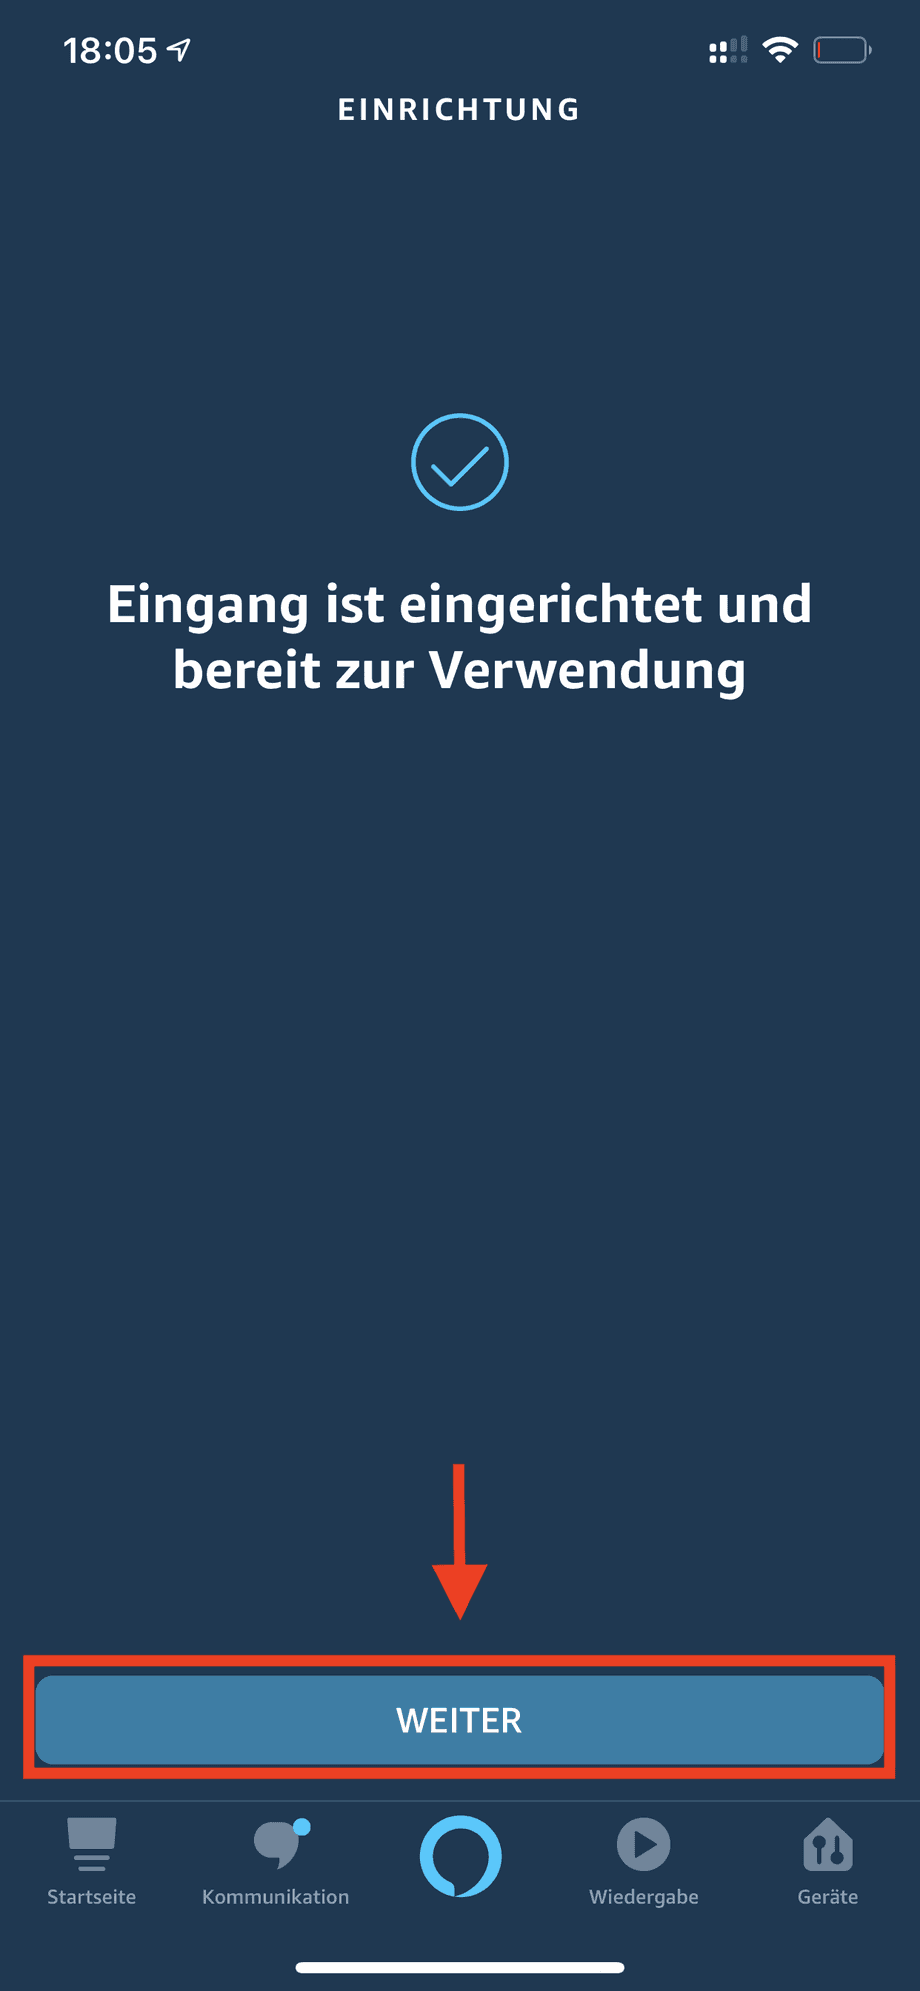
- Now you have successfully added the camera and you can click Next to save add the next camera if you have more than one. Otherwise, you can now use the new skill.
Part 5: Access to the camera (s)
To access the camera with your Alexa device, you speak e.g. Simply Alexa, show camera input and then the camera will be opened with the name Eingang.
Part 6: Known problems or peculiarities
Special feature of HD cameras: If you have an HD series camera (IN-5905HD, IN-5907HD, IN-7011HD, IN-6001HD, IN-6012HD, IN-6014HD), then you would have on your camera under Multimedia - Audio the Deactivate audio completely. Unfortunately, the RTSP player that is integrated in Amazon devices is very limited by the codecs. Unfortunately, the currently used codec would not work.
When using the Monocle Gateway, you can leave Audio enabled, but if you want to access the cameras directly without the Monocle Gateway, audio should be disabled anyway, otherwise access will not work.
Special characters with the Monocle account or the camera: Unfortunately it is not possible to use special characters in the password to register with Monocle or to access the video via RTSP at the camera. We therefore recommend passwords with letters and numbers. If you choose a long password and also use uppercase and lowercase letters, the password will also be very secure.
