How to get a Live Video Stream without Installing a Video Plugin?
With Windows 10 Microsoft offers a new web browser to substitute the old Internet Explorer. Due to the omission of plugin support, using your HD IP camera becomes a little bit more challenging. But fear not, your camera is still going to work under Windows 10 and the following paragraphs will show you how.
The MJPEG stream does not rely on plugins and runs without problems inside Microsoft Edge. Please be aware that the MJPEG stream uses more bandwidth resources on your network then the h.264 stream. If images from your camera arrive too late, due to this Ethernet traffic jam, you might experience a flicker inside the live video. Please go to Multimedia / Video and reduce the streams resolution to prevent this effect.
Start the Microsoft Edge browser and type in your camera´s IP address into the address bar. If Edge is your default browser, simply use the INSTAR camera tool and double click on your camera.
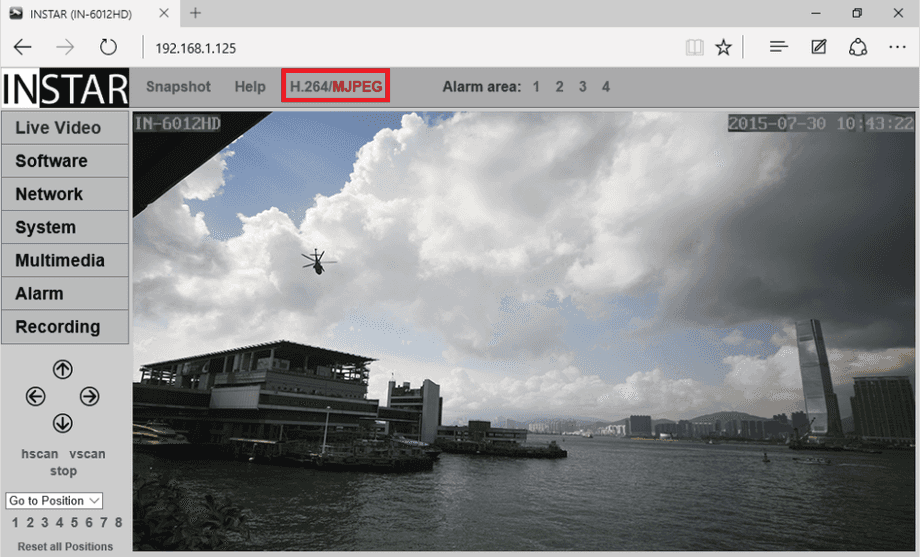
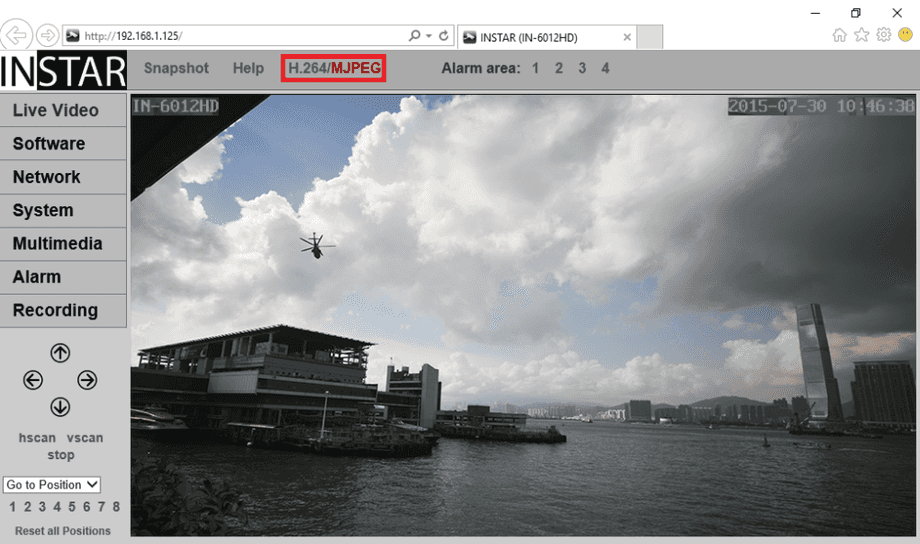
Now click on the h.264 / MJPEG toggle to activate the MJPEG stream.
The MJPEG stream is now active (MJPEG has to be red) and should display a video. You can adjust the quality of the MJPEG stream under Multimedia/Video - Choose a smaller resolution if you experience a image flicker due to bandwidth restrictions.
The h.264 Stream
The h.264 stream is a lot more efficient compared to the MJPEG stream and can usually be displayed in a higher quality without overly affecting your network. But as mentioned above, the necessary plugin for the h.264 stream is no longer supported by Microsoft's new browser. Here is how to use it anyway:
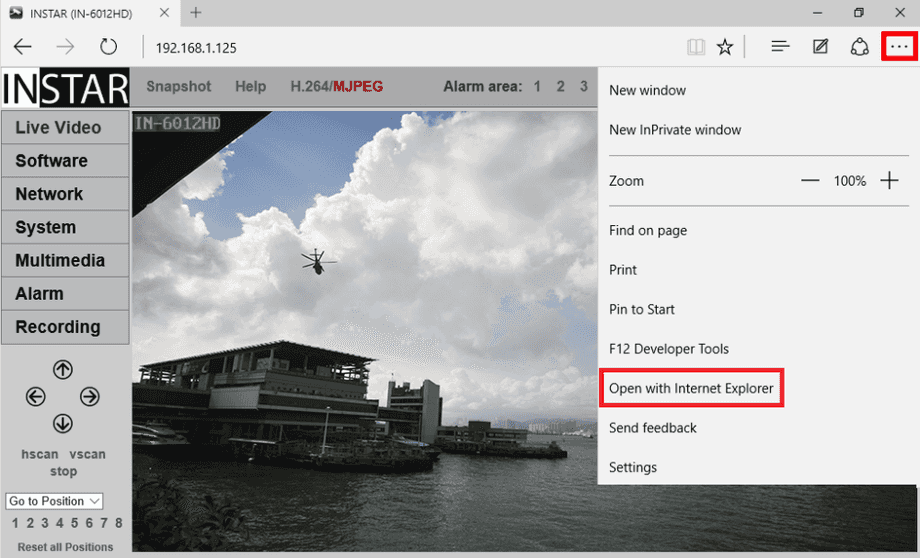
Click on the 3 dots in the top right corner of the Edge browser and select Open with Internet Explorer.
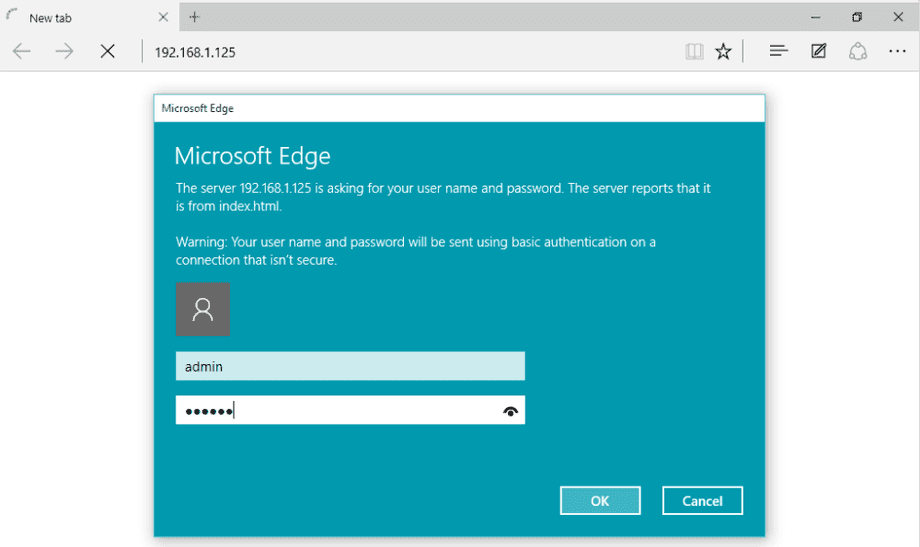
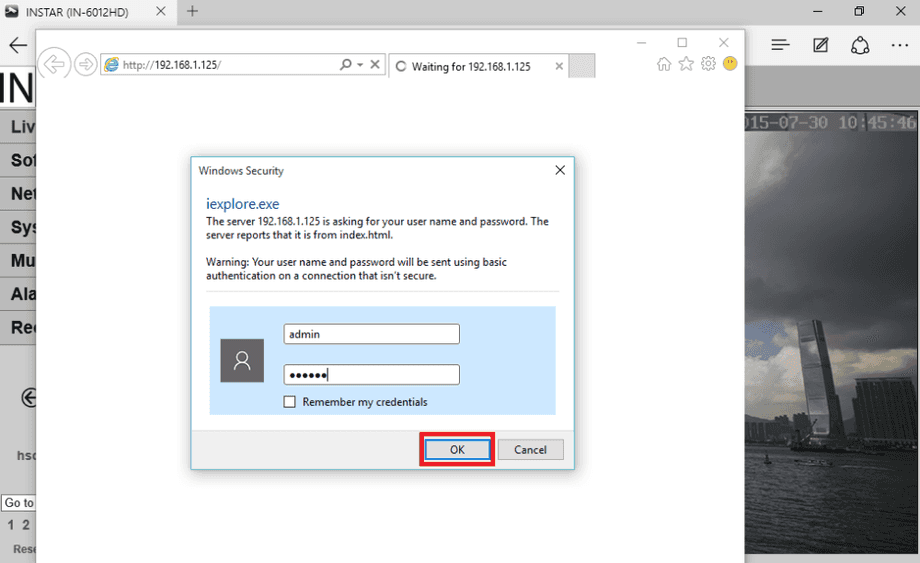
Your camera´s web user interface will now be loaded inside Internet Explorer 11. Type in your username and password to login.
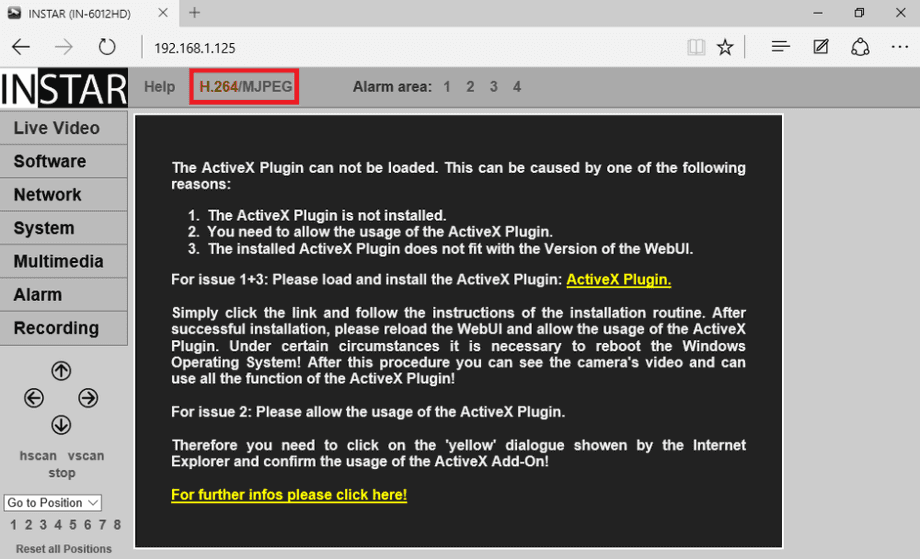
If you have activated the MJPEG stream before, please click on the h.264 / MJPEG toggle again to go back to the h.264 mode (h.264 has to be red).
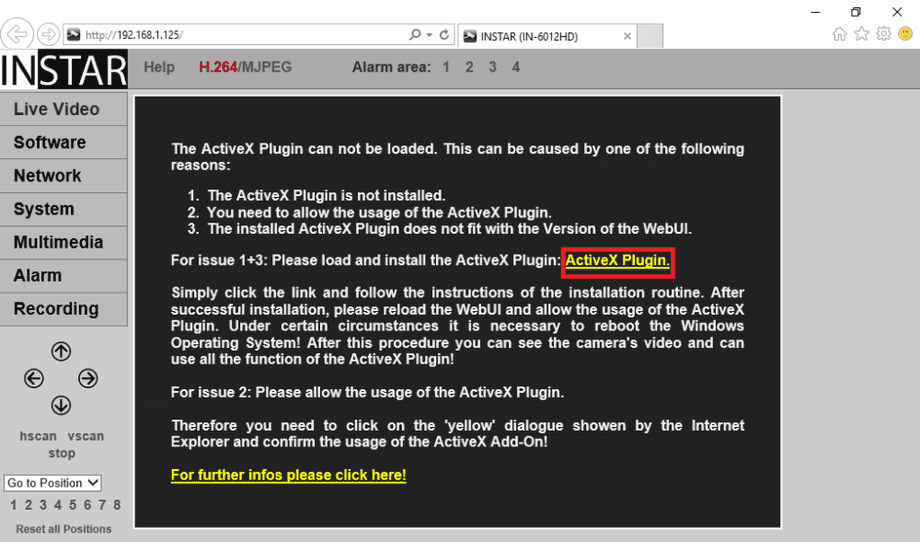
Now simply follow the instruction inside the webUI. First click on ActiveX Plugin to download the control element.
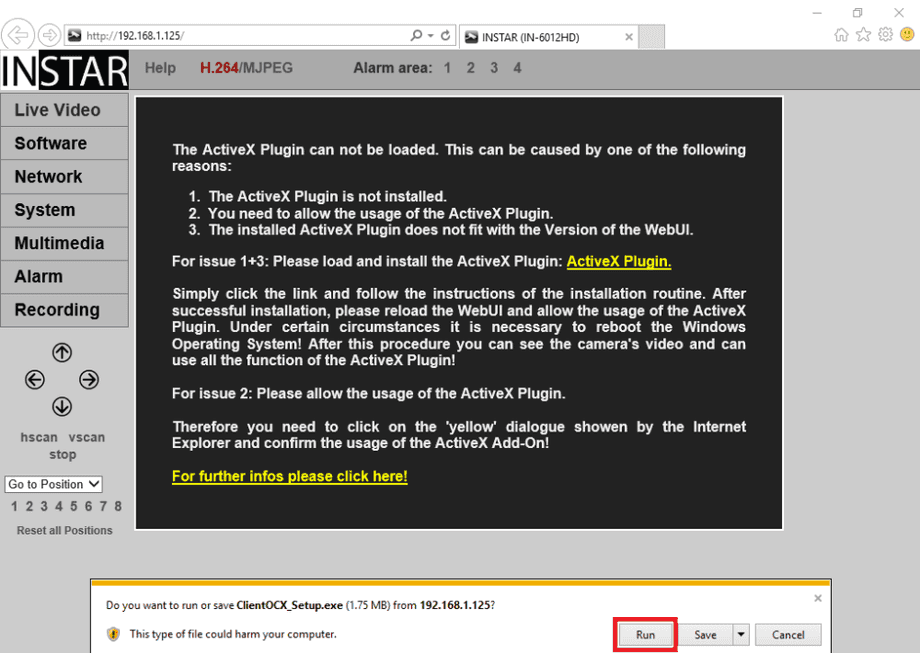
Confirm it´s installation by clicking on Run.
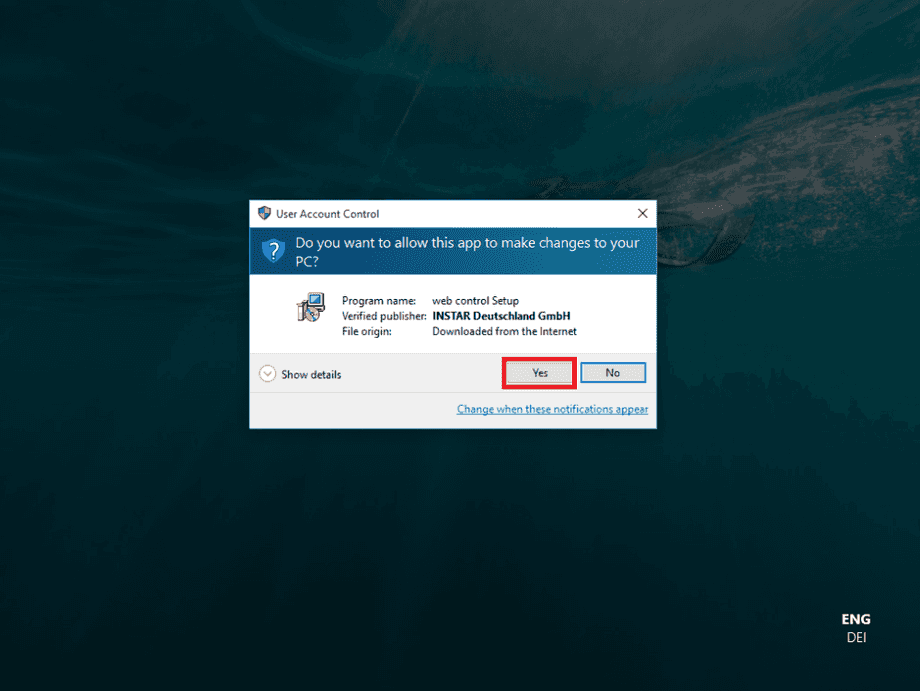
Click Yes to start the installation routine.
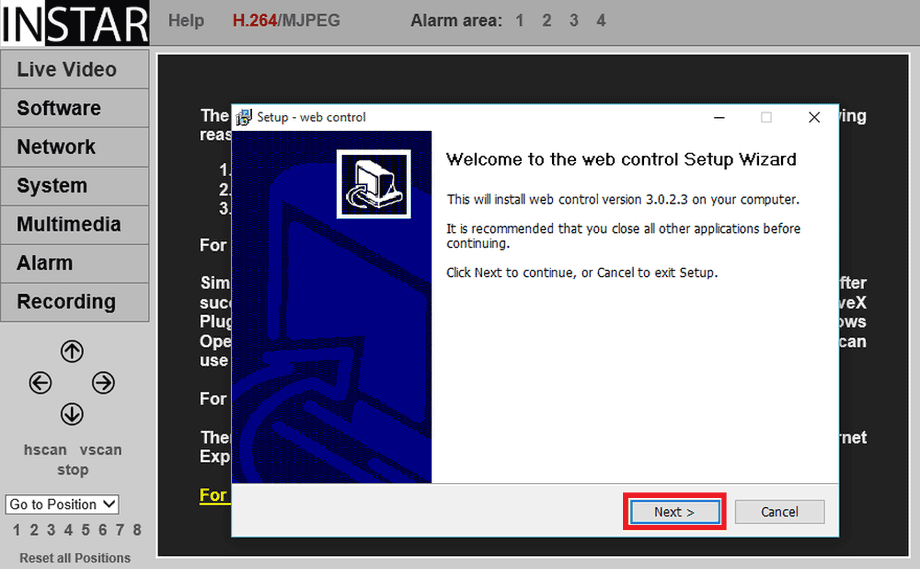
Click Next to start the installation wizard.
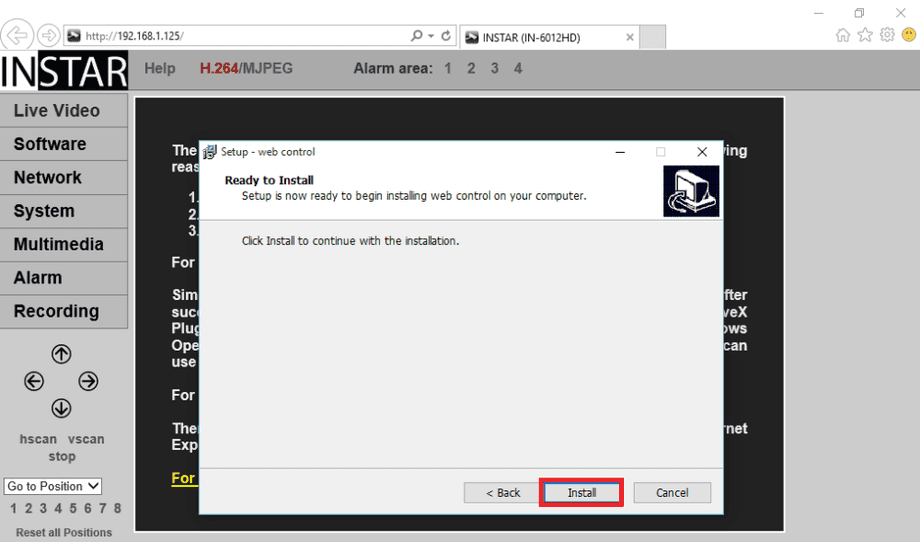
Click Install to continue.
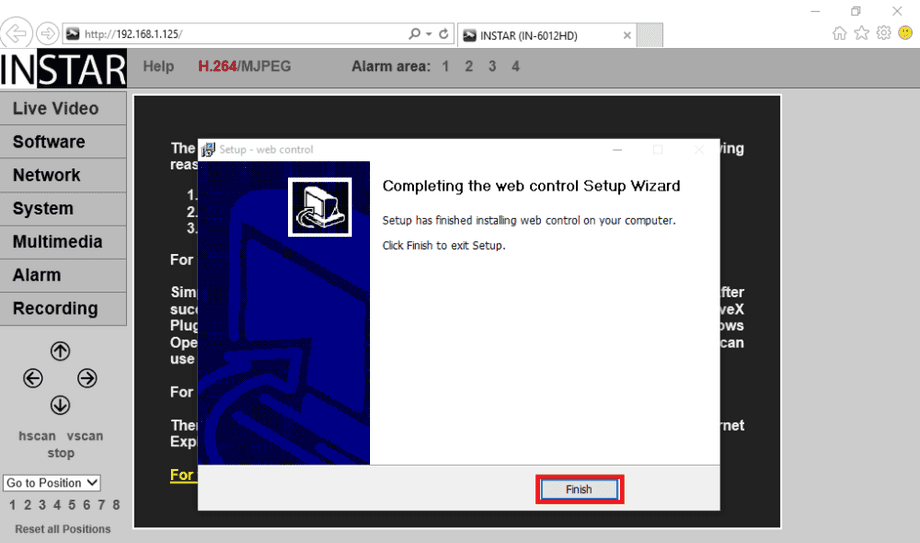
Klicken Sie auf Beenden um die Installation abzuschließen.

Laden Sie jetzt die Seite neu und bestätigen Sie das Ausführen des Plugins durch Klicken auf Erlauben.

Click Finish to finalize the installation.
Now reload the page and confirm the execution of the plugin by clicking on Allow. The plugin should now load and display the live video. You right-click the Internet Explorer icon in your taskbar to pin it and make it available for you in the future.
What if your video does not show?
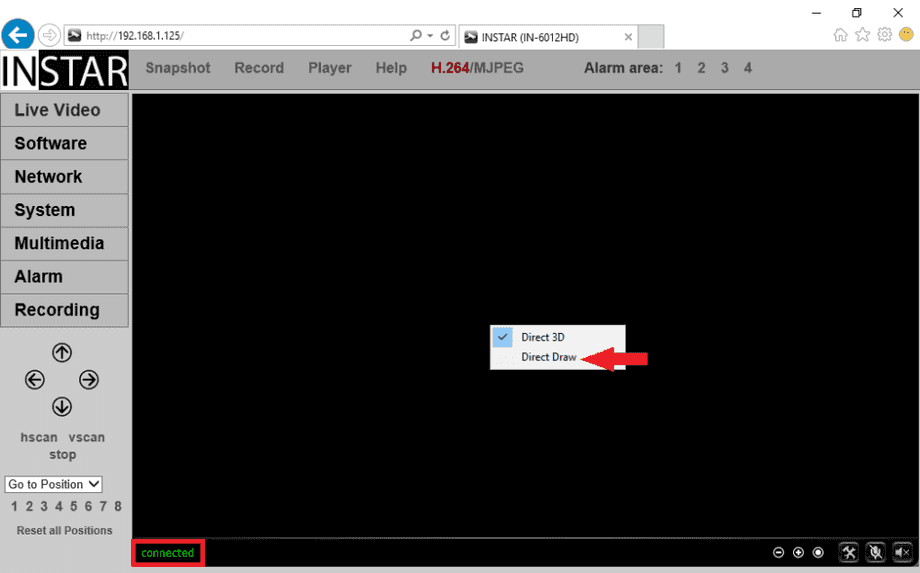
If the plugin tells you that it is connected, but the video still stays black, you might have to switch the Display Mode of the ActiveX plugin. Simply right-click the black video area and choose the Direct Draw method! If the video still fails to load, please check your virus scanner, firewall or web guard (see related topics below).
If the plugin tells you that it is connected, but the video still stays black, you might have to switch the Display Mode of the ActiveX plugin. Simply right-click the black video area and choose the Direct Draw method!
Discuss this article on the INSTAR Forum !

