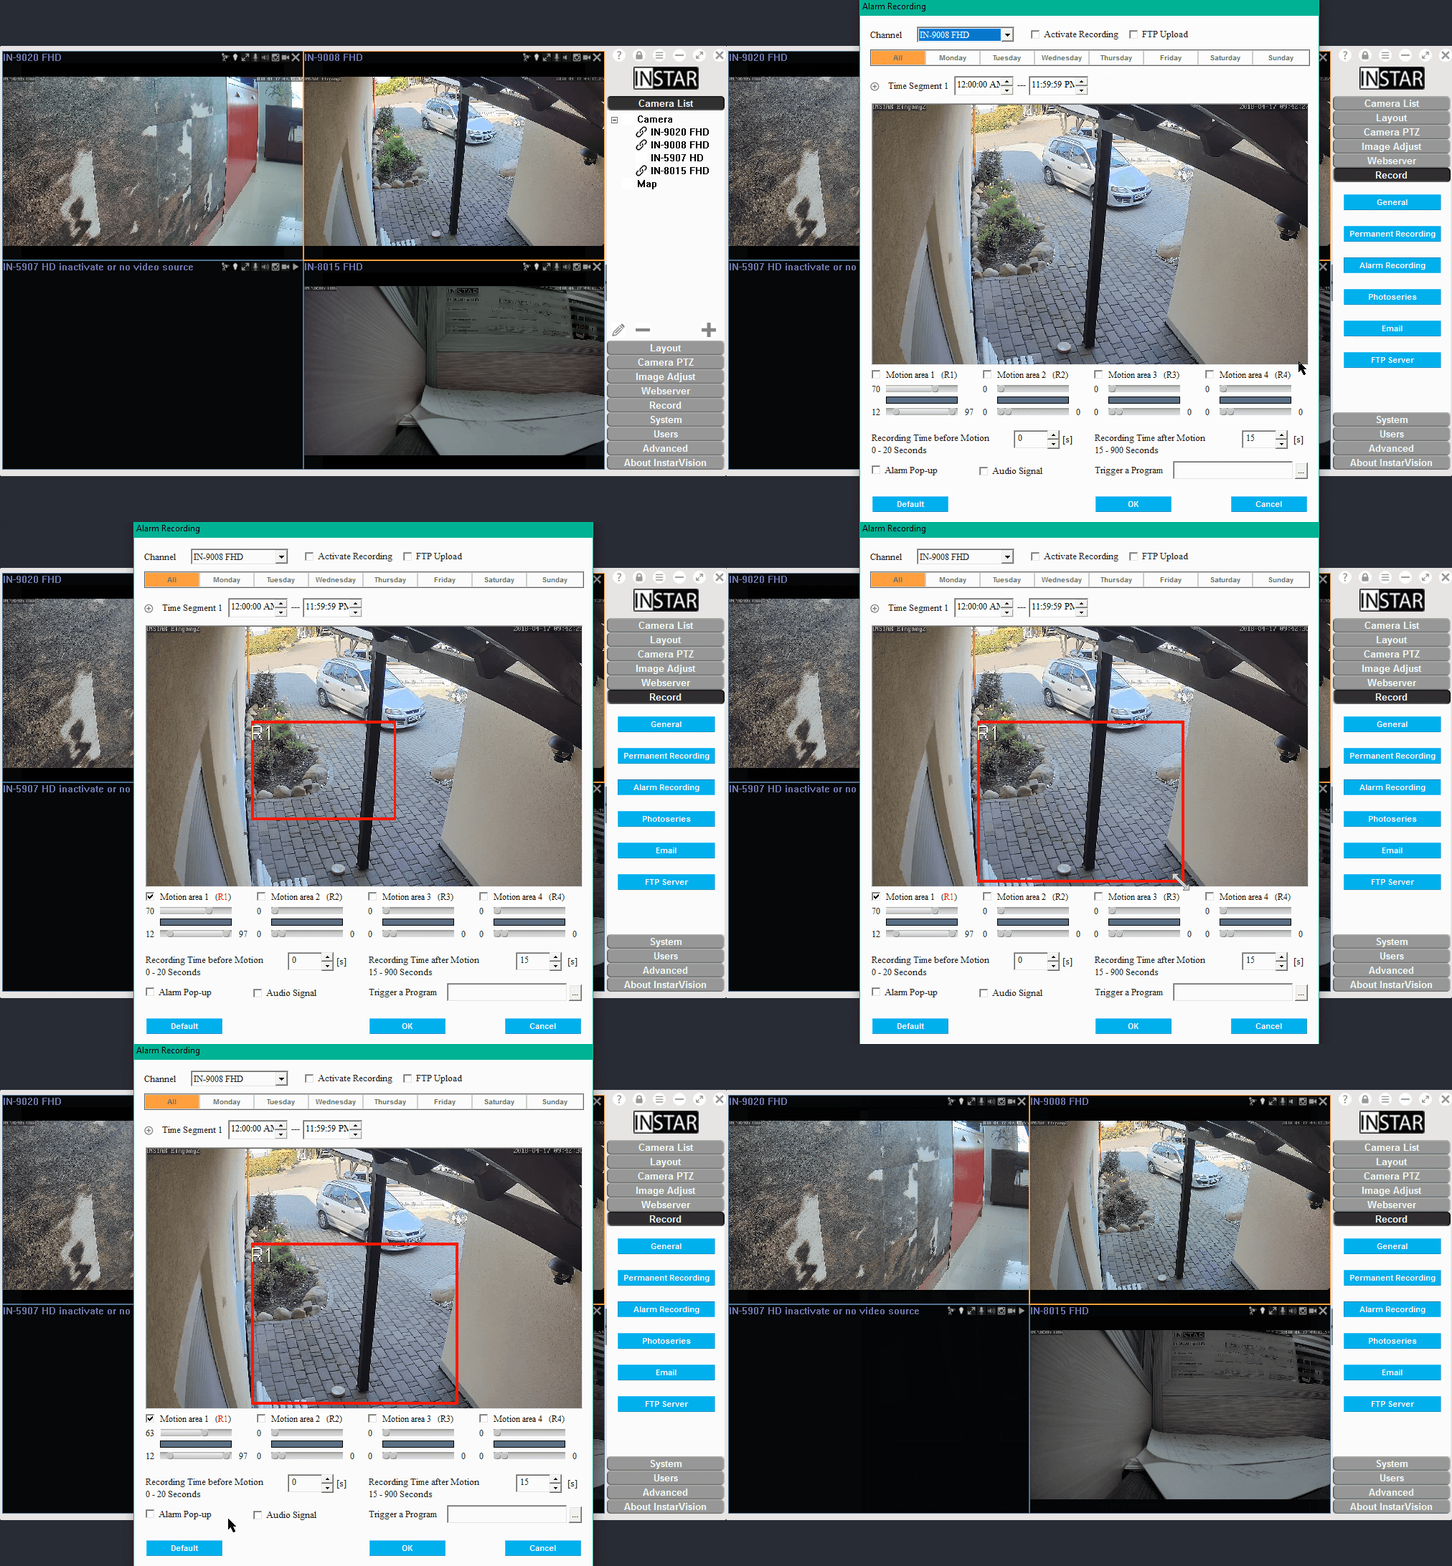
Side Navigation - Alarm Recording

Alarm Schedule
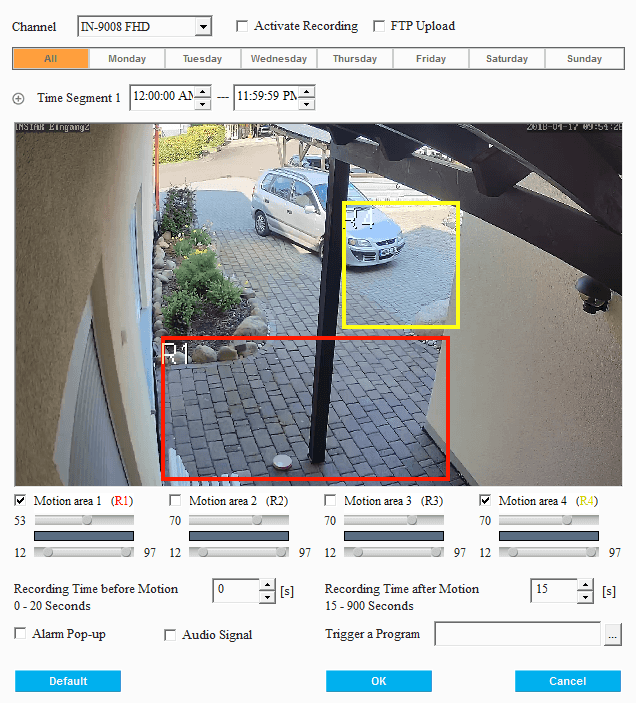
This window allows you to activate the software´s motion detection and start video recordings once an alarm is triggered.
First select your camera - or keep All Channels selected to set all your camera´s at once - and check Motion Record to start the recording once a motion was detected within the selected time window. Clicking on Default will activate a 24/7 alarm schedule. You can adjust this schedule by first selecting the day of the week you want to change and then select a time window below. You can either select two time windows - e.g. from 12 at night to 7am and from 6pm to 11:59pm to keep an eye on your office over the off-hours. Or hide the second time line to cover a continuous time period. Please make sure that the first time value always has to be earlier then the second and the time window has to be contained by the 24h day - e.g. Time Segment 1 08:00:00AM - 06:00:00AM and Time Segment 2 08:00:00PM - 06:00:00AM would NOT be valid entries.
Motion Detection
The preview window will show a live stream of the selected camera. Click on a quadrant to add a marker and activate it for the motion detection. Don´t select areas that might cause false alerts - like moving trees or busy streets in the background. Activate the Motion Test (detections that would cause an alert will now be highlighted in the preview window) and adjust the Detection Sensitivity - it is best practice to have someone walk through the frame of your camera and setting the sensitivity to be triggered by this event. A good starting point for the sensitivity is around 50.
The second slide below the sensitivity is used to set a Lower and Upper Limit to the motion detection. E.g. you don't want an alarm, when every pixel inside the image changes, e.g. you switch on the light inside the room ? Lower the upper limit below 100. Or you are forced to use a higher sensitivity for the motion detection, making your surveillance prone to false-positive alarm detection - use the lower limit to raise the minimum amount of change that is necessary to trigger an alert.
If you have All Channels selected, the preview window will show you the video image of the first channel - but settings made will be saved for all channels. It is recommended to adjust the sensitivity and detection area for each channel individually, by selecting each camera from the channel dropdown menu in the top right.
Alarm Action
Activate the alarm recording by checking the Activate Recording box. The length of an alarm video is defined by two values - the recording time before and after a motion was detected. Please be aware that activating the recording before detection will cause the software to record constantly, creating a higher system load for your server. This function should only be used when necessary. Please go to the General Recording settings menu to adjust the video recording parameters. Further actions allow you to pop-up the minimized software window, playing an audio signal or start another program once a motion alert was triggered.
Trigger a Program in case of an Alarm
This is a versatile function, that allows you to execute a program once a motion was detected.
Select a camera, activate the alarm recording and click on the ... button next to Trigger a Program. In the opening Explorer Window choose the executable file you want to start once the camera detects a motion.
Example
A manual for the use of a batch file that, in case of an alarm trigger, will stop the Windows screen saver, can be found here.


