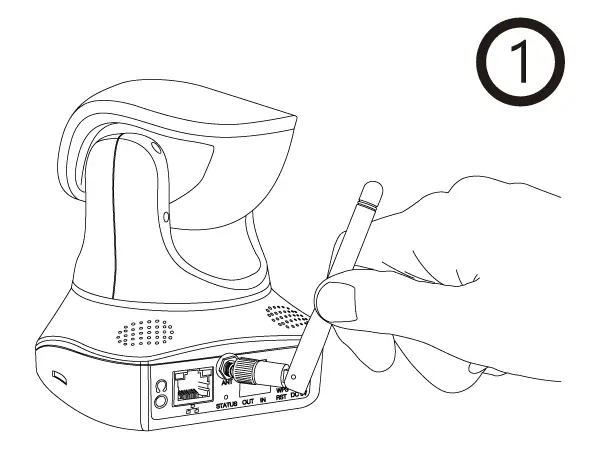
Point-2-Point Guide
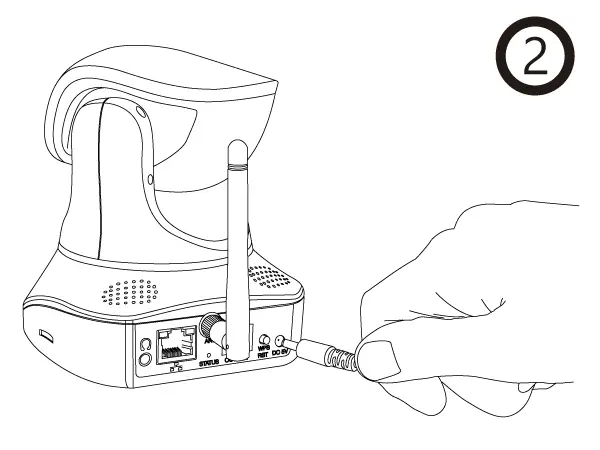
Attach the WiFi antenna to the cameras antenna connector as shown here (#11). (only for the non-PoE Version!)
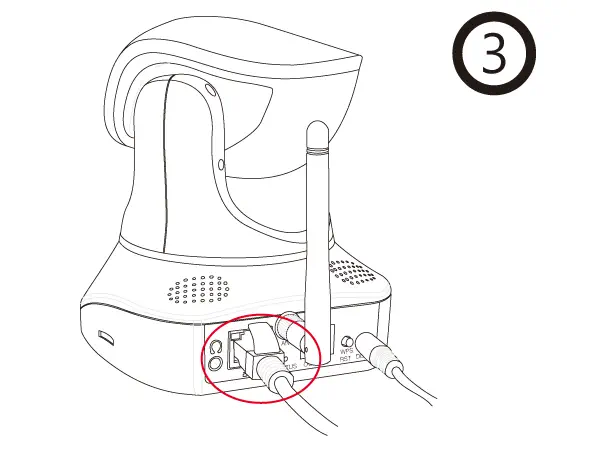
Connect the network cable to the back of the camera (s. #12) to setup a LAN connection.
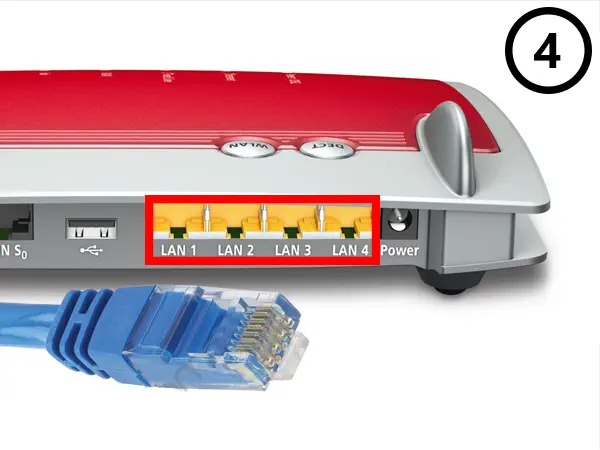
Connect the cameras network cable to a free LAN port on your internet router.
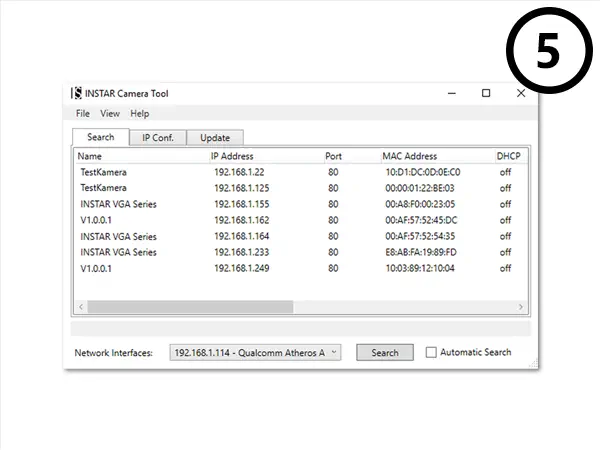
Start our IP Camera Tool from the Software CD and double click on the name of the camera.
Default Logins User/Password: admin / instar for the administrator, user / instar for normal users and guest / instar for restricted users. Our Installation Wizard will lead you through the rest of the installation process.
You need to install the Adobe Flash Plugin to display your cameras h.264 video stream. You can use to MJPEG Stream in case you are not allowed to install Browser plugins on your machine.
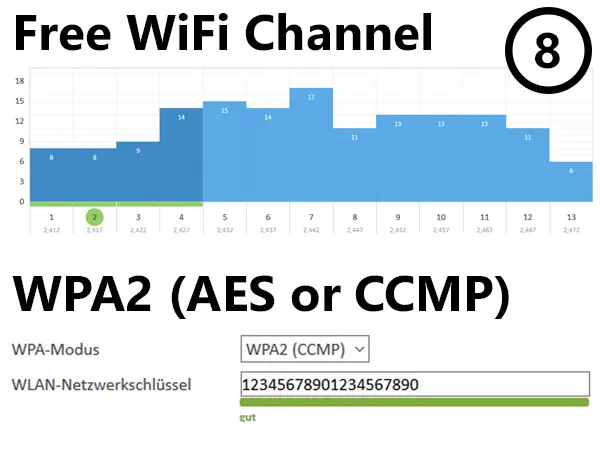
It is recommended to set your WiFi router to a free WiFi band (802.11bgn) and activate the WPA2/AES (or WPA2/CCMP) encryption, before connecting your camera to your local wireless LAN.
Access your camera´s WiFi Settings and enter your WiFi information. Save your credentials, unplug the network cable and restart your camera, to connect it to your WiFi network.
You need to Forward a Port inside your router, if you want to access your camera over its DDNS Address from the internet. Alternatively, you can use the P2P USER ID to access your camera with our smartphone app (see Step 12 below).
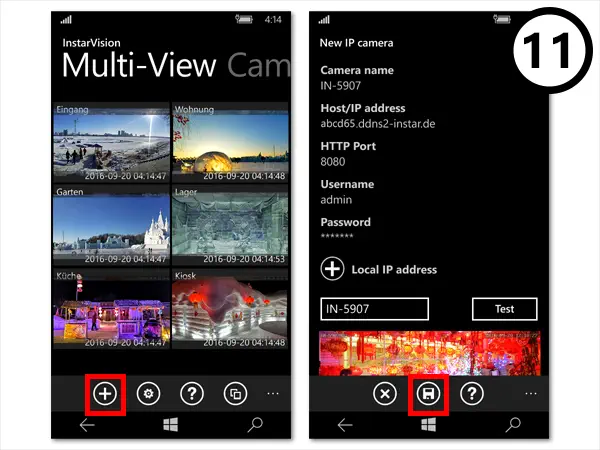
Now you can enter your camera´s DDNS information to our free Windows Phone, Windows Metro, Android, iPhone, iPad or Blackberry App.
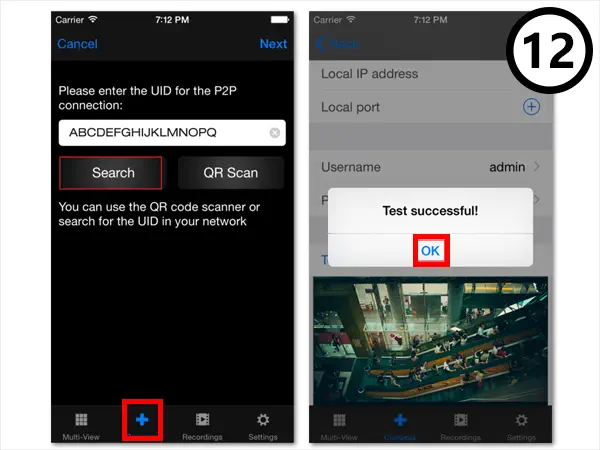
If you cannot open a port for camera´s DDNS service, you can still use the Point-2-Point Service instead with our Windows Phone, Windows Metro, Android, iPhone, iPad or Blackberry App.
