Quick Installation

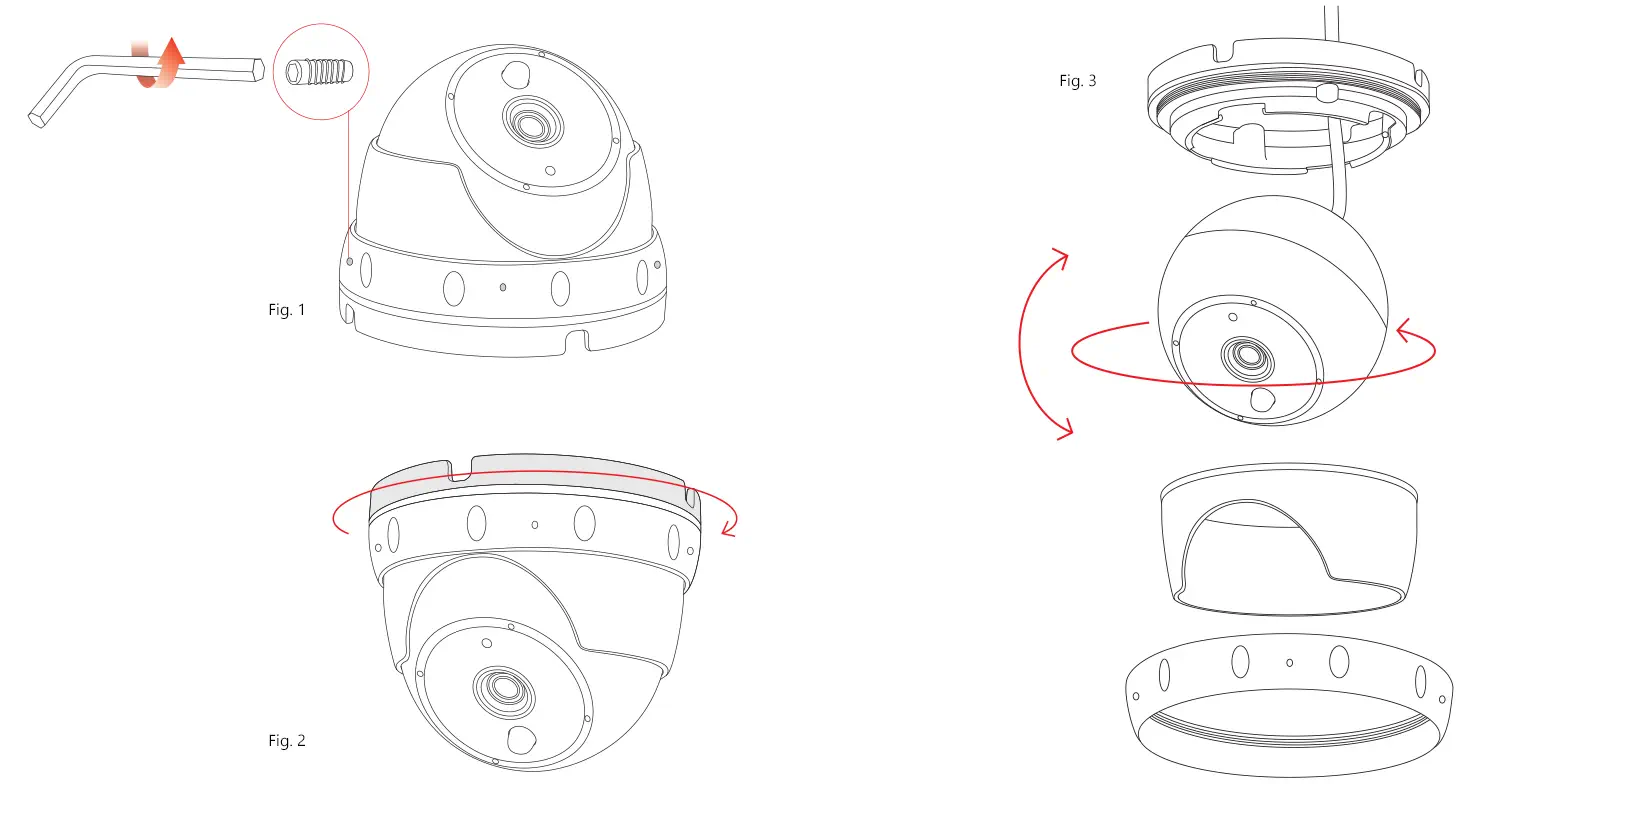
In the delivery content, you will find 3 tools for loosening the camera bracket, opening the camera dome from the back to access the cables, and opening the camera from the glass front to adjust the lens.

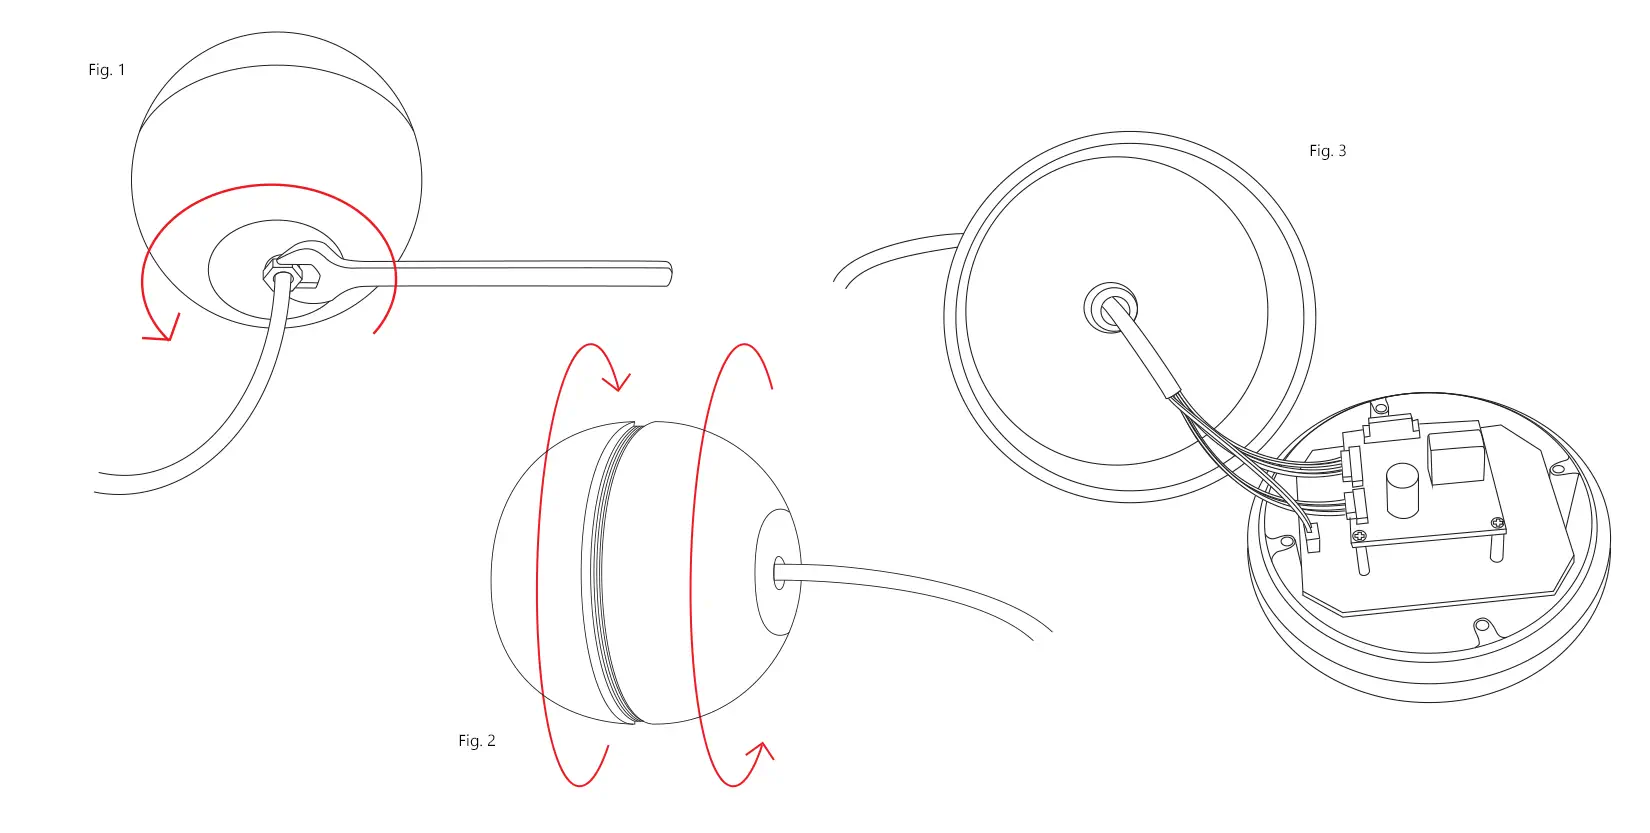
The wrench tool is to be used for opening the cable nut at the back of the dome casing. You can use this tool to access the cable inside the casing. In case you want to place the cable through a wall, you can unplug the cables from the board and take them out through the cable hole. Please do it with special caution in order not to damage any wires.

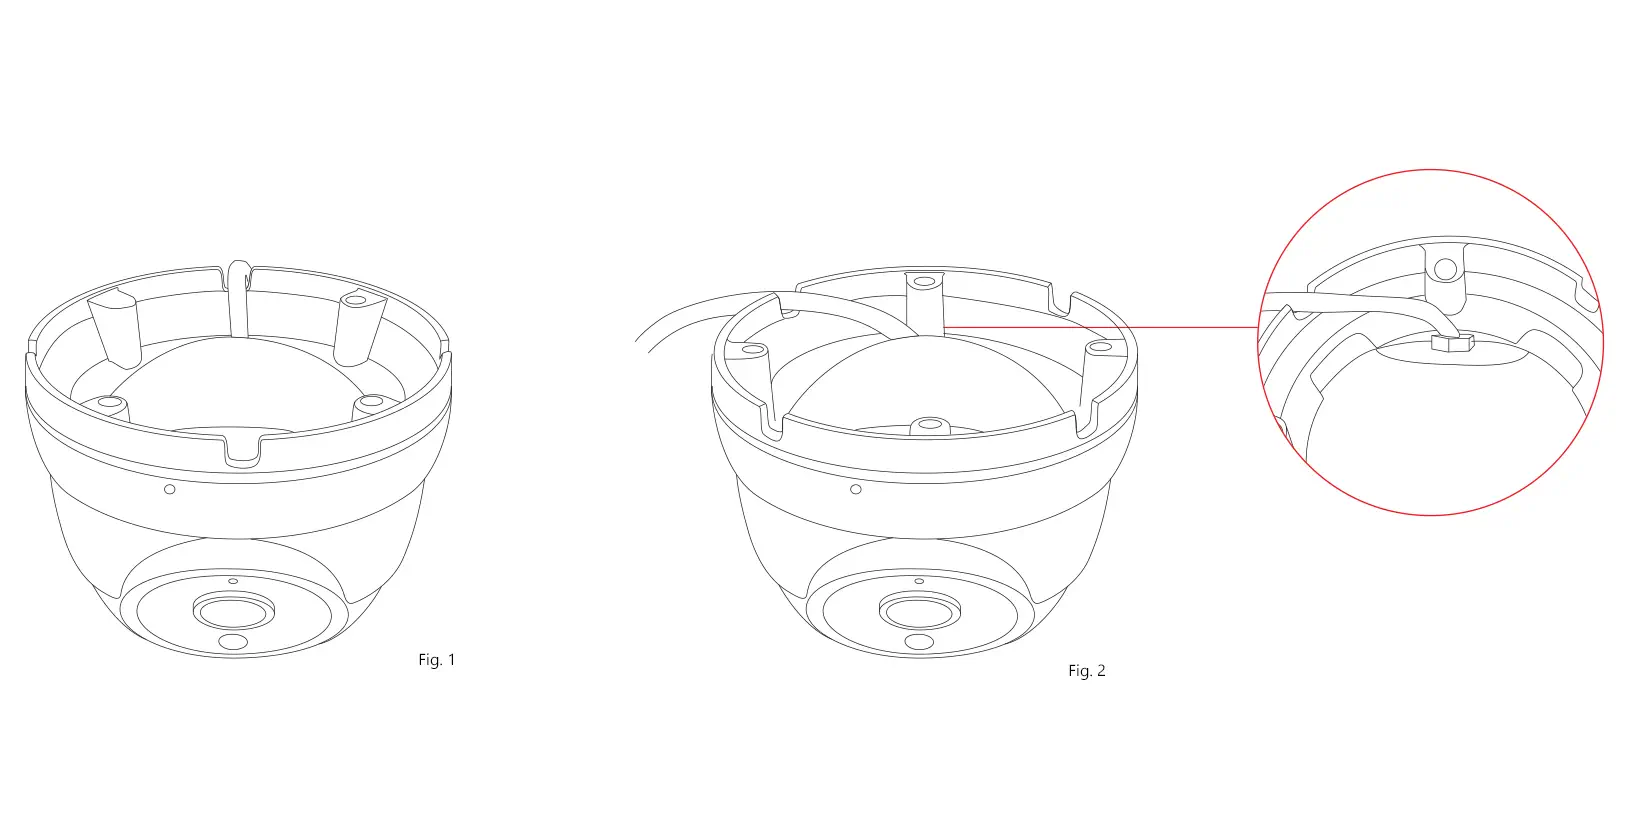
When installing, ensure that the connection cable is routed straight out of the camera and that no kinking occurs in the cable.

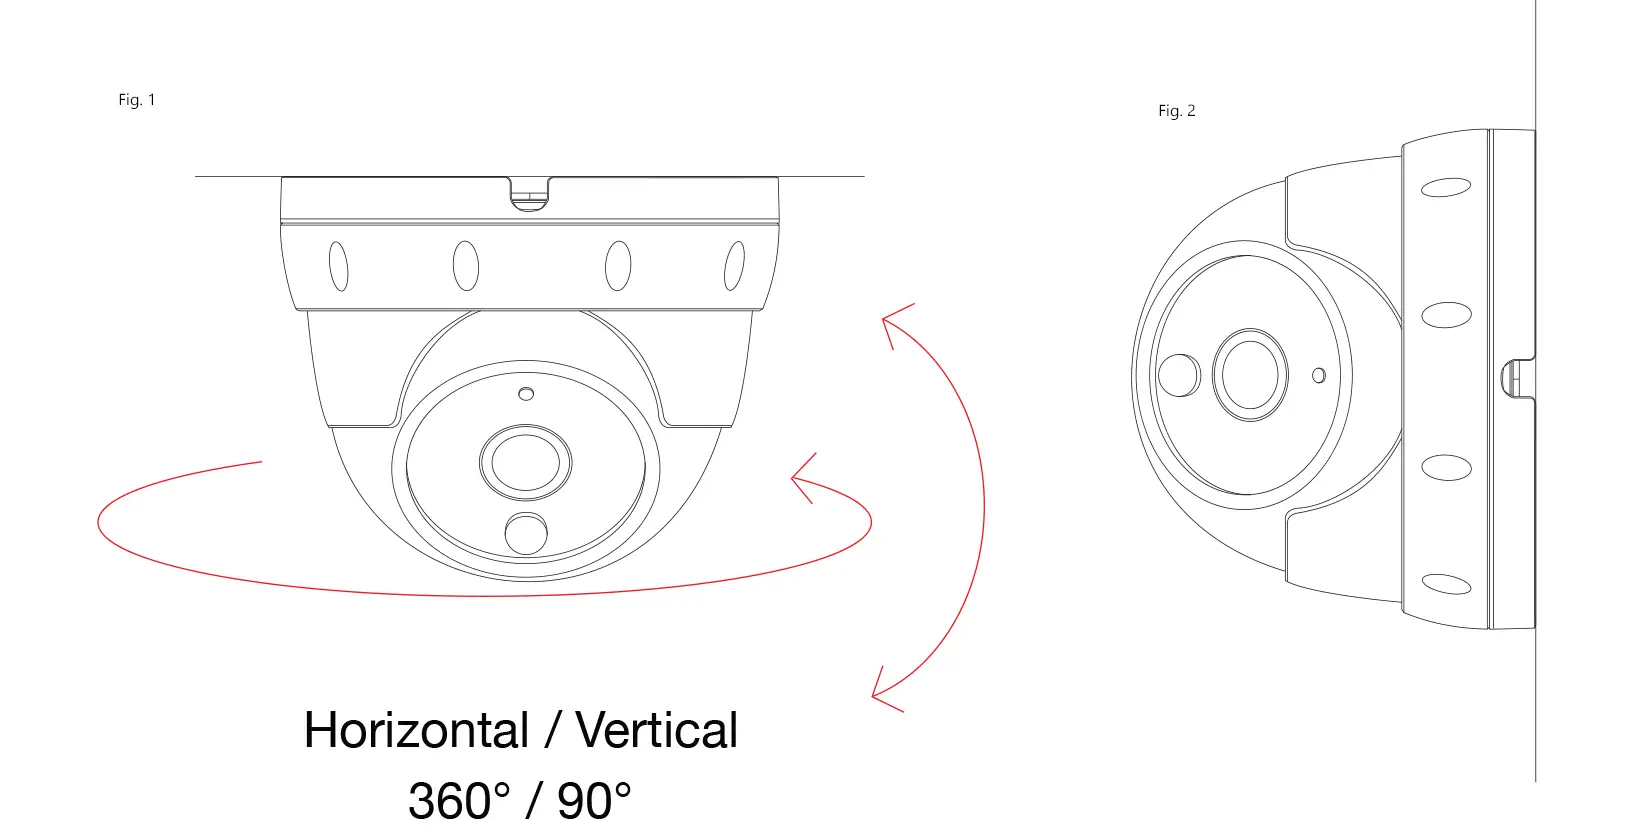
The camera can then be mounted both vertically and horizontally on the wall. In rare cases, you may need to adjust adjust the lens focal point. We provide also tools for you to open the the glass front.
First, please use the metal tool to carefully open the metal ring that is fixed on top of the glass through the holes. Then you can use the rubber tool to lift up the glass front as shown in below instruction.