Set up a Passive FTP Server for your WQHD Camera using Docker
Update: This tutorial works with both Active (PORT Mode) and Passive (PASV Mode) uploads. If you only need Port Mode please read our tutorial Set up an FTP Server for your WQHD Camera using Docker.
Update: Extended tutorial to Set up a Secure FTP Server for your WQHD Camera using Docker by adding TLS encryption.
Q: I want to use my cameras FTP service to upload alarm recordings and snapshot series to my Linux Server (Raspberry Pi).
A: The simplest way would be to use your Internet Router as FTP Server. If you want to use a Linux Server like an Raspberry Pi we recommend using the sFTP Service instead of FTP or FTPS. But of course you can also set up your own FTP server instead. I would recommend building an vsftpd Docker image for this task.
Preparing the Docker Image
Start by creating a work directory and your Dockerfile, e.g. :
mkdir -p /opt/vsftpd/ftpuser && cd /opt/vsftpd
nano Dockerfile
And add the following content. Make sure port 20 - 21 as well as 4242 - 4243, are being forwarded to the server. We will need these extra ports for the passive mode - set pasv_min_port and pasv_max_port accordingly in the vsftpd.conf configuration file below.
# Dockerfile for vsftpd on CentOS7
FROM centos:7

MAINTAINER m.polinowski@instar.com

RUN yum -y update; yum -y install which vsftpd net-tools vsftpd-sysvinit; yum clean all

COPY vusers.txt /etc/vsftpd/
RUN db_load -T -t hash -f /etc/vsftpd/vusers.txt /etc/vsftpd/vsftpd-virtual-user.db; rm -v /etc/vsftpd/vusers.txt; \
	chmod 600 /etc/vsftpd/vsftpd-virtual-user.db
COPY vsftpd.conf /etc/vsftpd/
COPY vsftpd.virtual /etc/pam.d/
RUN mkdir -p /home/vftp/ftpuser; chown -R ftp:ftp /home/vftp

EXPOSE 20 21 4242 4243

CMD ["/usr/sbin/vsftpd","-obackground=NO"]
This Dockerfile will take the CentOS as a base image - this can be replaced by any flavour of Enterprise Linux. The next step installs the vsftpd service and creates the FTP User account for us. After that we need to copy the following configuration files into the image - all of the need to be created in the same directory where we placed our Dockerfile:
FTP User Login
vusers.txt
ftpuser
mypassword
This is the user we will have to use to connect to the FTP server - change both the username and password according to your needs.
FTP User Configuration
vsftpd.virtual
#%PAM-1.0
auth       required     pam_userdb.so db=/etc/vsftpd/vsftpd-virtual-user
account    required     pam_userdb.so db=/etc/vsftpd/vsftpd-virtual-user
session    required     pam_loginuid.so
Server Configuration
vsftpd.conf
anonymous_enable=NO
local_enable=YES
connect_from_port_20=YES
pasv_enable=YES
pasv_addr_resolve=YES
pasv_min_port=4242
pasv_max_port=4243
virtual_use_local_privs=YES
write_enable=YES
local_umask=022
pam_service_name=vsftpd.virtual
guest_enable=YES
user_sub_token=$USER
local_root=/home/vftp/$USER
chroot_local_user=YES
allow_writeable_chroot=YES
hide_ids=YES
xferlog_enable=YES
xferlog_file=/var/log/vsftpd.log
Starting the Docker Container
Build the Image
With those 4 files in place we are now ready to build our Docker image:
docker build -t vsftpd_pasv .Run the Container
Make sure that the FTP user directory exists and can be written to by your Docker user:
mkdir -p /opt/vsftpd/ftpuser
chmod 755 -R /opt/vsftpd/*
Make sure that the home directory
/opt/vsftpd/ftpuseris set to777to prevent the FTP write error ftp 550 Create directory operation failed.
docker run -d \
    --name vsftpd \
    --net=host \
    --privileged \
    --rm \
    -v /opt/vsftpd/ftpuser/:/home/vftp/ftpuser/ \
    vsftpd_pasv:latest
Connecting an INSTAR IP Camera
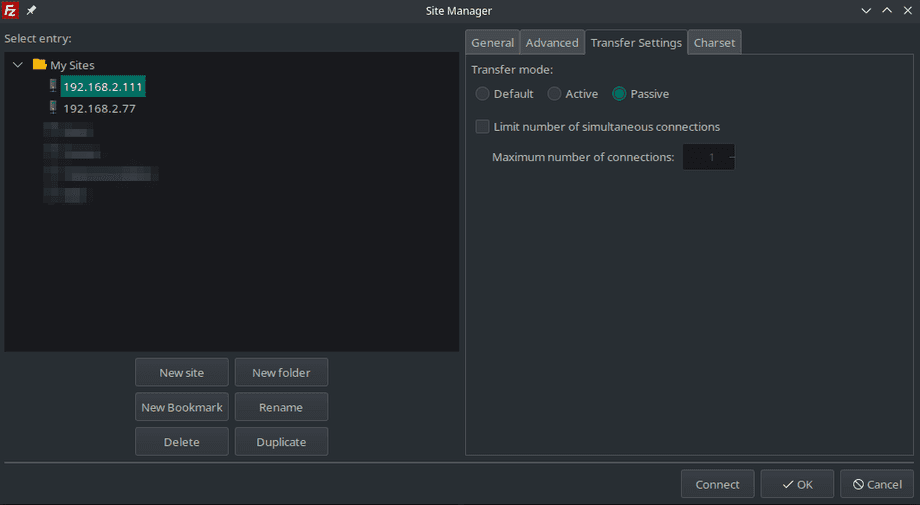
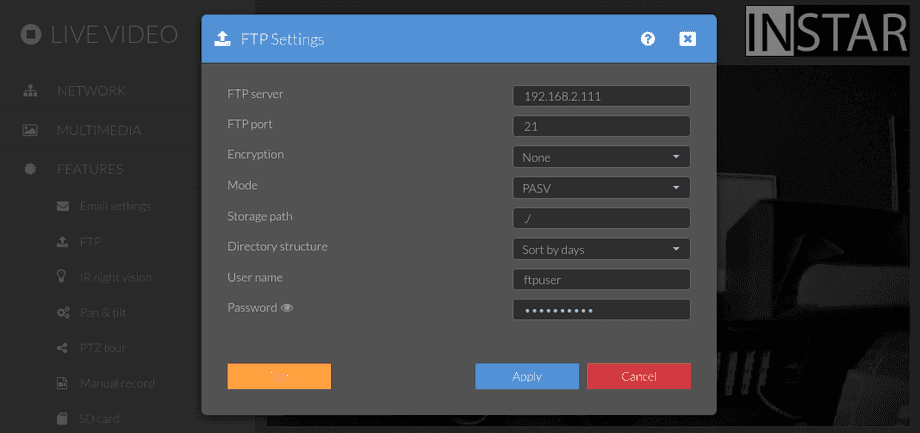
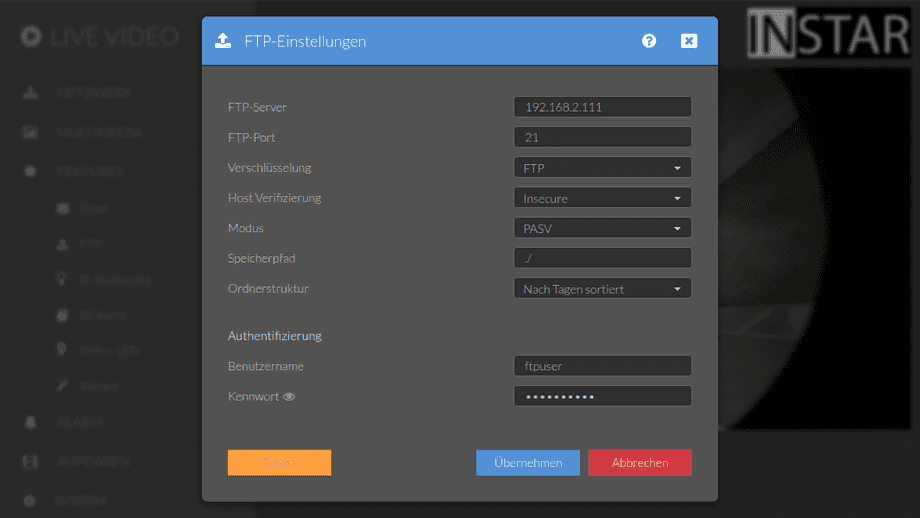
Now you can also use the PASV mode - e.g. in FileZilla Server:


