INSTAR MQTT Server with HiveMQ
Install Docker on Linux
I am going to install Docker on a Arch Linux system. For other operating systems please check out the official Docker documentation.
Enable the Loop Module
First check if the Loop Module is already loaded on your system:
lsmod | grep loopIf the Loop module has been loaded, you can skip the following steps. Otherwise run the following two commands:
tee /etc/modules-load.d/loop.conf <<< 'loop'
modprobe loop
Re-run lsmod | grep loop to verify that the loop module is now running.
Install Docker
Now we can install docker from the community repository:
pacman -S dockerOnce Docker is installed continue with starting the service and enable it to run on system startup.
Start and Enable docker
systemctl start docker
sytemctl enable docker
sudo docker info
HiveMQ
I am going to run the trial version of the commercial HiveMQ MQTT Broker inside a docker container. Note that you could also use the free Community Edition instead. The commercial trial version is limited to 25 connected clients.
Download and Run HiveMQ
To download the image from Docker Hub run the following command:
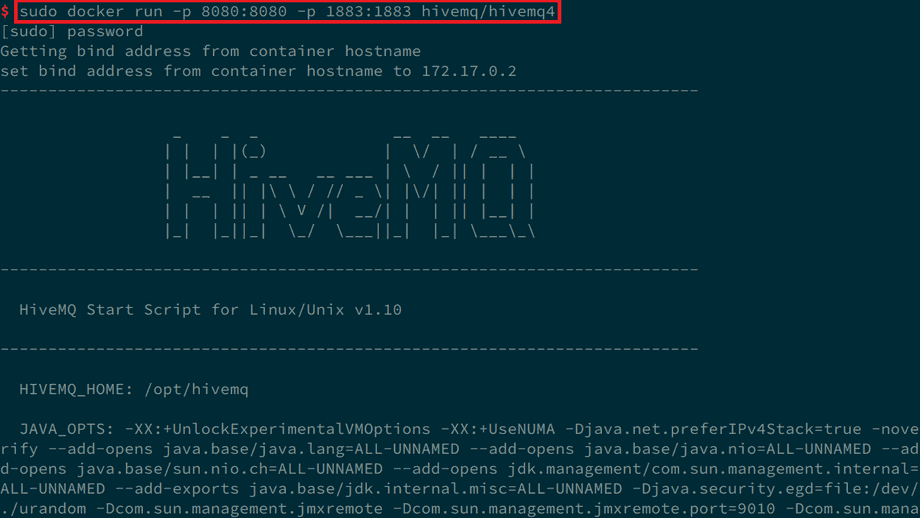
docker run -p 8080:8080 -p 1883:1883 hivemq/hivemq4So now we are able to access the HiveMQ MQTT service via localhost on the exposed web port 8080:
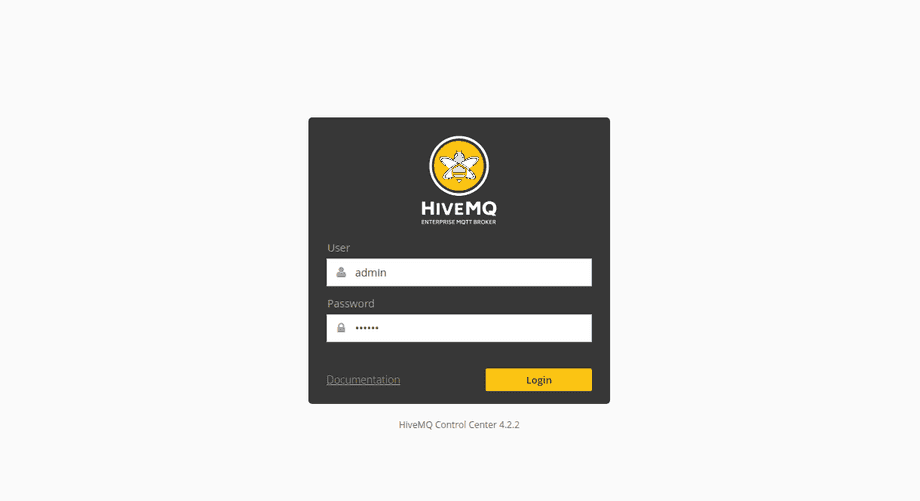
The default login to the HiveMQ Dashboard is username admin and password hivemq:
Connecting your Camera
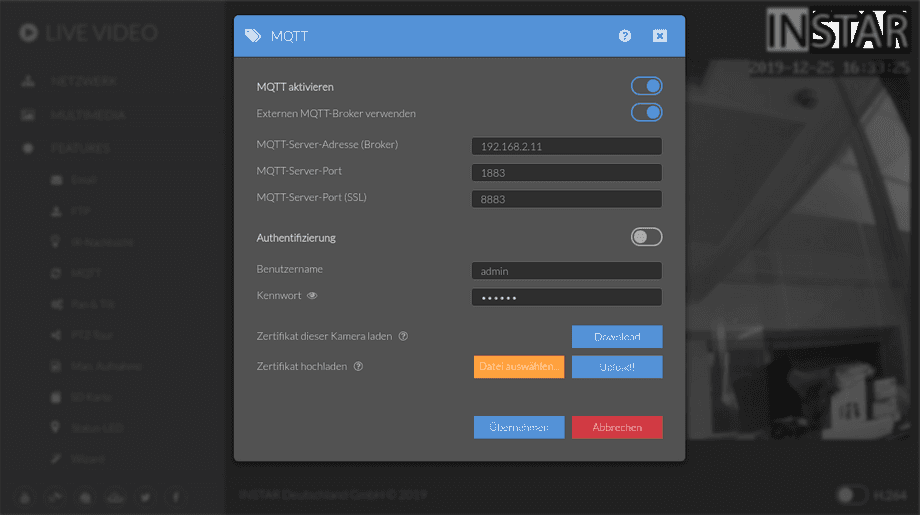
With the HiveMQ Broker online we are now able to connect our camera's MQTT service to it. Go to the MQTT Menu, activate the MQTT service and the use of an external MQTT Broker. Type in the IP address of the machine you installed HiveMQ on, leave the default MQTT ports as in the screenshot below and deactivate the user authentication:
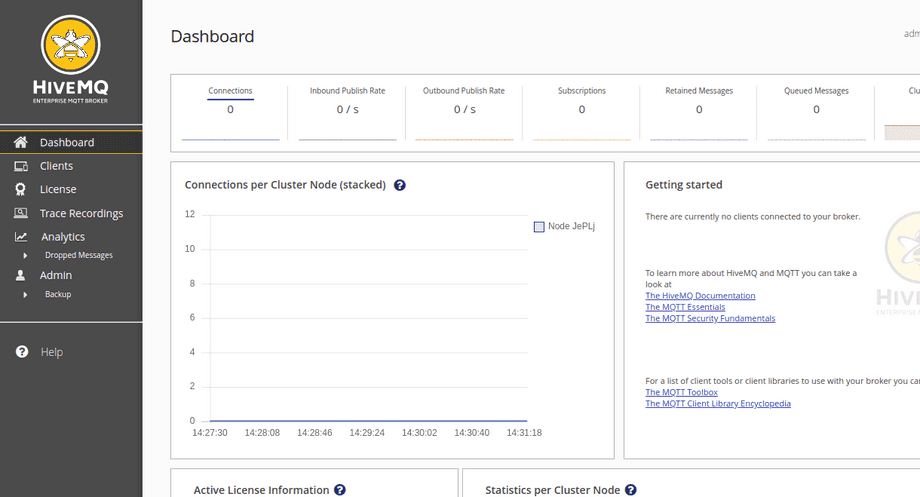
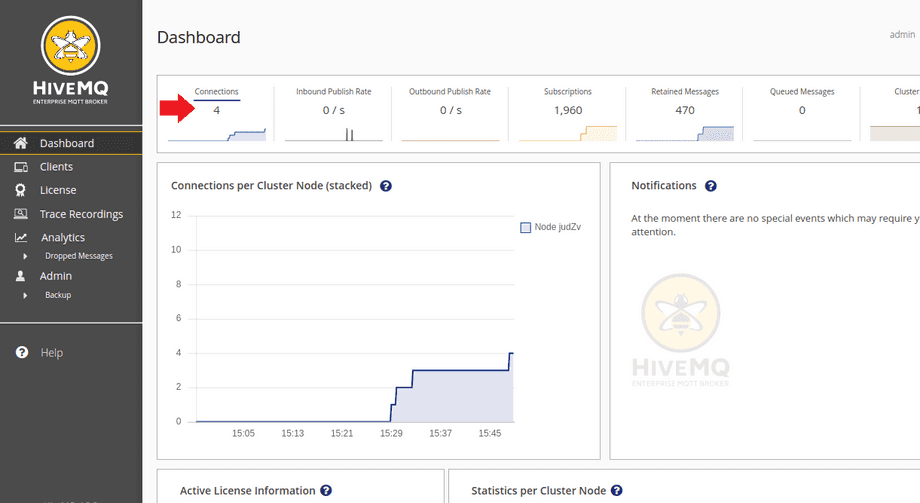
Going back to the HiveMQ Dashboard you should now see that you have connected devices:
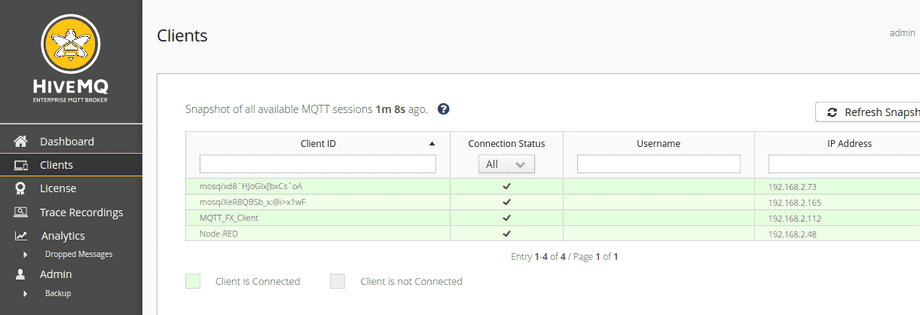
Switching to the Clients tab will now show all your connected devices. Every camera will use a Client ID starting with mosq/ for the internal Mosquitto Broker.
Node-RED
You can now connect every compatible MQTT Software to the HiveMQ Broker to control every connected camera. In the following we will show how to connect Node-RED as an example.
You can download the Node-RED flow that I am going to use from here: Download Flow:
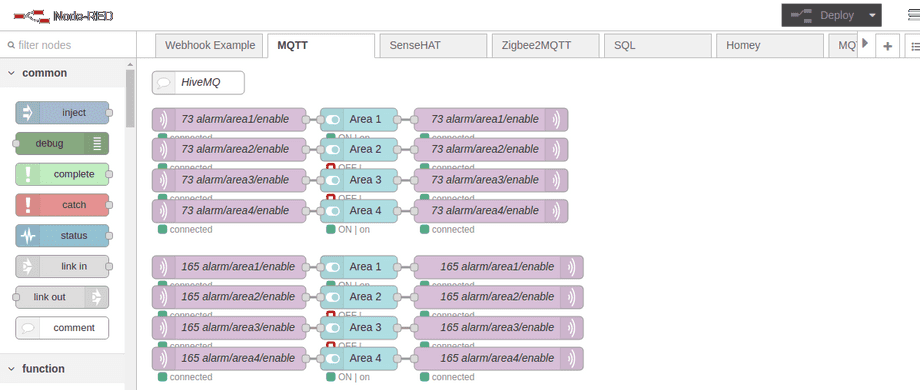
This flow controls the Motion Detection Areas of two cameras - one with the IP address 192.168.2.73 & MQTT ID 091419200118 and one with the address 192.168.2.165 & MQTT ID 000389888811 (If you downloaded this flow you can use search and replace function of your text editor to swap these IP addresses to match your own camera setup).
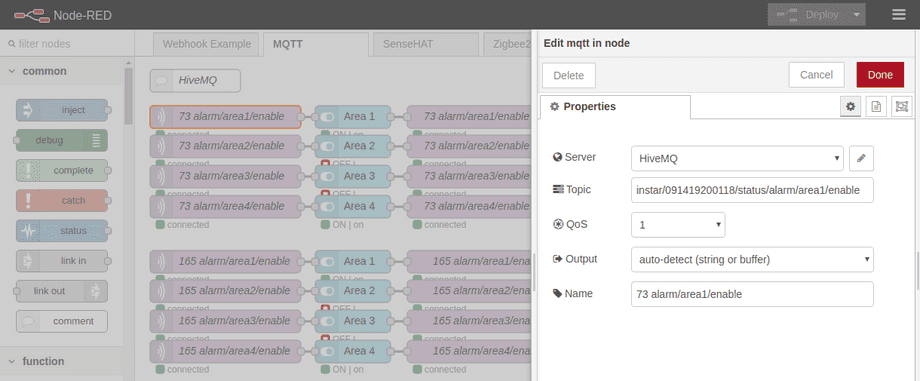
Each sequence starts with an MQTT Input node that receives updates for the corresponding STATUS Topic for areas 1-4:
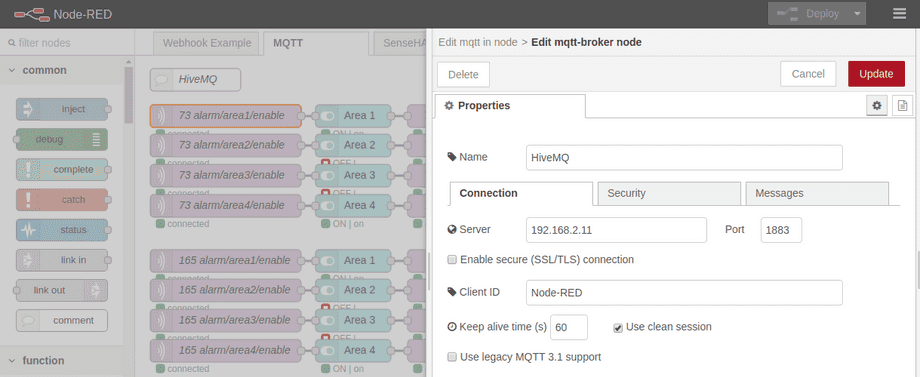
You will have add your new HiveMQ Broker by clicking on the pencil symbol next to the Server dropdown menu:
And type in your Broker IP address and MQTT port as shown above.
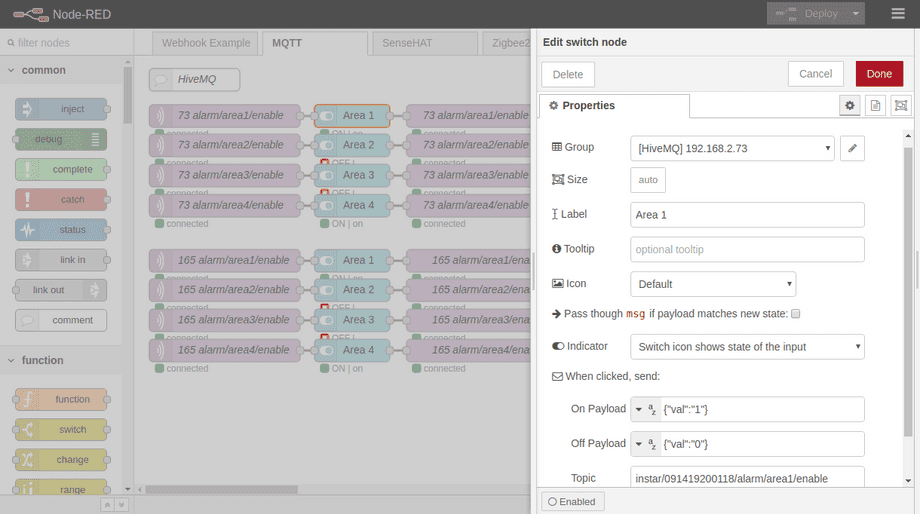
In the middle of each sequence we have an UI switch that emits a {"val":"0"} when the switch is pushed into the Off position. And a {"val":"1"} for the On position:
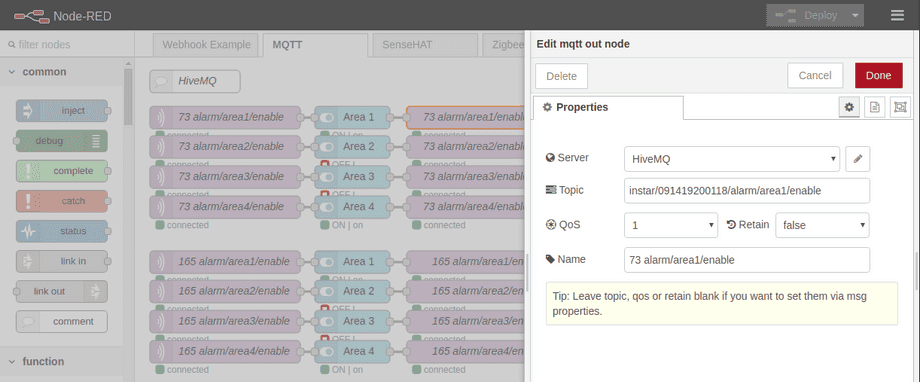
The exit of each sequence is a MQTT output node that publishes the payload emitted by our switch to the corresponding COMMAND Topic for area 1-4:
When you now switch to the MQTT Dashboard you will see a new tab called HiveMQ with 8 switches to activate / deactivate all for alarm areas on your two cameras:
