Using MQTT to inform Homey that an Alarm was Triggered
Q: I found your guide to use the INSTAR (HTTP) Alarmserver. Wouldn't it make more sense to publish those events through the MQTT service that every Full HD cameras offers? This way I would be able to be sure that every alarm event is registered by my Homey.
Make your camera the heart of your smart home
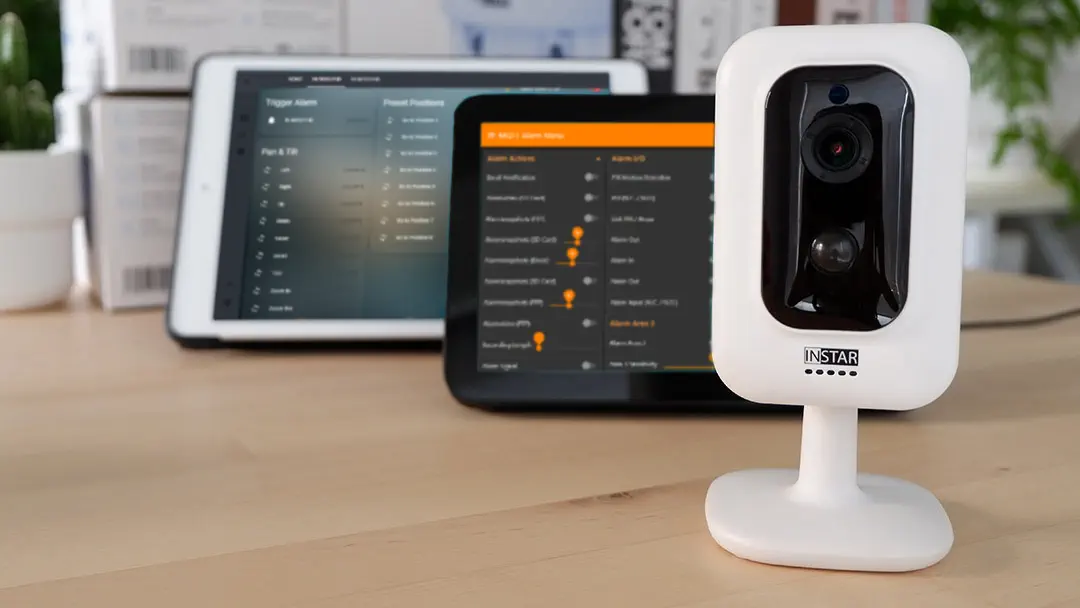
Using the MQTT interface of your INSTAR Full HD cameras you can connect them to an existing smarthome system (Home Assistant, OpenHAB, Node-RED, Athom Homey, Homematic, ioBroker, Loxone, homee) can be added. Or even make it the main broker for your MQTT sensors. MQTT allows you to automate ALL functions of your camera and link them to other services in your smarthome.
Control your camera via the IFTTT online service

On the IFTTT platform, we provided a service called INSTAR. The INSTAR applets provide you with the ability to control some settings of your INSTAR camera or INSTAR Cloud with IFTTT. You can connect INSTAR with triggers for location (Geo Location) and date & time, send notifications and much more. For example, you can connect INSTAR applets to the IFTTT location service and automatically disable the alarm when you arrive home. You can also use the INSTAR applets to create your own automation and connect them to other third-party applets.
A: All alarm events that published by the INSTAR HTTP Alarmserver can now also be accessed through the MQTT Service!
MQTT Alarmserver
The corresponding MQTT Topic is:
alarm/triggeredAll you need to do is adding a subscription to the Status Topic and you will receive updates about alarm events as well as what service triggered the alarm:
- Alarmbereich 1 ausgelöst:
1 - Alarmbereich 2 ausgelöst:
2 - Alarmbereich 3 ausgelöst:
3 - Alarmbereich 4 ausgelöst:
4 - Alarm-In / PIR ausgelöst:
5 - Audio Alarm ausgelöst:
6 - Bewegungserkennung & ausgelöst (Bereich 1):
7 - Bewegungserkennung & ausgelöst (Bereich 2):
8 - Bewegungserkennung & ausgelöst (Bereich 3):
9 - Bewegungserkennung & ausgelöst (Bereich 4):
10
Setting up Homey
To keep it simple I will ignore the alarm trigger and have my Homey base station's LED ring flash in red whenever an alarm event happened. Let's start by creating a new Flow in the Homey smartphone app:

Click on Add Card to add the event you want to trigger your flow:

This event has to be an MQTT status update from our camera:

Add the MQTT alarm server status topic:

And save the flow trigger:

Now we have to add an action we want to execute when our flow was triggered by the MQTT Alarmserver:

To keep it simple I will just have Homey flash it's LED ring in red:

Choose the Animation option:

And select the colour and duration:

You can now click on Test to test the animation and save your flow:
