INSTAR Command, Status and RAW Topics
Q: I want to switch my cameras Alarm Areas through the INSTAR MQTT Interface but I don't understand how to use the corresponding MQTT Topic.
Make your camera the heart of your smart home
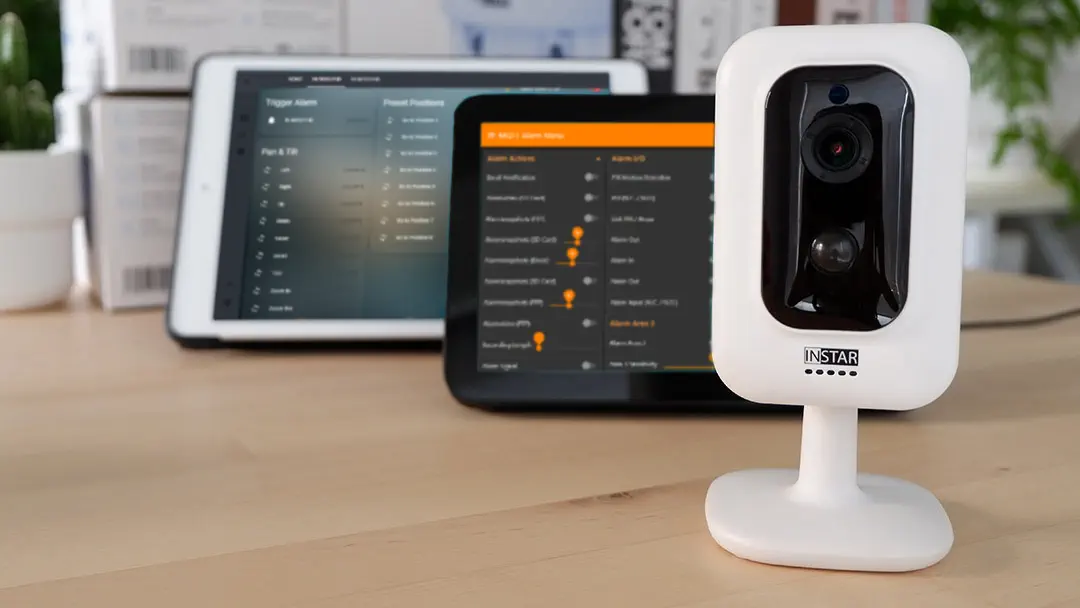
Using the MQTT interface of your INSTAR Full HD cameras you can connect them to an existing smarthome system (Home Assistant, OpenHAB, Node-RED, Athom Homey, Homematic, ioBroker, Loxone, homee) can be added. Or even make it the main broker for your MQTT sensors. MQTT allows you to automate ALL functions of your camera and link them to other services in your smarthome.
Control your camera via the IFTTT online service

On the IFTTT platform, we provided a service called INSTAR. The INSTAR applets provide you with the ability to control some settings of your INSTAR camera or INSTAR Cloud with IFTTT. You can connect INSTAR with triggers for location (Geo Location) and date & time, send notifications and much more. For example, you can connect INSTAR applets to the IFTTT location service and automatically disable the alarm when you arrive home. You can also use the INSTAR applets to create your own automation and connect them to other third-party applets.
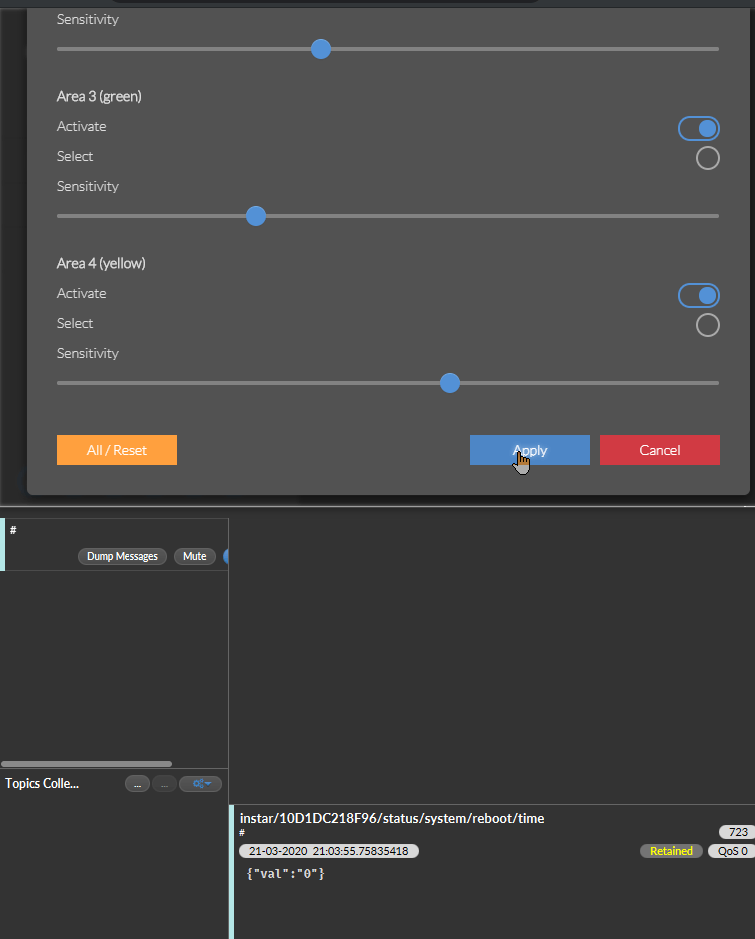
A: The corresponding MQTT Topics to switch the areas 1-4 are alarm/area1/enable - alarm/area4/enable. And they expect a payload {"val":"1"} to activate the area and {"val":"0"} to deactivate it. If you cannot find the correct topic in our list, you can also connect a Debugging Tool like MQTT.fx or MQTT Explorer to your camera's MQTT broker and use the webUI to update those topics. The example below shows the Alarm Areas Menu and below the MQTT.fx. Just click on submit in the camera webUI and you will see all MQTT updates that are triggered in MQTT.fx:
Now that you found your MQTT Topic you now need to make sure that it is directed at the correct camera. As we said, we need to update the topic alarm/area1/enable. The complete Command Topic for my camera is:
instar/10D1DC218F96/alarm/area1/enableThe value 10D1DC218F96 is the MQTT ID of my personal camera and will differ in your case. The MQTT ID is generated from the LAN MAC Address of your camera.
If you only have one camera connected to your MQTT Broker you can simplify this by swapping the MQTT ID with local. The Local Topic will target the camera that runs your MQTT Broker:
instar/local/alarm/area1/enableThe topic in this case requires a JSON formatted payload, e.g. {"val":"1"}. We can further simplify our setup by using the RAW Topic instead. This way we can use the raw value of the payload instead of having to bother ourselves with JSON formatting - in this case the raw payload is simply 1:
instar/local/alarm/area1/enable/raw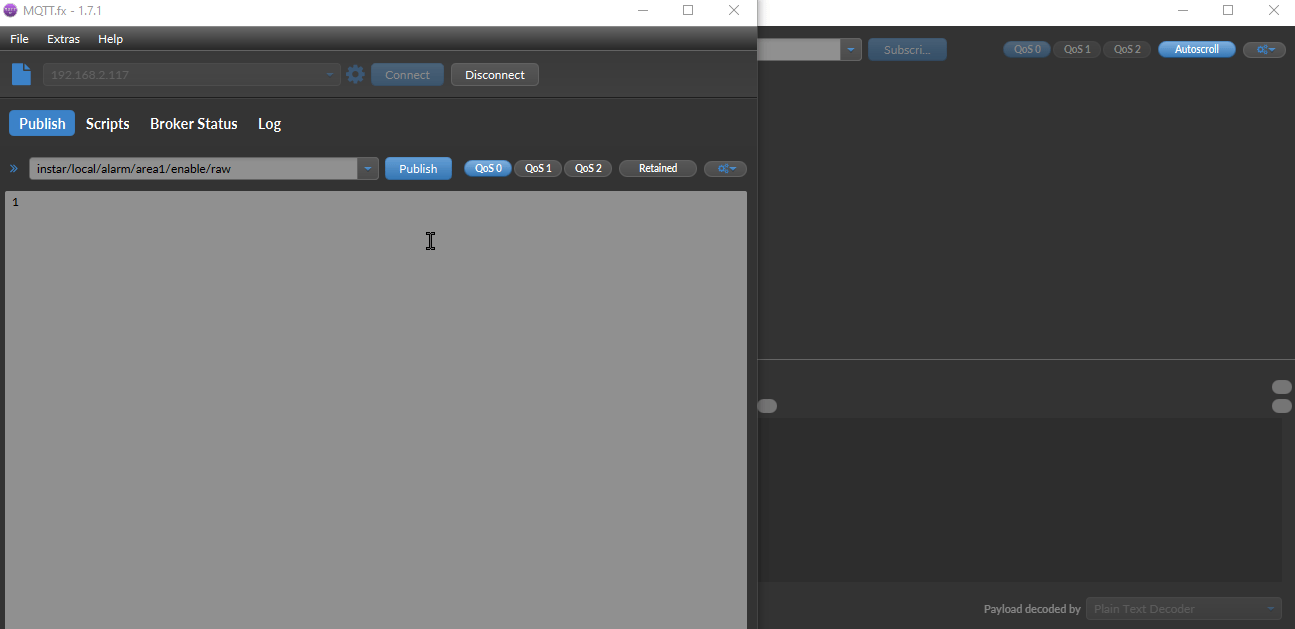
When we publish this update we can see both the RAW and regular Command Topic in MQTT.fx. And shortly afterwards we receive the Status Update from our camera, telling us that the camera setting was updated successfully.
instar/10D1DC218F96/status/alarm/area1/enable