Alle OpenHAB Tutorials
- OpenHAB 3 Camera Binding
- OpenHAB 3 Camera Widget
- OpenHAB 3 in Docker
- OpenHAB 3 MQTT Binding
- OpenHAB Smarthome
- OpenHAB IP Camera Binding
- openHABian on a Raspberry Pi
- INSTAR MQTT - OpenHAB2
All OpenHAB FAQs
- OpenHab3 IpCamera Binding Alarmserver
- OpenHab3 IpCamera Binding with an WQHD Camera
- Using OpenHab3 in Docker with an WQHD Camera
- OpenHAB v3 Configuration for your WQHD INSTAR MQTTv5 Broker
- OpenHAB v3 filebased Configuration for your WQHD INSTAR MQTTv5 Broker
- OpenHAB v3 Rules for your WQHD INSTAR MQTTv5 Broker
- OpenHAB v3 Blockly Scripts for your WQHD INSTAR MQTTv5 Broker
- OpenHAB v3 Sitemaps for your WQHD INSTAR MQTTv5 Broker
- Debugging the OpenHAB IP Camera Binding
OpenHab 4 with Docker
This is the updated tutorial for for OpenHab4. You can find the deprecated tutorial for OpenHab2 here.
Basic Setup
Pulling the Docker Image
The OpenHAB 4 image is available on Docker Hub:
docker pull openhab/openhab:latest-alpinePreparing the System
(sudo) groupadd -g 9001 openhab
(sudo) useradd -g 9001 openhab
(sudo) usermod -a -G openhab myownuser(sudo) mkdir -p /opt/openhab/{openhab_addons,openhab_conf,openhab_userdata}
(sudo) chmod -R 775 /opt/openhabRunning the Container
From your commandline:
docker run \
        --name openhab \
        --net=host \
        --privileged \
         --rm \
        -v /etc/localtime:/etc/localtime:ro \
        -v /opt/openhab/openhab_addons:/openhab/addons \
        -v /opt/openhab/openhab_conf:/openhab/conf \
        -v /opt/openhab/openhab_userdata:/openhab/userdata \
        -d \
        openhab/openhab:latest-alpine
Or in docker-compose run the following compose file using docker-compose up -d:
services:
  openhab:
    image: "openhab/openhab:latest-alpine"
    restart: always
    network_mode: host
    volumes:
      - "/etc/localtime:/etc/localtime:ro"
      - "/etc/timezone:/etc/timezone:ro"
      - "/opt/openhab/openhab_addons:/openhab/addons"
      - "/opt/openhab/openhab_conf:/openhab/conf"
      - "/opt/openhab/openhab_userdata:/openhab/userdata"
    environment:
      OPENHAB_HTTP_PORT: "8080"
      OPENHAB_HTTPS_PORT: "8443"
      EXTRA_JAVA_OPTS: "-Duser.timezone=Europe/Berlin"
Wait a few minutes and verify that the container is running:
docker ps

CONTAINER ID   IMAGE                           CREATED       STATUS               NAMES
333ea28350b4   openhab/openhab:latest-alpine   4 hours ago   Up 4 hours (healthy) openhab
You can then visit the web user interface with your web browser on http://localhost:8080. Follow the visit to set up your user account and log in with your created account:
Maintenance
Clean Up when things go wrong
Delete the contents of /opt/openhab/userdata/cache and /opt/openhab/userdata/tmp
(sudo) rm -rf /opt/openhab/userdata/cache
(sudo) rm -rf /opt/openhab/userdata/tmp
OpenHAB CLI
Access the OpenHAB command line tool inside the Docker container from your host system:
docker exec -it openhab /openhab/runtime/bin/client

Logging in as openhab
Password:  PASSWORD IS habopen
                           _   _     _     ____
   ___   ___   ___   ___  | | | |   / \   | __ )
  / _ \ / _ \ / _ \ / _ \ | |_| |  / _ \  |  _ \
 | (_) | (_) |  __/| | | ||  _  | / ___ \ | |_) )
  \___/|  __/ \___/|_| |_||_| |_|/_/   \_\|____/
       |_|       4.1.2 - Release Build

Use '<tab>' for a list of available commands
and '[cmd] --help' for help on a specific command.
To exit, use '<ctrl-d>' or 'logout'.

openhab>
Accessing the OpenHab logs from the CLI:
openhab> log:tailOpenHAB INSTAR Camera Binding
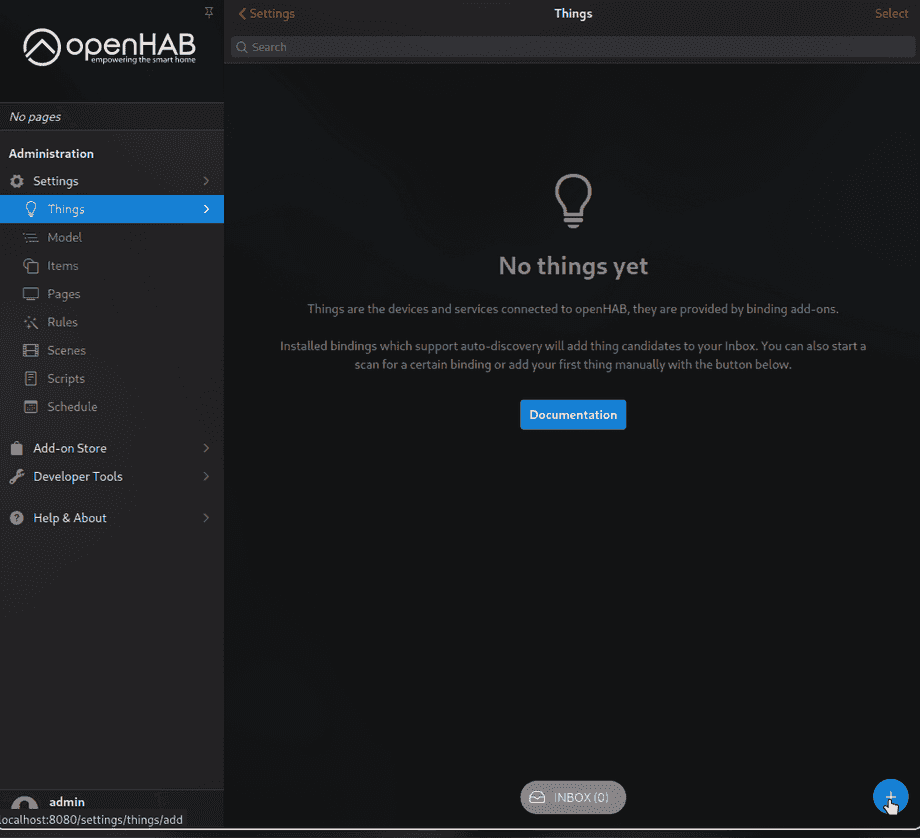
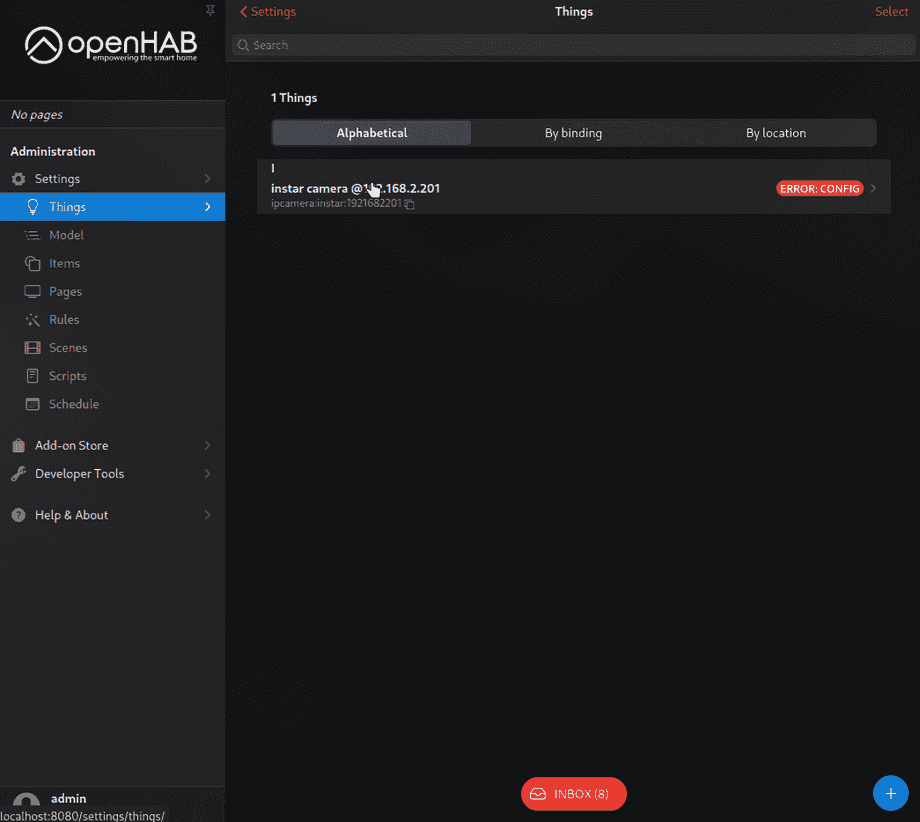
After installing the camera binding we can continue with adding our camera. Go to Things :
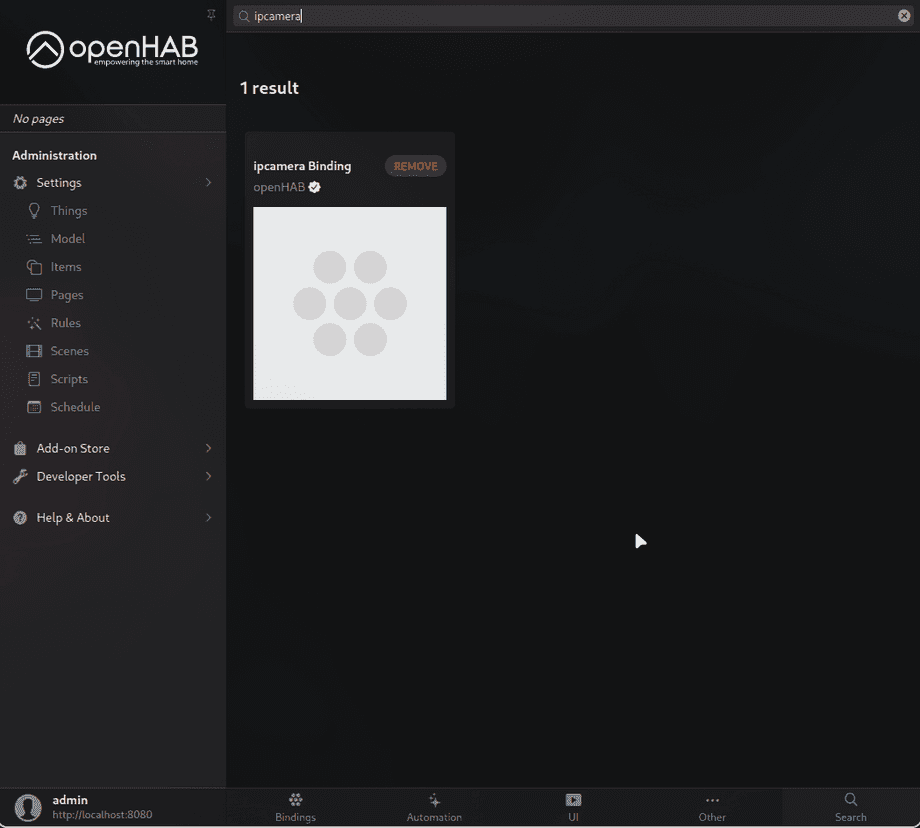
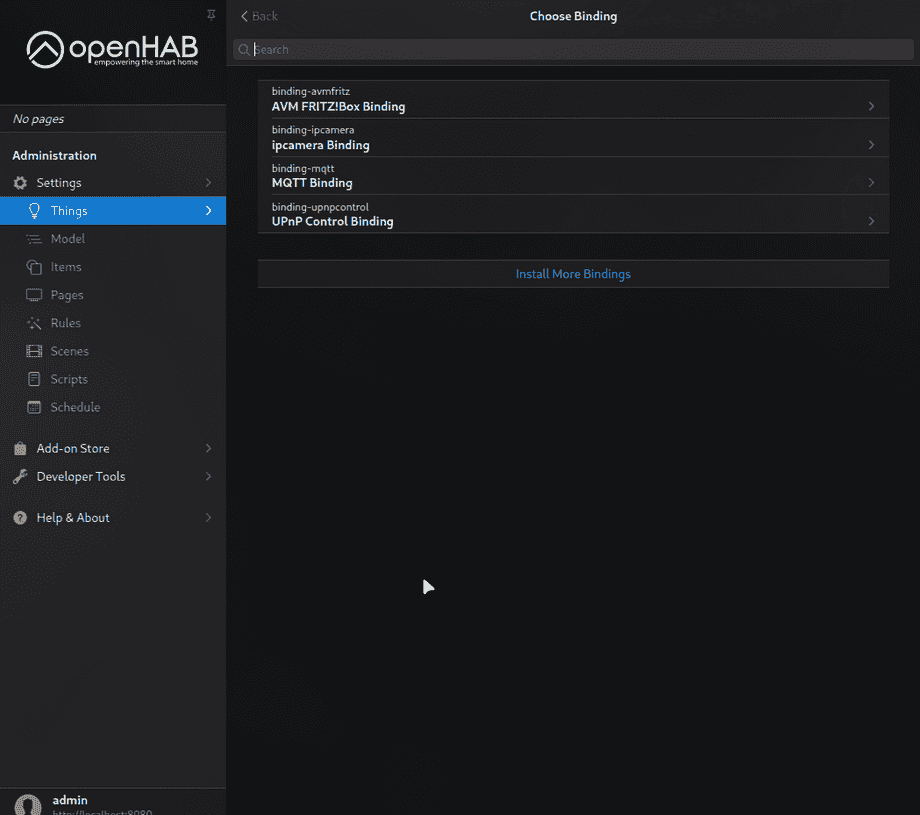
Select the camera binding or install it if it is missing by clicking on the + button:
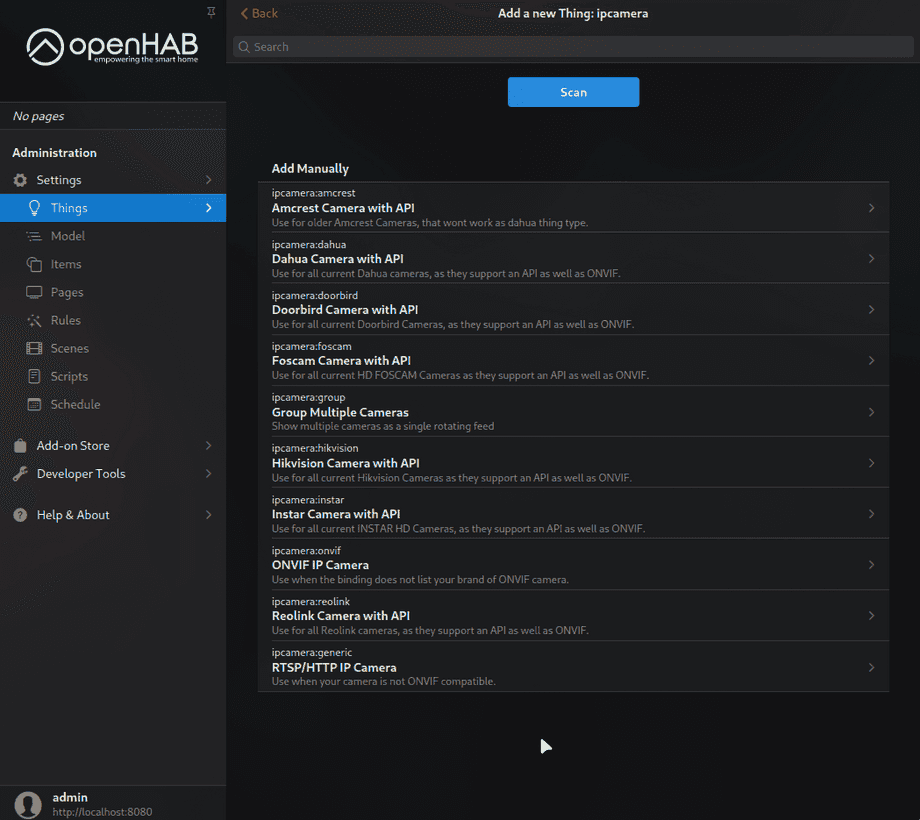
You can now add a new Thing by selecting the ipcamera Binding:
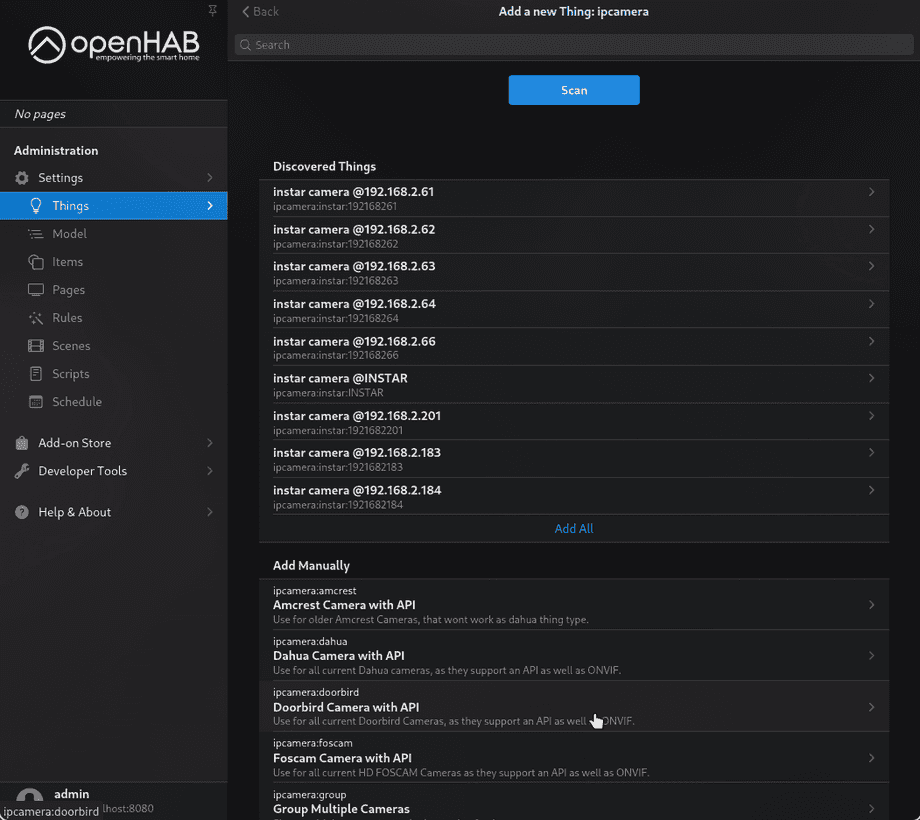
Next, either select the INSTAR preset and add your camera configuration manually or click on Scan to let the binding search for INSTAR IP cameras on your local network:
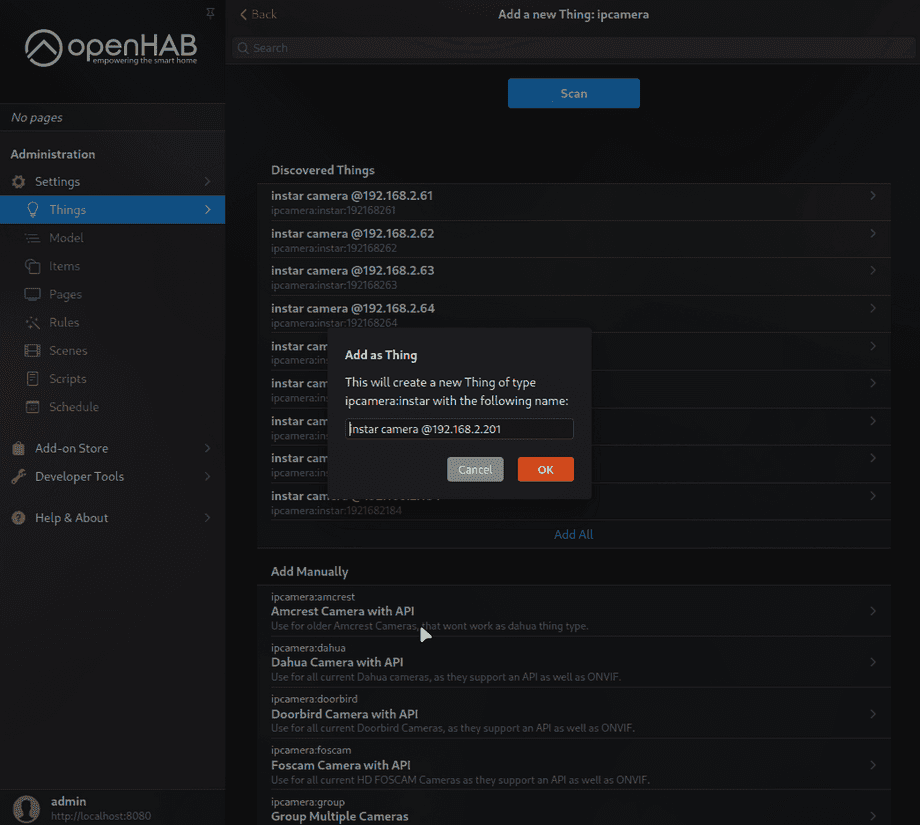
After a successful scan select your camera by clicking on it:
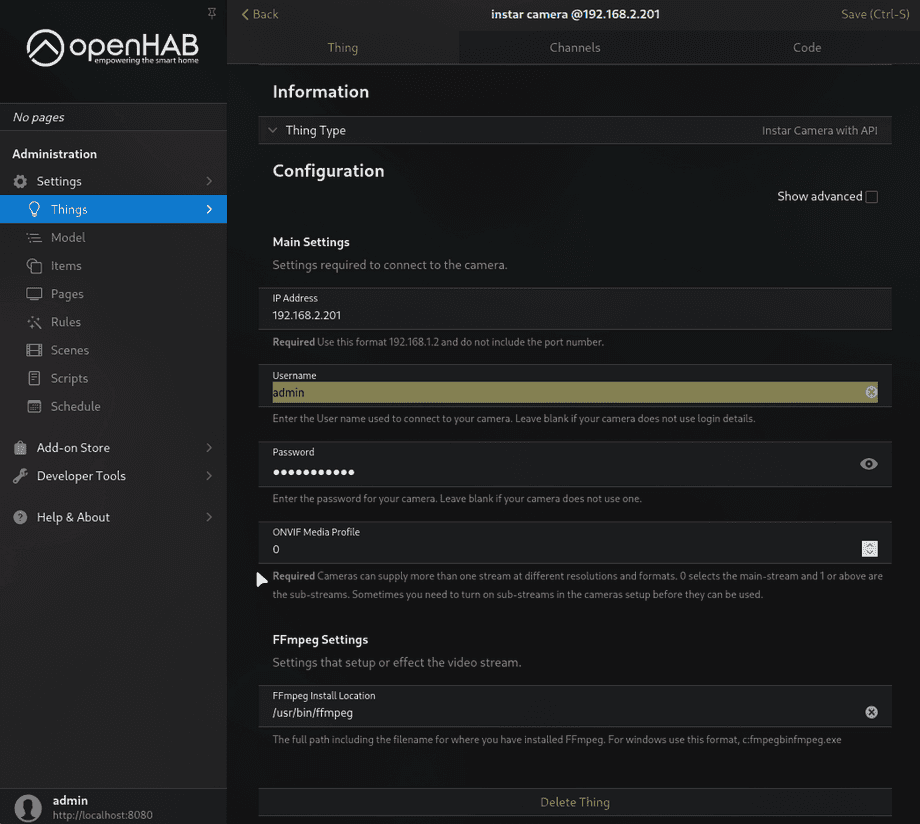
Now configure the Thing with your camera IP, ONVIF server port (default 8080) and your camera admin login. If you used the scan option everything but the login will be pre-filled:
An important prerequisite here is that we have ffmpeg installed inside our container in /usr/bin/ffmpeg. Let's make sure that this is the case.
Installing FFMPEG
The camera binding is using FFMPEG to provide video streams and snapshots from your camera. Make sure that FFMPEG is installed on your system by running ffmpeg -version. Also verify the installation path - default /usr/bin/ffmpeg
In our case we are using the Alpine Linux Docker image of OpenHab which does not come with FFMPEG. I will install it by entering the openhab container (I tagged my container openhab - if you did not supply a tag when running the container, replace the openhab tag with your container ID) and run the installation command:
docker exec -ti openhab /bin/ash
apk add ffmpeg
Verify the installation and exit the container with exit:
ffmpeg -version
ffmpeg version 6.1.1 Copyright (c) 2000-2023 the FFmpeg developers
built with gcc 13.2.1 (Alpine 13.2.1_git20231014) 20231014
Remember that when you remove this container and recreate it - e.g. after updating the container image - you have to re-install ffmpeg!
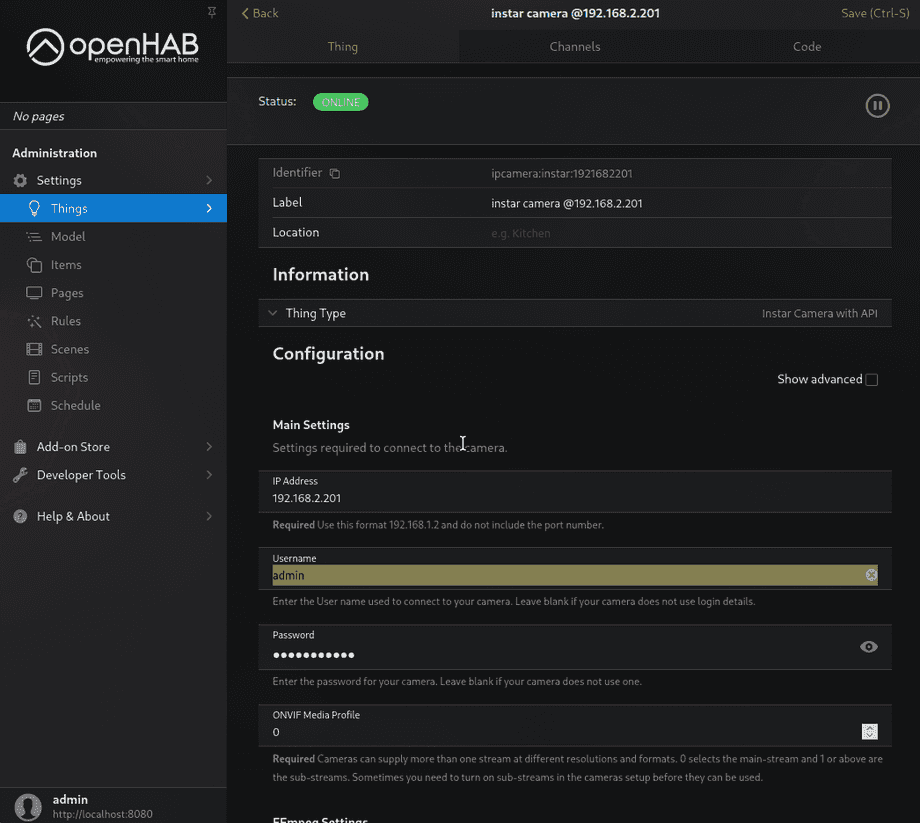
Back in OpenHab hit Save and the connection icon should turn green:
Add a Snapshot Channel
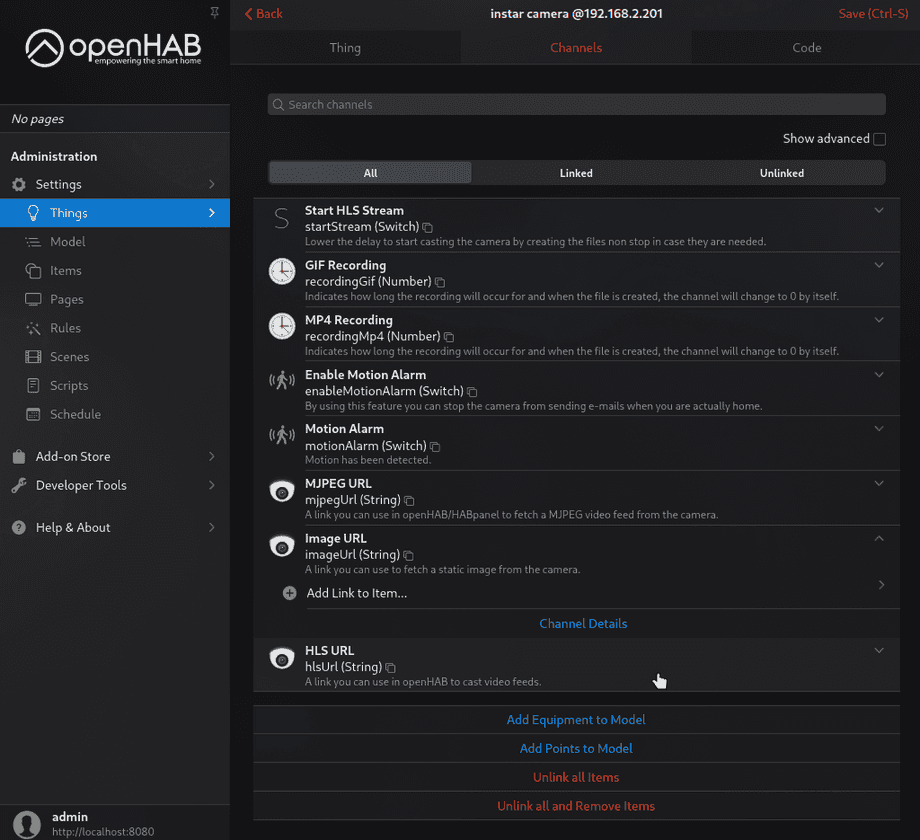
Click save and re-enter the camera Thing you created. Now we can continue by adding Channels and link them to Items on our OpenHab dashboard:
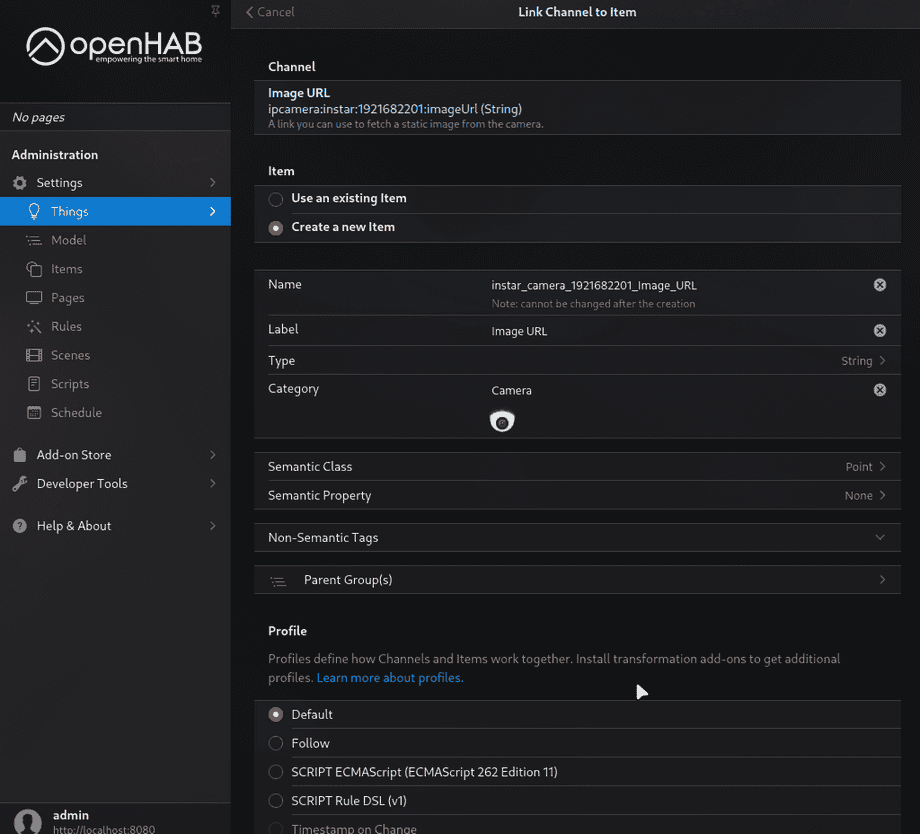
I choose to link an Image channel:
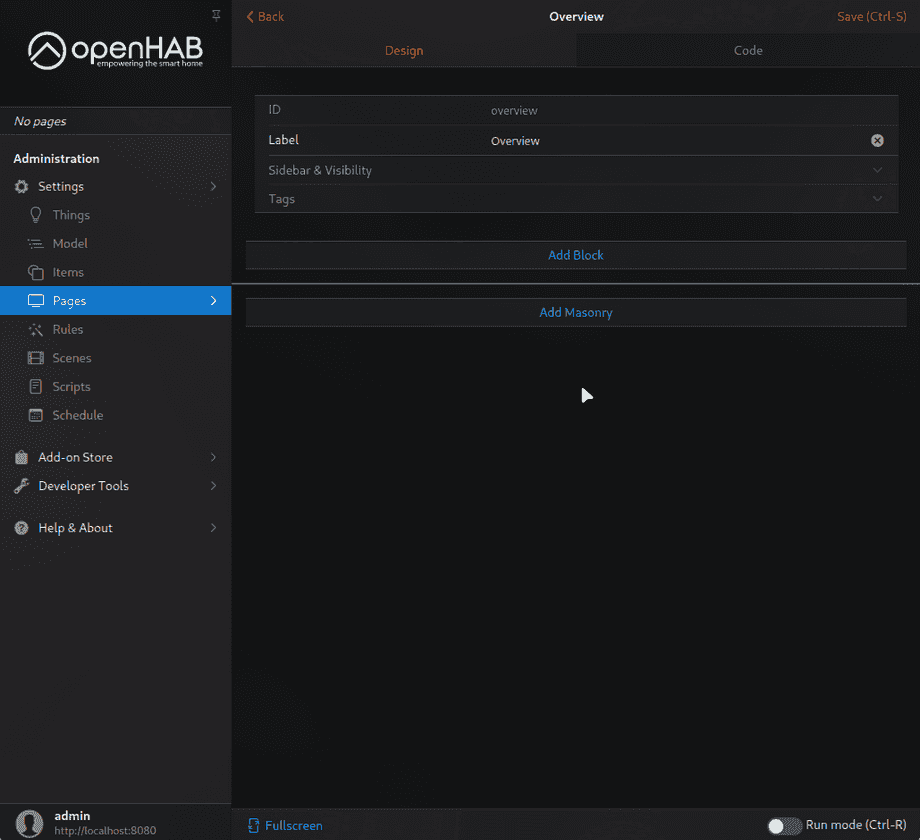
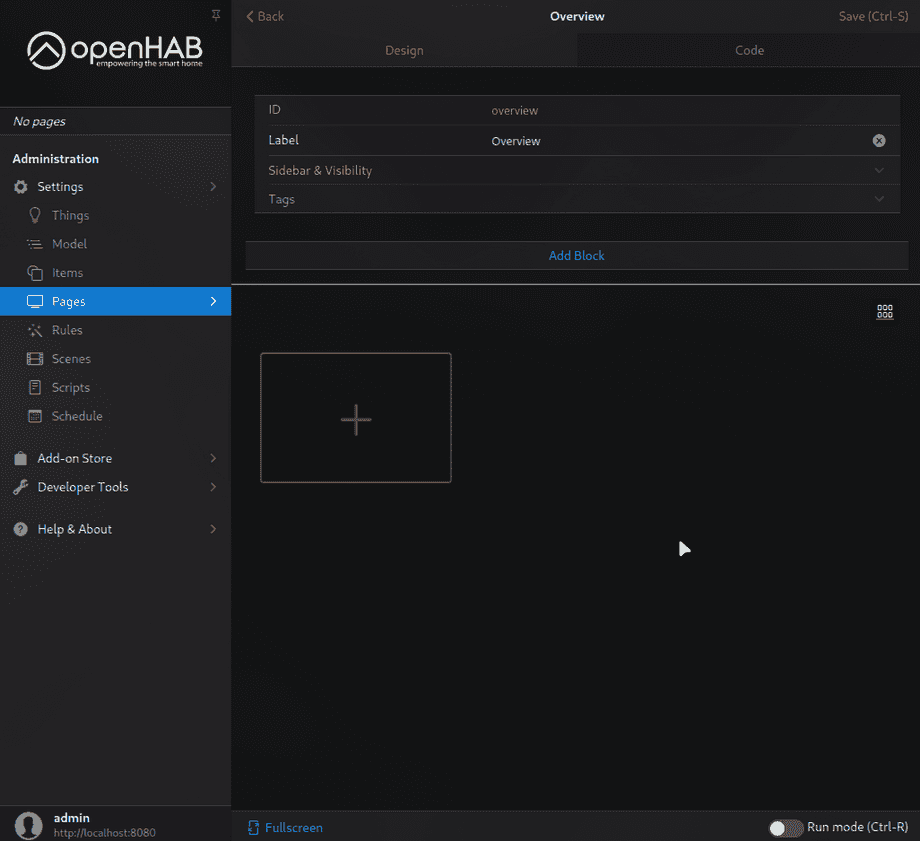
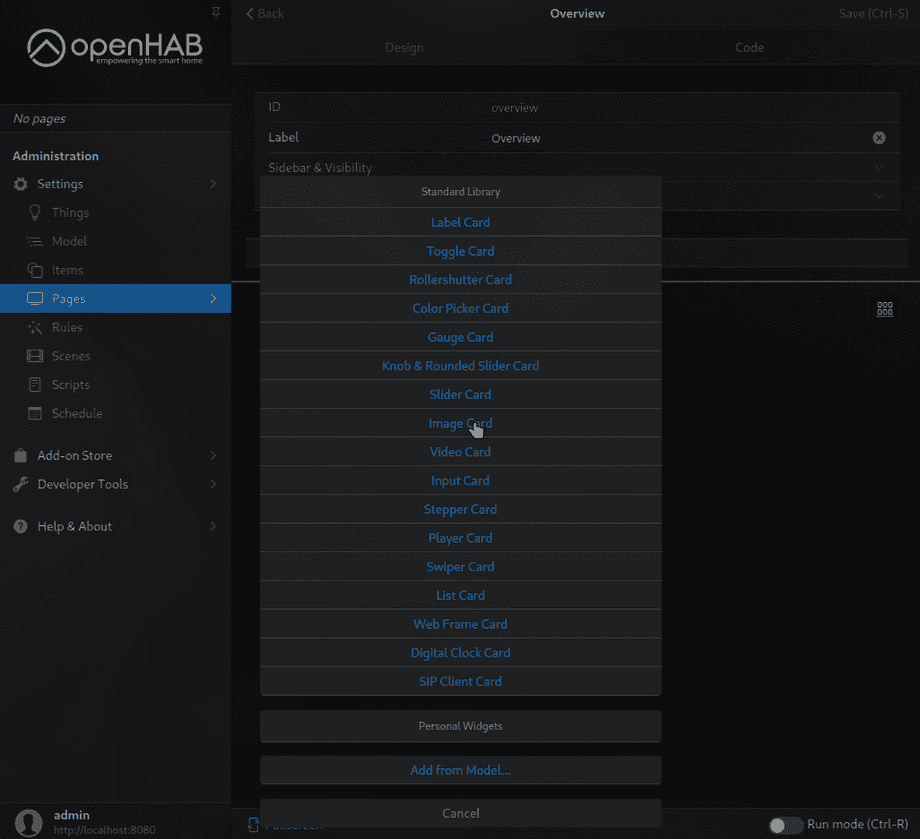
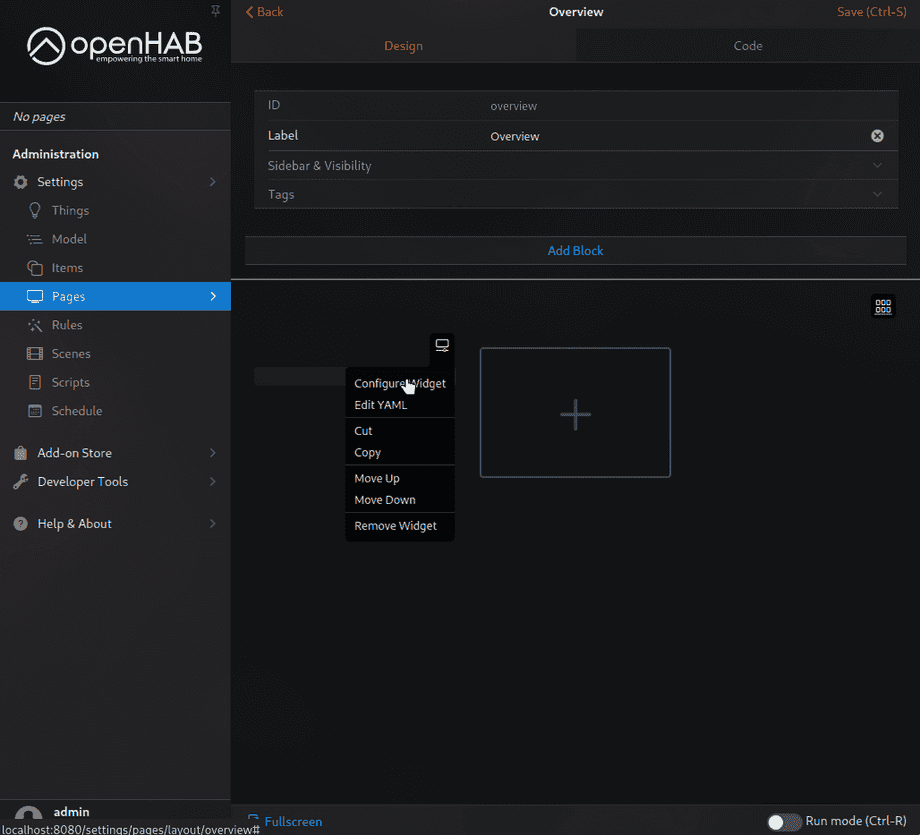
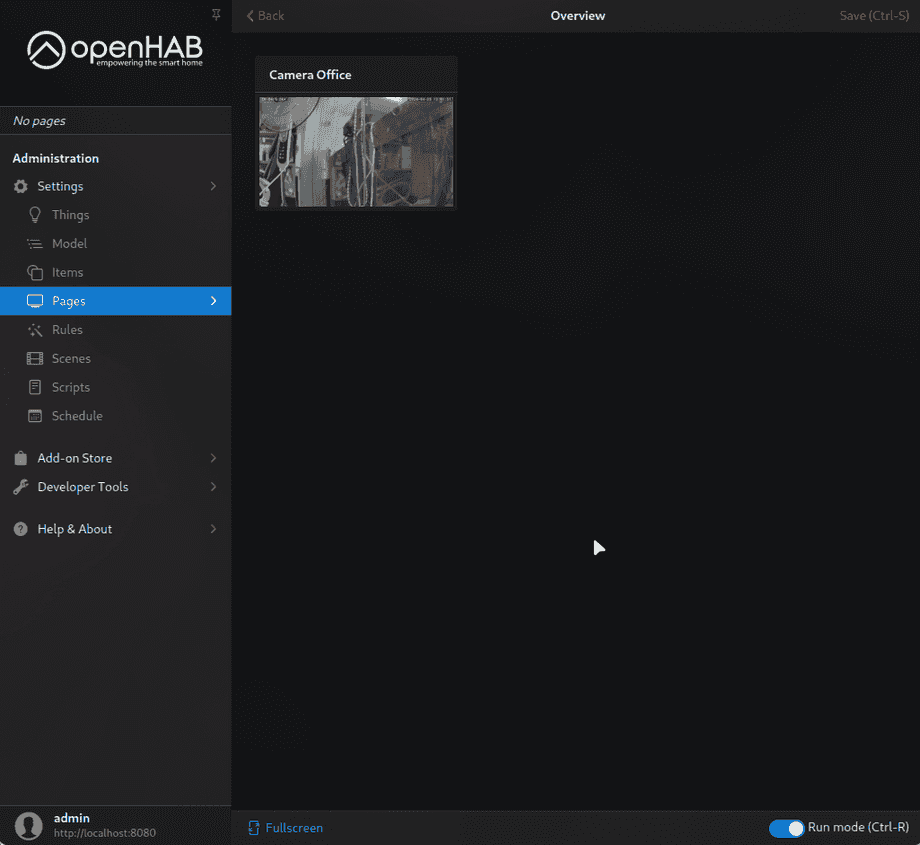
This item can now be displayed inside an image card on a dashboard page of your choosing. Start by adding the image card:
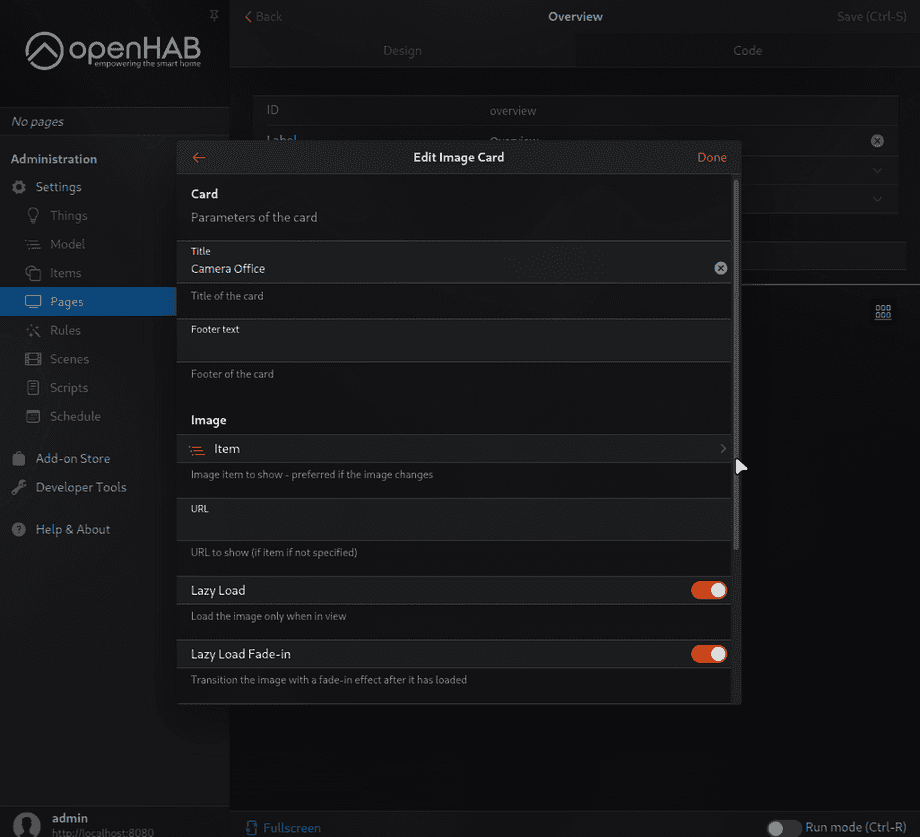
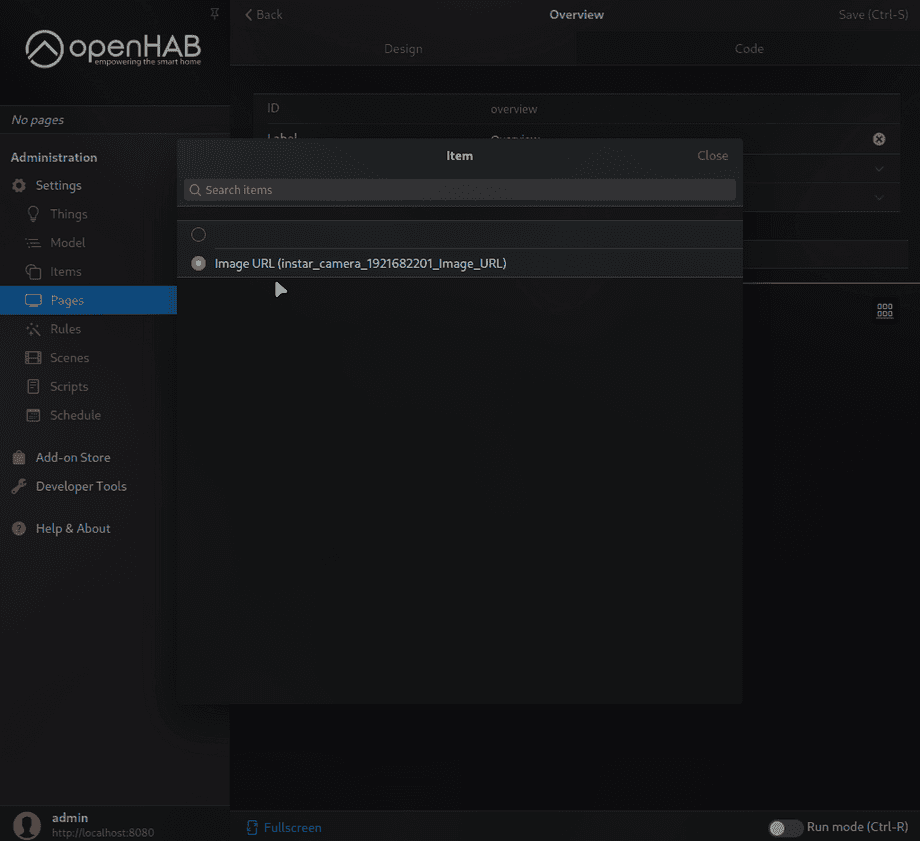
And configure the card to display the image item you created by assigning it from the item selection menu:
Discuss this article on the INSTAR Forum !
