DDNS Service
In this and the following articles we will talk about the IN-Route P52 web user interface (webUI). To access the interface, please charge your router, switch it into WiFi mode and connect to it´s WiFi network. For more details please follow the instructions for the Router Login. To follow this article, please make sure that your router´s webUI is switched to the Advanced Mode - the Simple Mode will not contain all the options we are covering here. Please be also aware that what we are doing here can be considered an advanced configuration. In most cases you will be fine just following the First Steps Configuration discussed earlier. So, are you up to some advanced routing terminologies and exciting features? Then lets go!

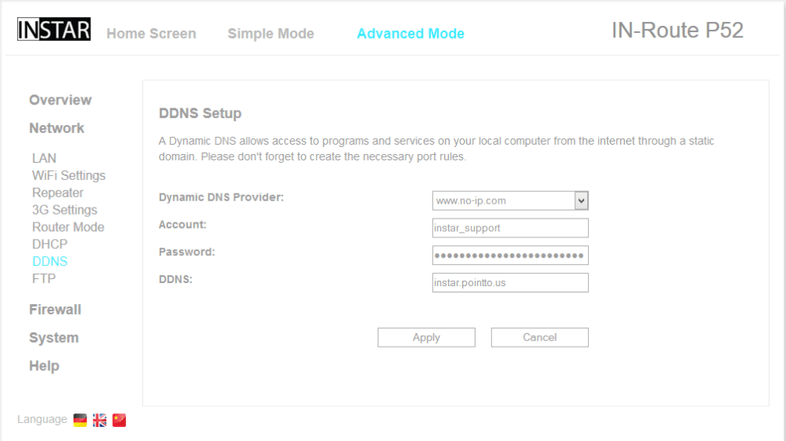
Just like every INSTAR camera (INSTAR DDNS Service), your IN-Route comes with an Update Service for Third Party DDNS Addresses. Please click on the provided links for more information on why you want to use a DDNS service (or not), how to create an (free) account with a third party service provider and how to activate/update the address with a router. Once you have your account, simply type in the account information here and your IN-Route P52 will update the address, every time it receives a ne WAN IP address from your provider.
NOTE: The DDNS address has to be maintained by your main router - this is the router directly connected to your ISP modem! If you are using the IN-Route behind another router, use this main router to update the DDNS address instead.
