Installation Wizard
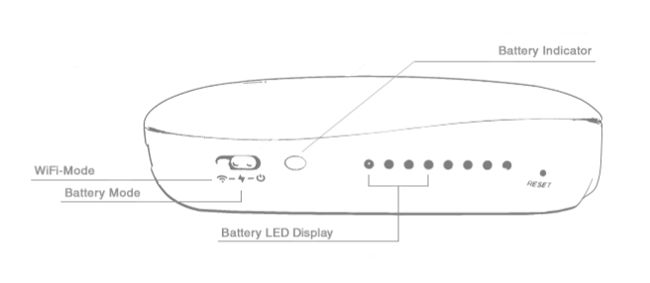
Please make sure that your battery is Fully Charged by pressing the Battery Indicator button - 4 LEDs means the Powerbank is filled and ready to go. Now push the power slider into the third position, indicated by the WiFi symbol. The IN-Route will now start up the router - please wait a moment for it boot. You can check the Indicator LED on top of the device - once the router is ready for operation both of them - the blue and the green one - will be on, turning the light into a turquoise colour. Shortly after that you will see the IN-Route´s Wifi network pop up in your computer´s or mobile device´s WiFi list.

How to Login to your IN-Route P52 Router
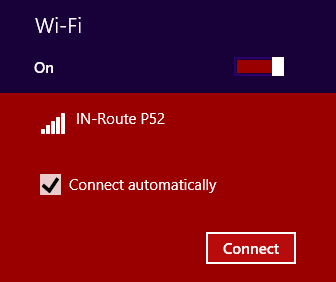
Star up your computer or mobile device and check the list of available WiFi networks. The IN-Route´s default WiFi name (SSID) is IN-Route P52. Make sure that you check that your device is going to connect to the IN-Route automatically, as you might have to restart the router several times during the initial setup and this will save you the trouble from reconnecting manually. Please make sure that your device is configured to receive an IP address automatically from the router (DHCP) before you connect. If you are unsure what the configuration of your device is, it is most likely configured correctly and you can proceed. But just keep this in mind - if you can connect to the router but you cannot open the web user interface, it might just be that the DHCP service on your computer is deactivated. The default key for the WiFi network is:
- WiFi Key = 12345678

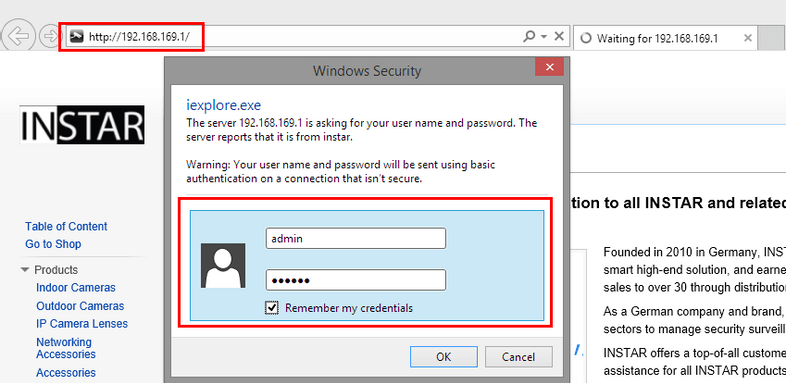
Once the WiFi connection has been established, open your default web browser and type the routers IP into the address bar. The default IP is HTTP://192.168.169.1 and you can skip the http:// prefix with most browsers. As far as I collect it, only the Internet Explorer demands it. So typing in 192.168.169.1 and pressing enter will call the router's web user interface and confront you with a login prompt. The default login is:
- Username = admin
- Password = instar

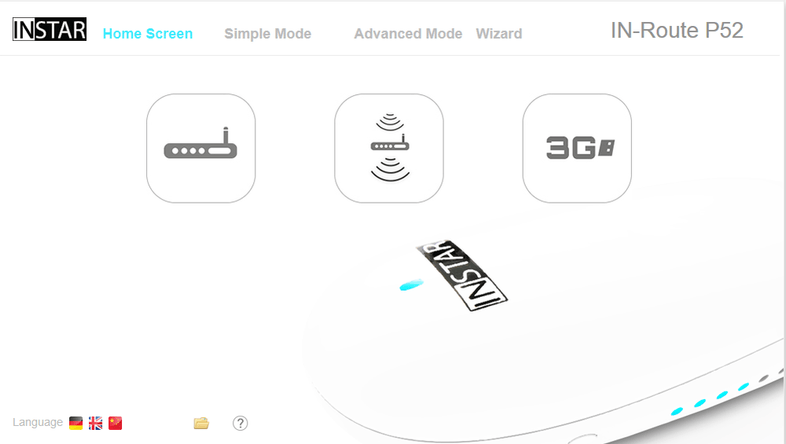
You will now be presented with the router´s web user interface that allows you to configure the device to your personal needs. Please follow the links below the screenshot for further information on how to configure the router for specific tasks. But the good news is, if you just connect the router to a LAN cable, that is connected to a internet router - you are already done creating your own personal access point (AP). The IN-Route will automatically switch into an AP mode and give you access to the internet. So next time you are staying in a hotel room that only offers a LAN cable for internet access and everything you brought is your iPad - well, you are in luck now. Switch on the IN-Route, wait for it to boot, connect it to LAN cable and connect your iPad to the IN-Route´s WiFi network. Done - problem solved! But please be aware that it might take a few minutes for the router to negotiate the access.

