- Installation of Docker on CentOS
- Zoneminder and MySQL
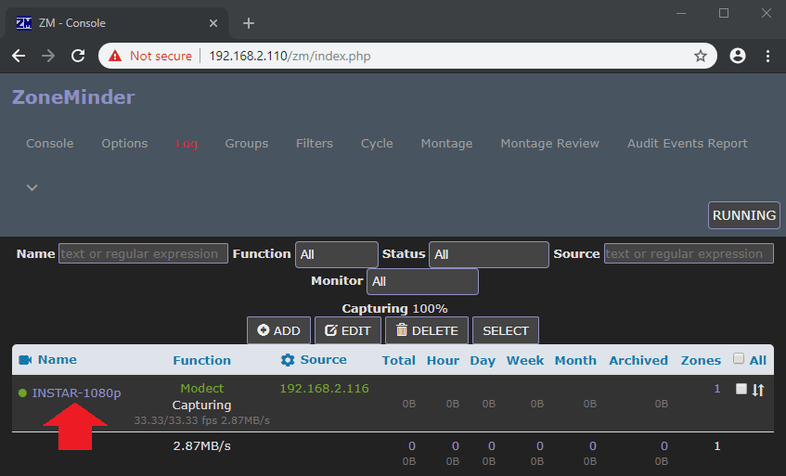
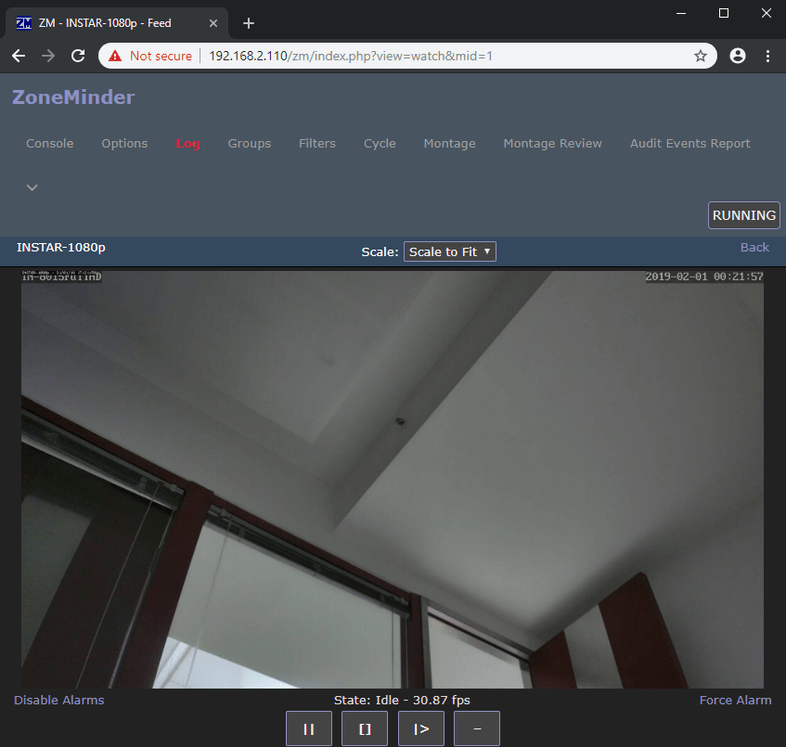
- Accessing the Zoneminder applications
- Accessing your Camera
ZoneMinder is intended for use in single or multi-camera video security applications, including commercial or home CCTV, theft prevention and child, family member or home monitoring and other domestic care scenarios such as nanny cam installations. It supports capture, analysis, recording, and monitoring of video data coming from one or more video or network cameras attached to a Linux system. ZoneMinder also support web and semi-automatic control of Pan/Tilt/Zoom cameras using a variety of protocols. It is suitable for use as a DIY home video security system and for commercial or professional video security and surveillance. It can also be integrated into a home automation system via X.10 or other protocols. If you're looking for a low cost CCTV system or a more flexible alternative to cheap DVR systems, then why not give ZoneMinder a try?
Installation of Docker on CentOS
Docker can be installed on Linux, Windows and macOS. In this example we will use CentOS Linux - for other operating systems, please check the official documentation.
First we need to add the repository to pull the Docker code from - type nano /etc/yum.repos.d/virt7-docker-common-release.repo and add:
[virt7-docker-common-release]
name=virt7-docker-common-release
baseurl=http://cbs.centos.org/repos/virt7-docker-common-release/x86_64/os/
gpgcheck=0
Then install Docker on Centos server:
yum update
yum -y install --enablerepo=virt7-docker-common-release docker
systemctl enable docker
systemctl start docker
Zoneminder and MySQL
We will use the Zoneminder from QuantumObject that requires a MySQL v5.7 server. To run with MySQL in a separate container use the command below:
docker network create net
docker run -d -e TZ=Europe/Berlin -e MYSQL_USER=zmuser -e MYSQL_PASSWORD=zmpass -e MYSQL_DATABASE=zm -e MYSQL_ROOT_PASSWORD=mysqlpsswd -e MYSQL_ROOT_HOST=% --net net --name db mysql/mysql-server:5.7
echo "wait until MySQL startup..."

Then download and run the ZoneMinder container:
docker run -d --shm-size=4096m -e TZ=Europe/Berlin -e ZM_DB_HOST=db --net net --name zm -p 80:80 quantumobject/docker-zoneminder
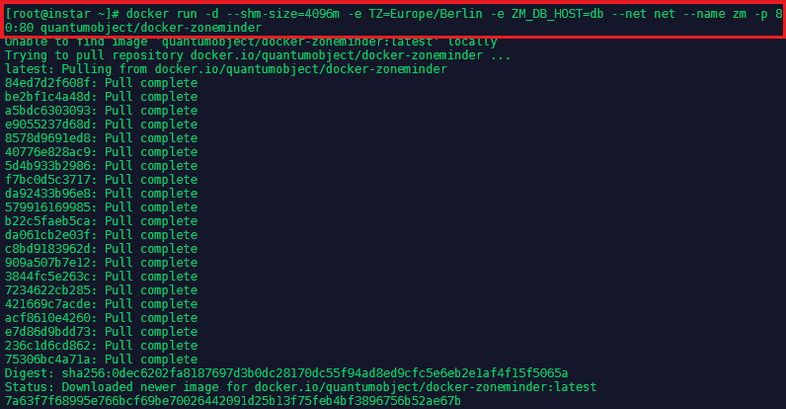
You can verify that both containers are running with - docker ps:

Accessing the Zoneminder applications
After that check with your browser at addresses plus the port assigned by docker:

http://host_ip:port/zm/Them log in with login/password : admin/admin , Please change password right away and check on-line documentation to configure ZoneMinder.
To access the container from the server that the container is running:
docker exec -it container_id /bin/bashConfiguring ZoneMinder
FirewallD
Before adding a camera make sure that the ports 80 and 554 are accessible on your server. If you are running FirewallD use the following commands to open these ports:
firewall-cmd --permanent --add-port=554/tcp
firewall-cmd --permanent --add-port=80/tcp
firewall-cmd --reload
Adding a INSTAR 1080p Camera
Open the Console tab and click on Add:
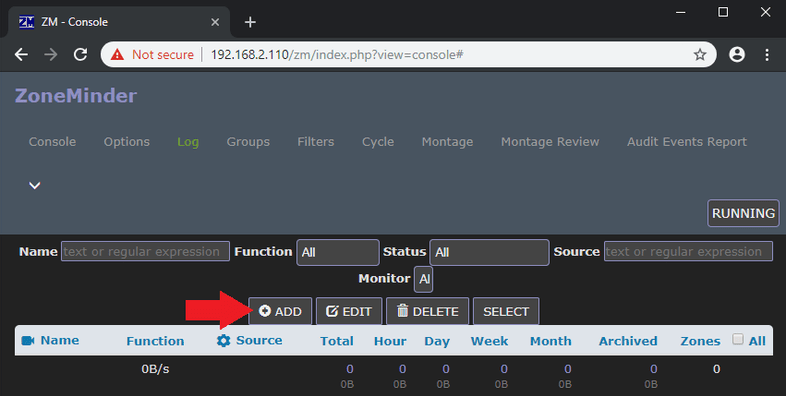
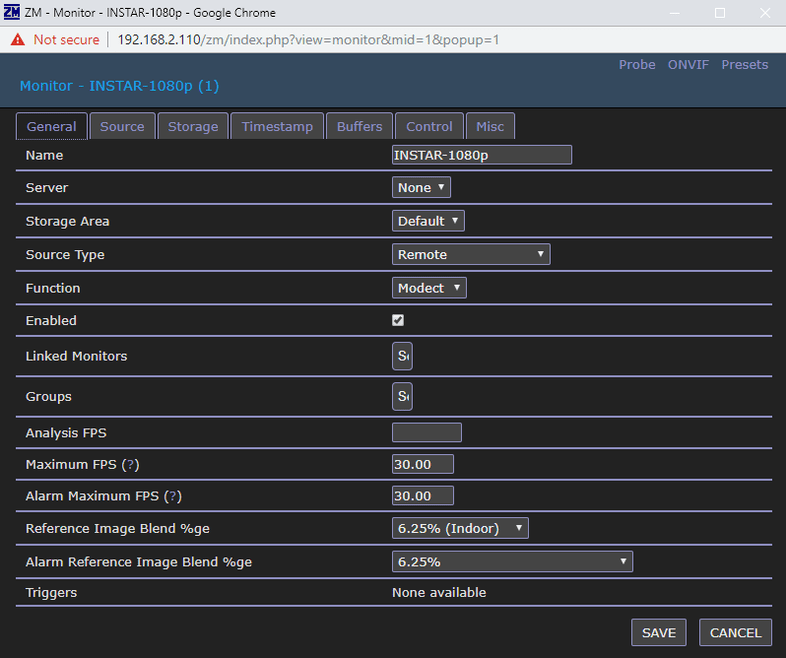
On the General tab give your camera a name and choose Remote as Source Type:
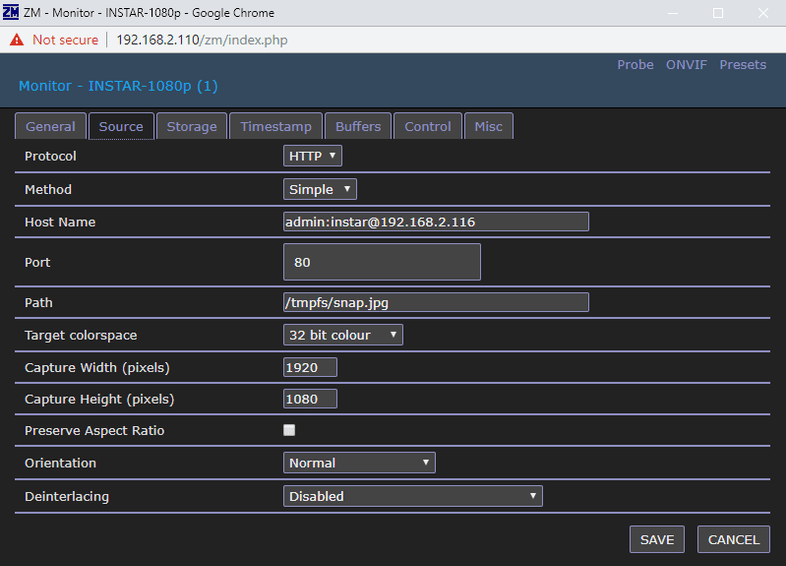
Adding your cameras MJPEG Stream
For the JPG stream choose:
| Protocol | HTTP |
| Host Name | username:password@camera-ip |
| Port | 80 |
| Path | /tmpfs/snap.jpg |
| Width | 1920 |
| Height | 1080 |
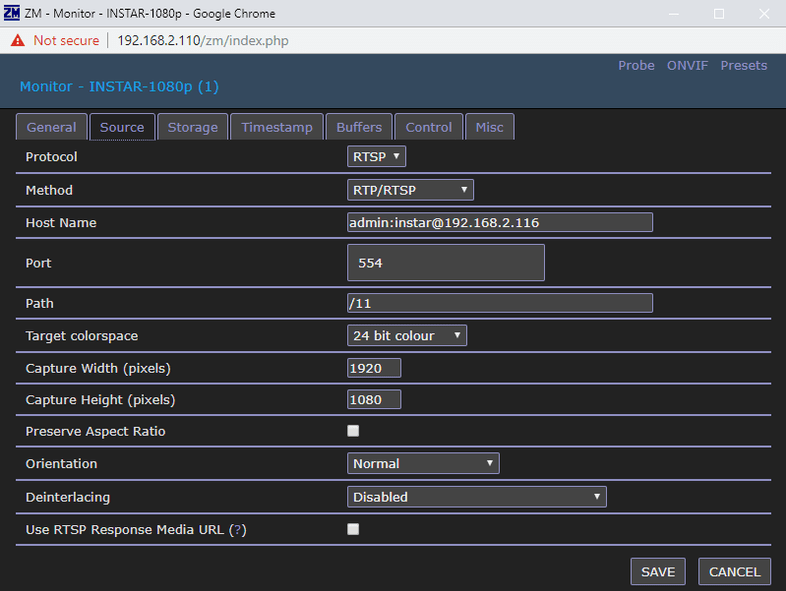
Adding your cameras RTSP Stream
For the JPG stream choose:
| Protocol | RTSP |
| Method | RTP/RTSP |
| Host Name | username:password@camera-ip |
| Port | 554 |
| Path | /11 |
| Width | 1920 |
| Height | 1080 |
Accessing your Camera
