VIS installation
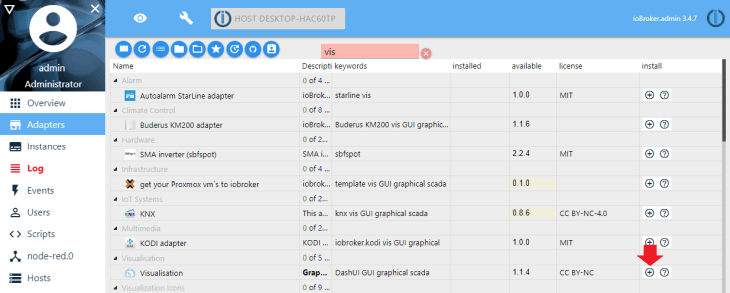
The vis adapter allows you to build your personal admin dashboard inside ioBroker. Head over to the Adapter tab and install Visualization to get started:
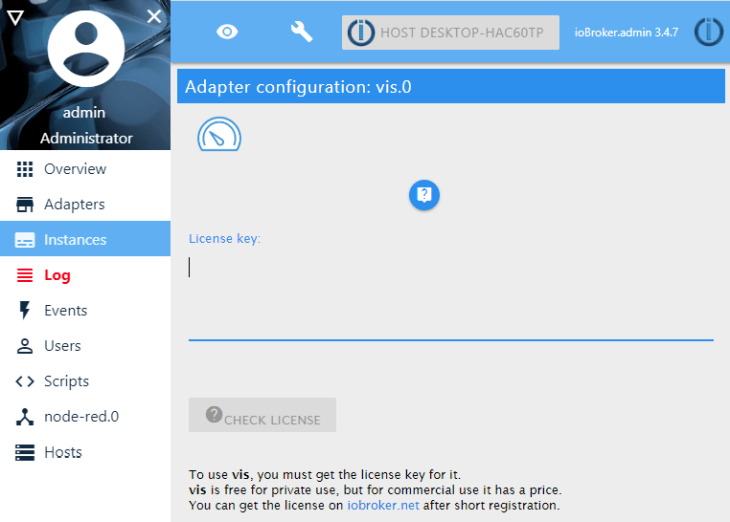
Vis is free for personal use but still requires you to get a license key from ioBroker:
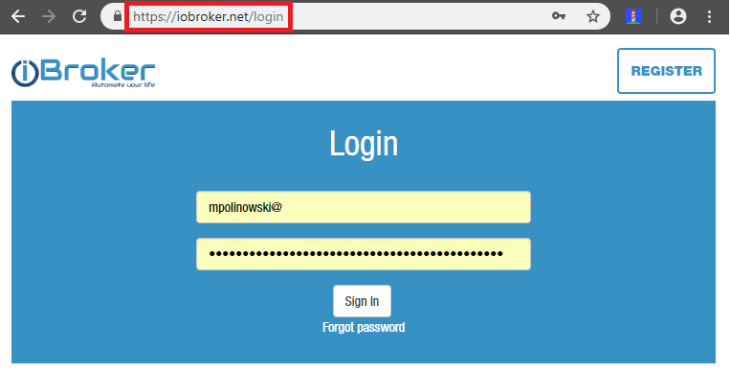
Head over to https://iobroker.net/login and login to your account (create a free account if you don't have one yet):
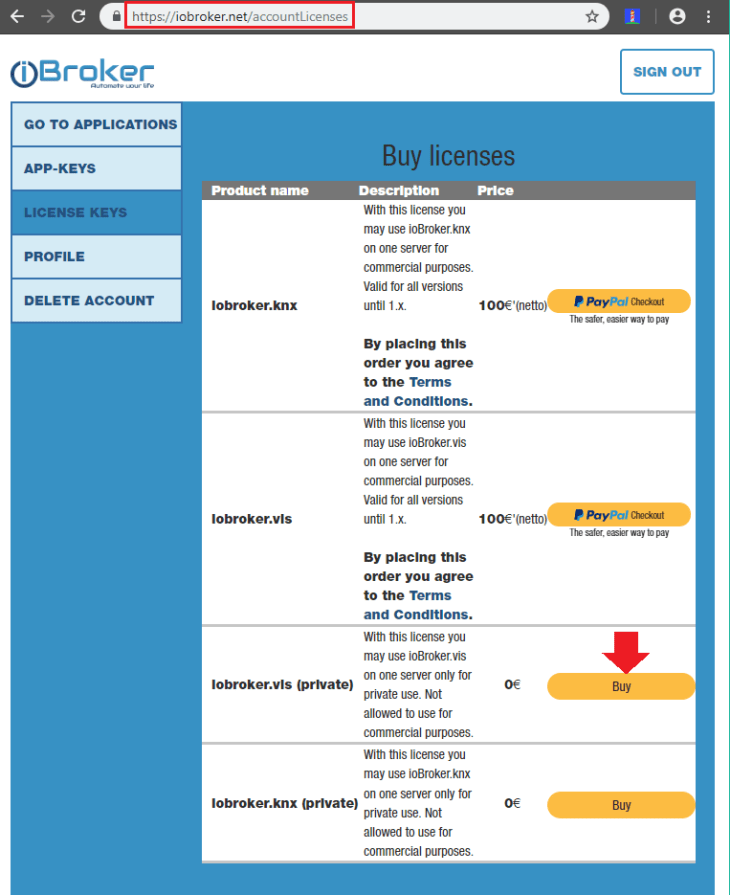
Go to https://iobroker.net/accountLicenses and choose the free / private version of Iobroker.vis or the full version for commercial use:
Click on show and copy the license key:

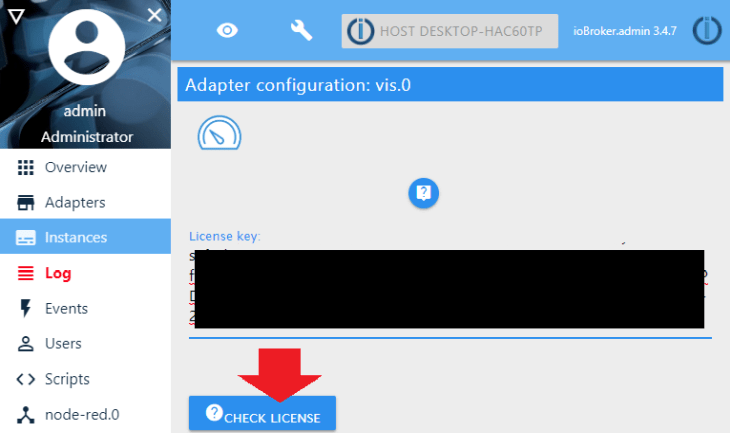
Go back to the Vis Adapter configuration in ioBroker, paste your key in and click on Check License:
The VIS Admin Panel
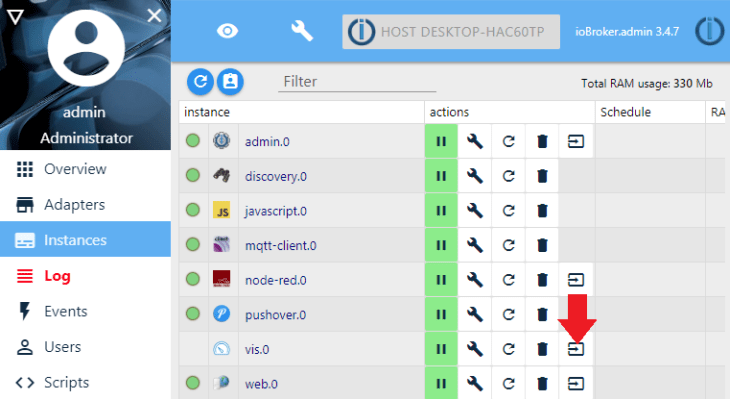
Now switch to the Instances tab and open your Vis Admin Panel in a new browser tab:
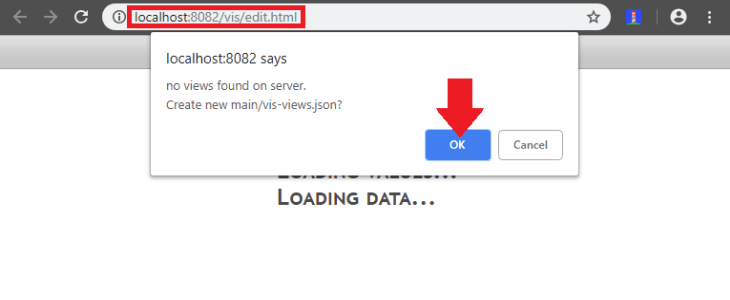
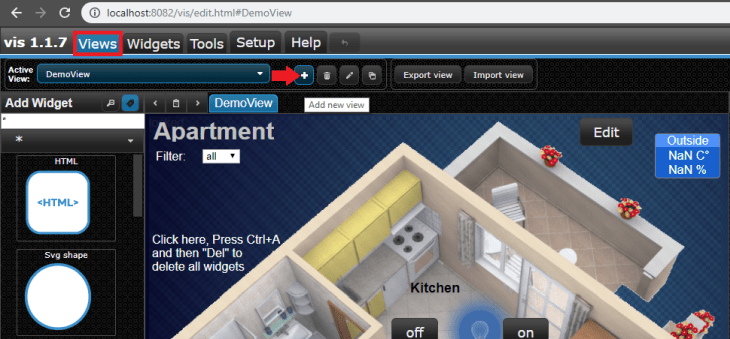
Go to Views and add a new view:

Communication via MQTT
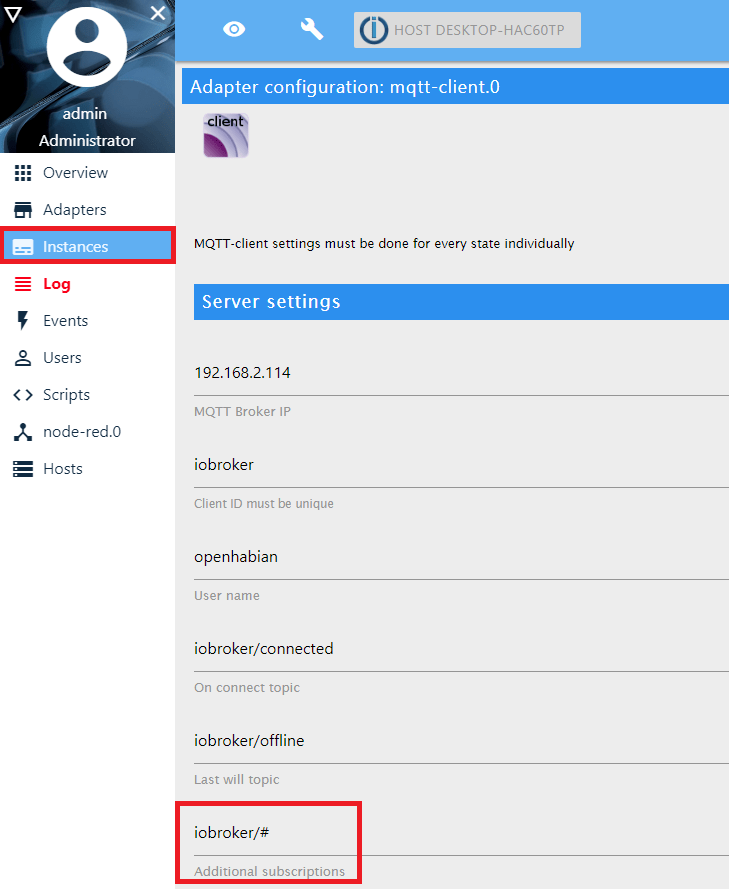
We already set up the Mosquitto MQTT Server and installed the MQTT Adapter for ioBroker - so we are able to GET information from our IP camera, as well as sending command to our camera to SET values. Let's now configure the MQTT adapter to subscribe to every topic that starts with iobroker/:
Copy the GET Flow below and import to Node-RED. The flow collects all variables that are used in Alarm Menu of an INSTAR HD Camera - the Trigger Node on top contains the login information for your camera - double-click it to add your camera's IP address and your Admin username and password. Deploy the flow and wait for the Trigger Node to trigger all the scripts below - you will see a small timestamp under every function node, once it got triggered:

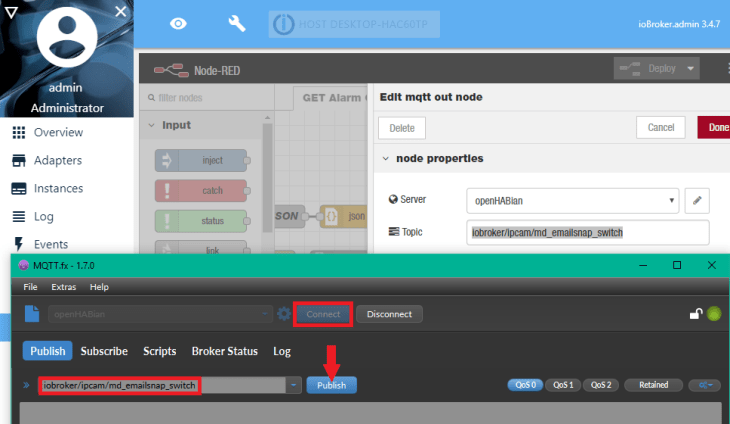
You can also use MQTT.fx to test your MQTT setup:
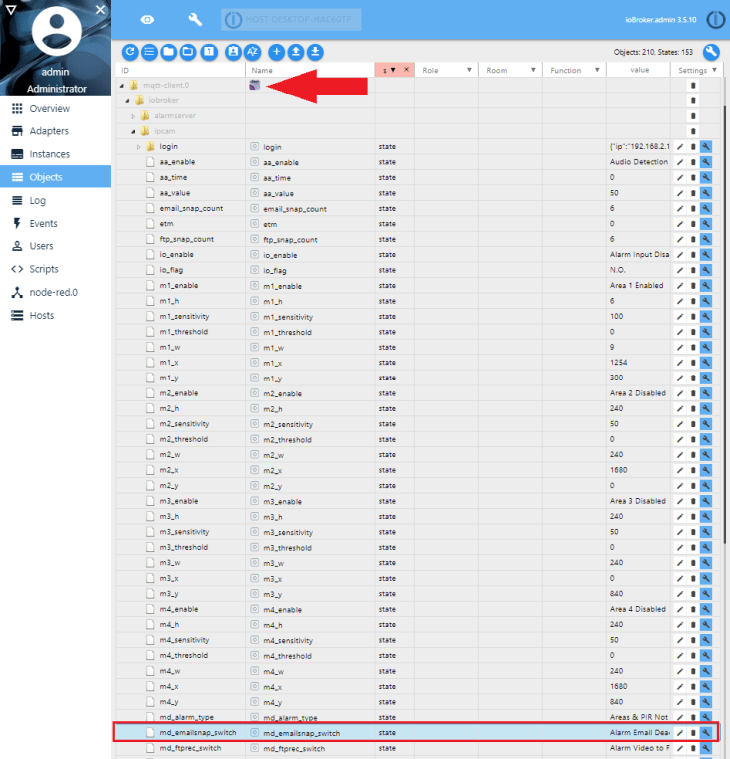
All MQTT topics that were triggered - either by the Node-RED flow or MQTT.fx - will show up in the Objects list in ioBroker and can be used in VIS:
Display Camera Settings
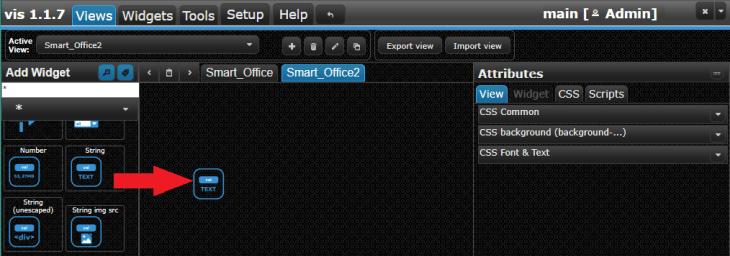
For example, we can drag a String Widget into our VIS view and bind it to a value that is published through MQTT:
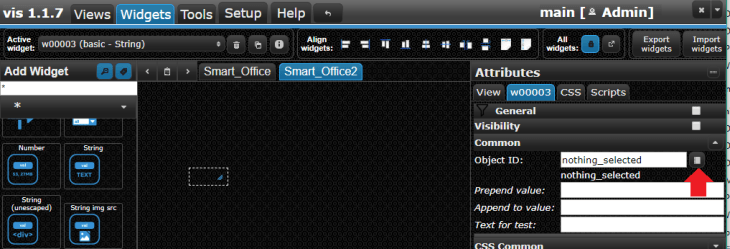
Select Object ID and choose the mdemailsnapswitch object we saw in the screenshot earlier - it will display its payload value Alarm Email Deactivated in VIS:
Display the Camera Live Stream
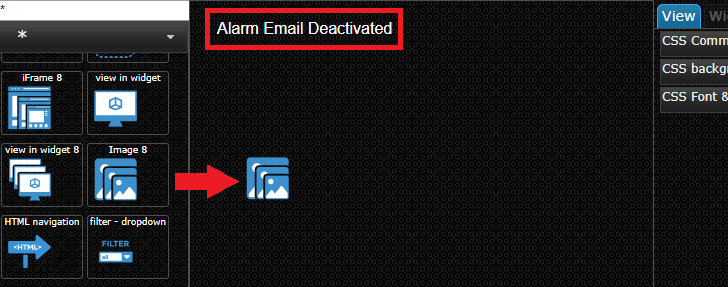
We can make use of our Snapshot Upload that we created earlier to use an Image Widget to display our camera's live video - in form of a JPG stream:
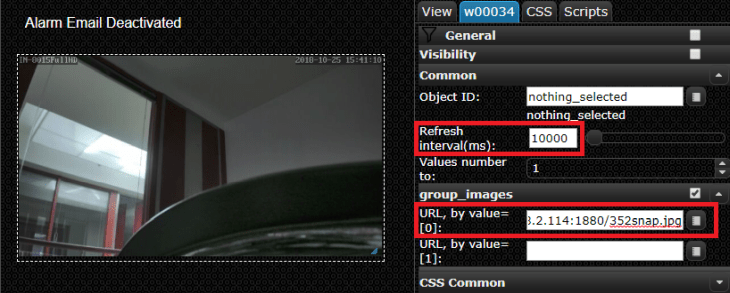
Add the URL to your snapshot and set a refresh interval (in Milliseconds) - alternatively, you can use MotionEye to get your camera's live video into VIS.
You can now open the web interface in a new tab:
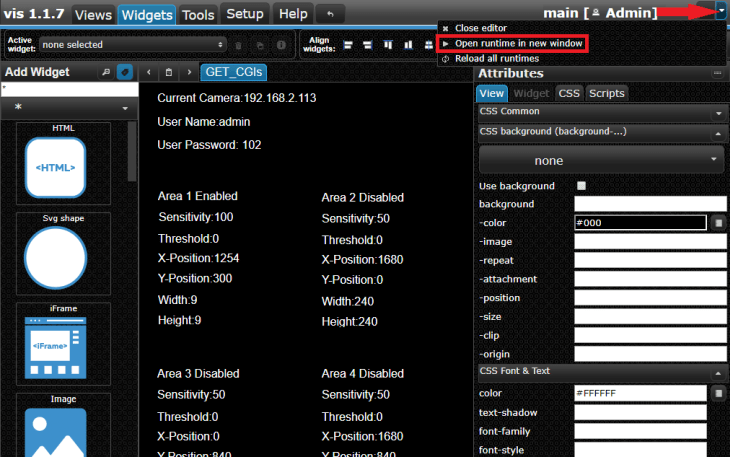
We added a few more String Widget to display more of our camera settings:
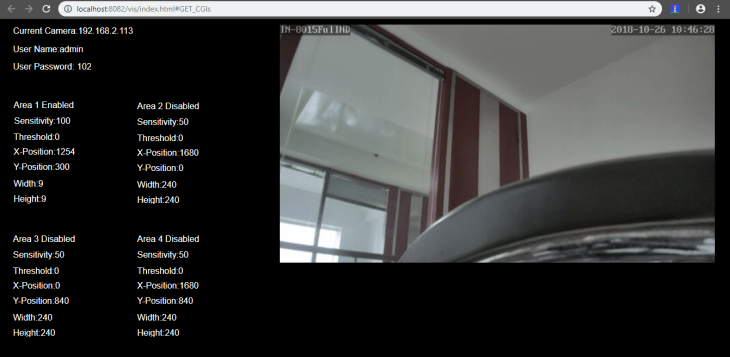
Use VIS to Change Camera Settings
Go and copy the SET Flow below and import it to Node-RED. Then drag and drop a Stateful Button Widget into VIS. Click on Object ID and select one of the Objects (MQTT Topics) that set variables on your camera. Above we displayed the state of the Alarm Email Notification - we can now add a button that sets this state for us:
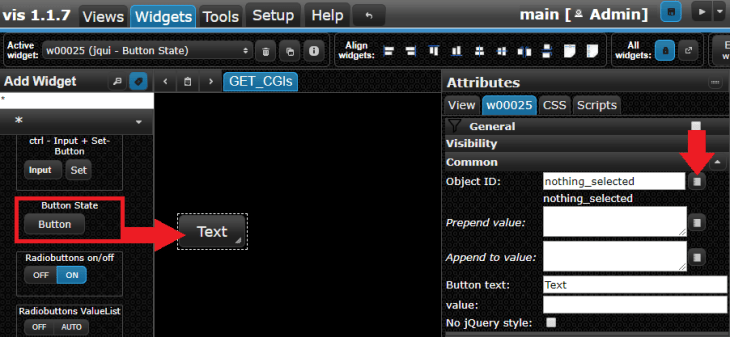
The objects we need alarmemail_enable and alarmemail_disable will show up automatically when you retrigger the GET flow above (Click the Inject Node to re-set your camera login). Alternatively use the Buttons we added to the SET Flow:
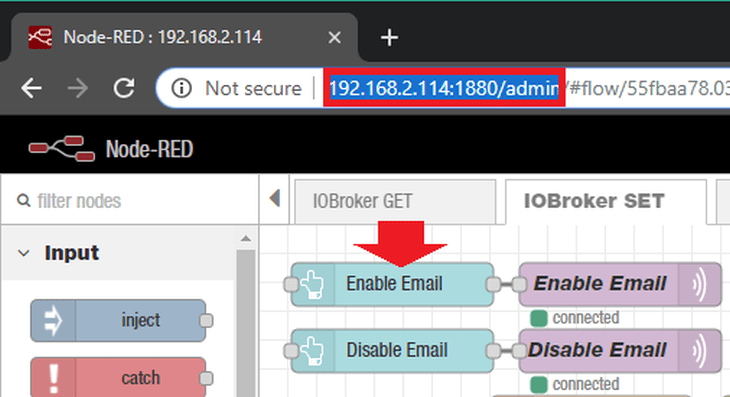
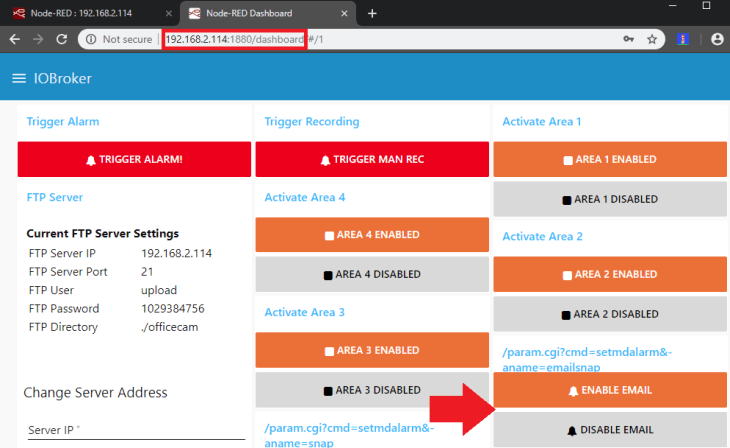
If you go to your Node-RED Dashboard, you will see the corresponding buttons. Just click the ones you need and they will show up in the ioBroker Object list:
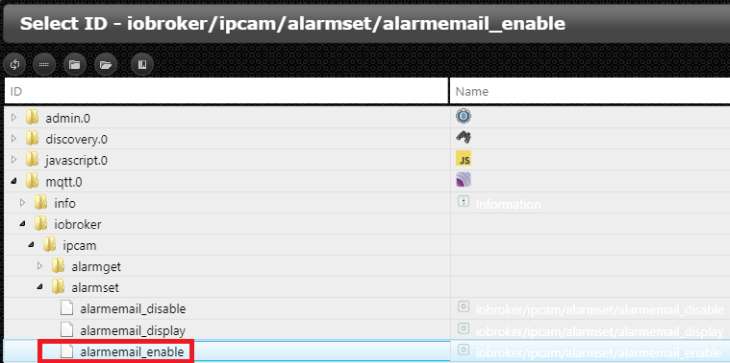
Select alarmemail_enable for the Enable Alarm Email button:
Select alarmemail_disable for the Disable Alarm Email button:
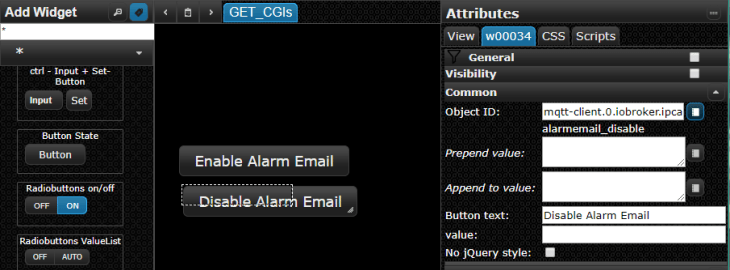
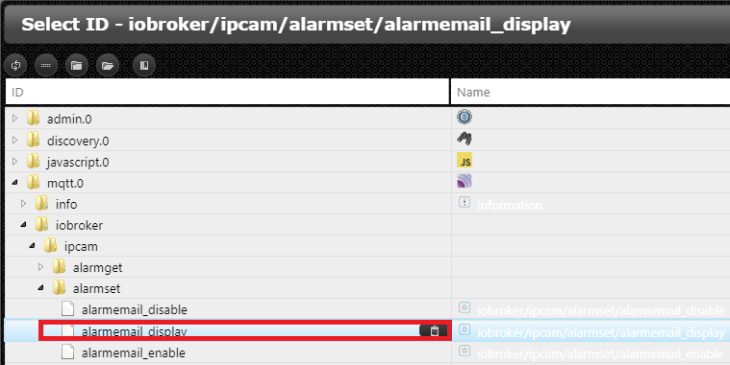
Open the VIS interface and try your new buttons - the animation below shows that clicking the Disable Alarm Email button changes the state on our camera - as we can see from the String Widget next to the button and verify in the camera webUI:
We prepared a collection of ioBroker VIS Widget that utilize the SET Flow we added to Node-RED. To use it, you first have to install the Metro Style Widgets from the Adapters list in ioBroker:
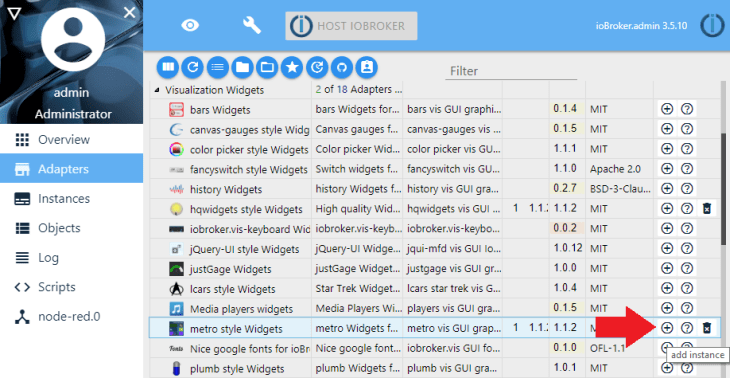
Than copy the VIS Widgets below and import them into VIS:
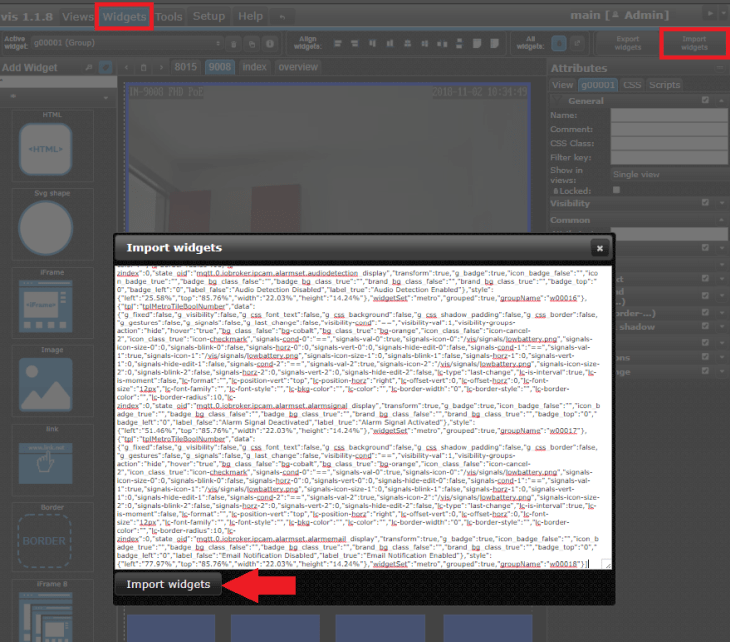
The result should look something like this:
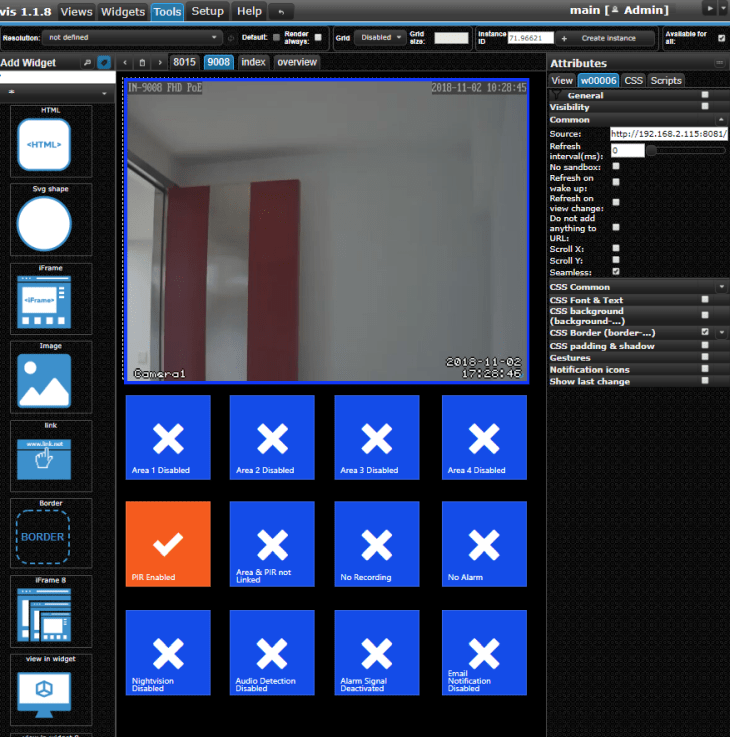
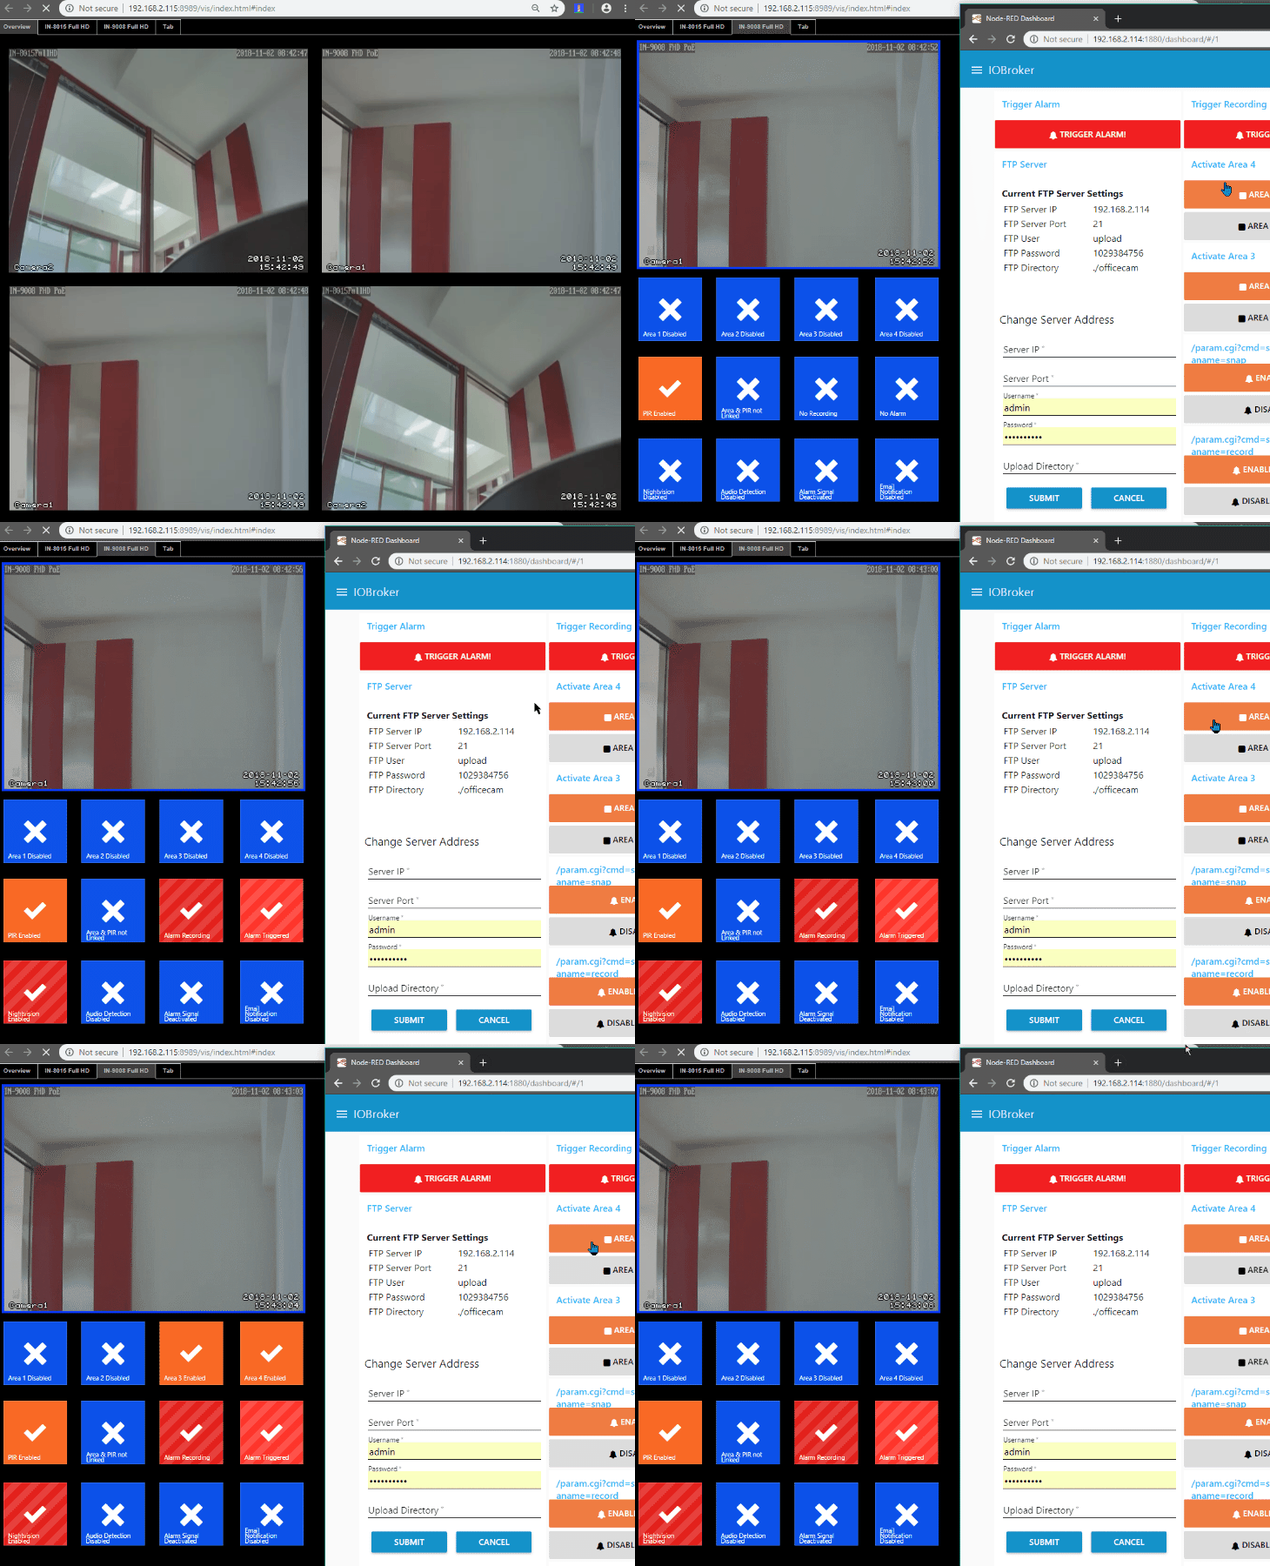
Open the VIS interface and verify that everything is working (we use the Node-RED dashboard to trigger an alarm - the Node-RED Flow behind it will automatically start a video recording and switch the IR LEDs to automatic. This function allows you to only use the PIR sensor of your INSTAR Full HD camera to detect motions - once detected the IR nightvision switches on and the recording starts rolling. You can adjust the duration inside the Node-RED flow.):


