First we need to be able to communicate with our camera using the MQTT Protocol. We choose to install the MQTT Broker/Client Adapter from the lists of available adapters in ioBroker. You can use this adapter to both publish and subscribe to MQTT messages (Client) as well as to act as your primary MQTT Server.

After the installation, you will be greeted by the configuration screen. As you can see in the screenshot below, we did not opt to use the server, but we want to use our Mosquitto Server we set up earlier with OpenHAB. If you don't have an existing MQTT Server running, choose Server/broker instead of Client/subscriber. The server runs on the default port on 1883 and - in our case - requires a login.
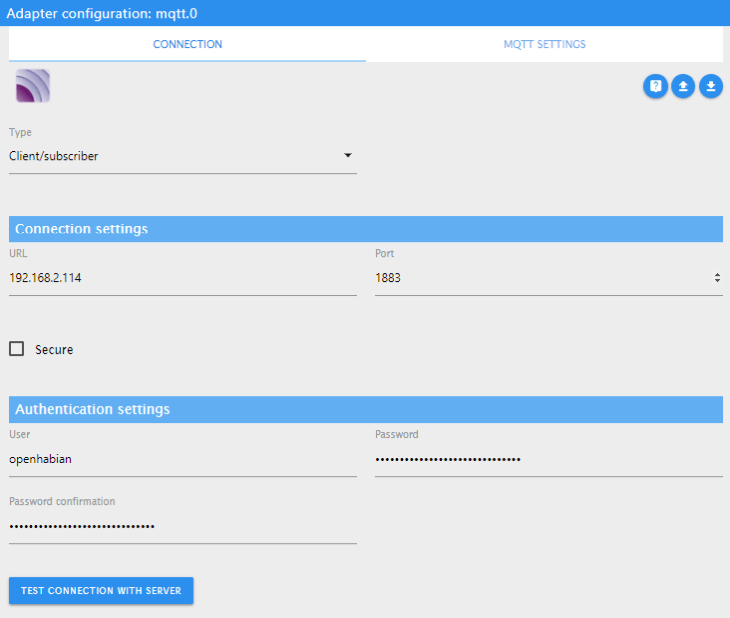
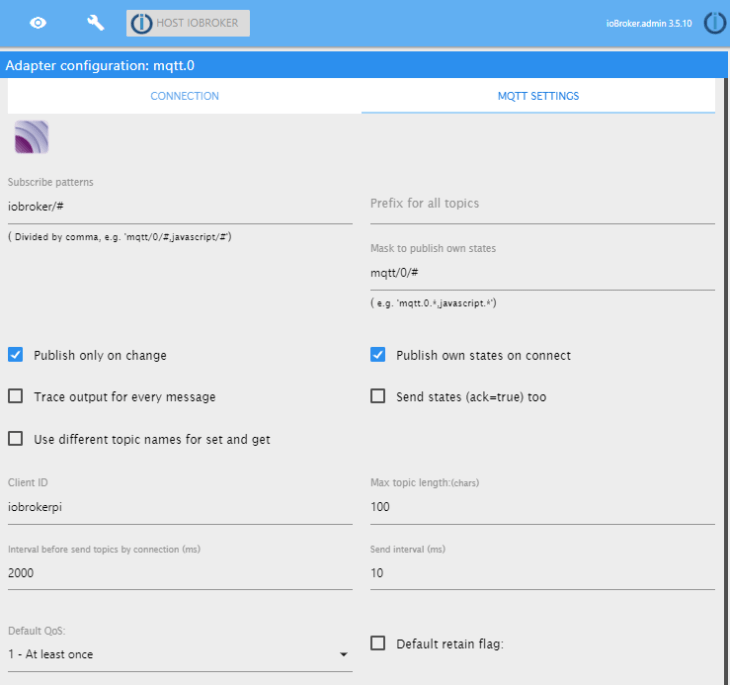
We will set up an extra Node-RED Flow for ioBroker and make sure that every message that is meant for it starts with iobroker/#, so we can set a general wildcard subscription here.
As before, we can test that the MQTT service is running with MQTT.fx. Download MQTT.fx as a MQTT Client for MQTT testing/debugging. Install and start the program and connect it to our local MQTT server:
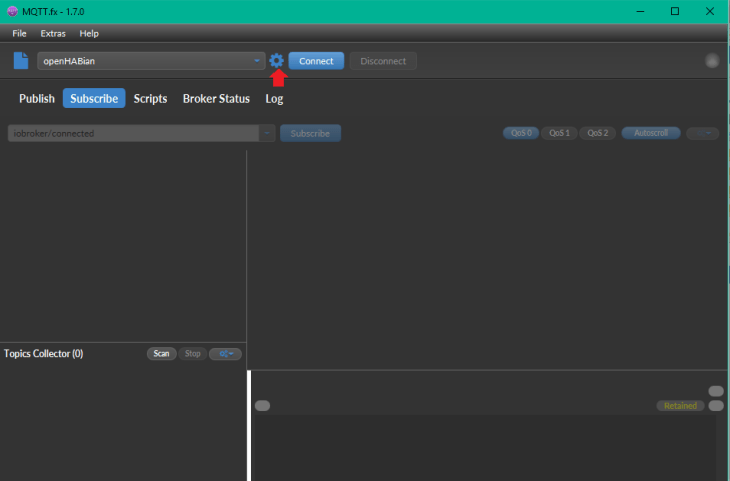
Click on the cog wheel to set up your MQTT server information:
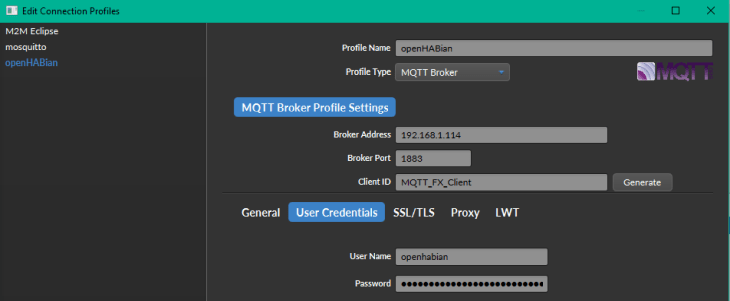
After you confirmed your setup to connect to your MQTT Server. Switch to the Publish tab, type in iobroker/test and hit publish. The message will show up in the ioBroker log (s. below) :
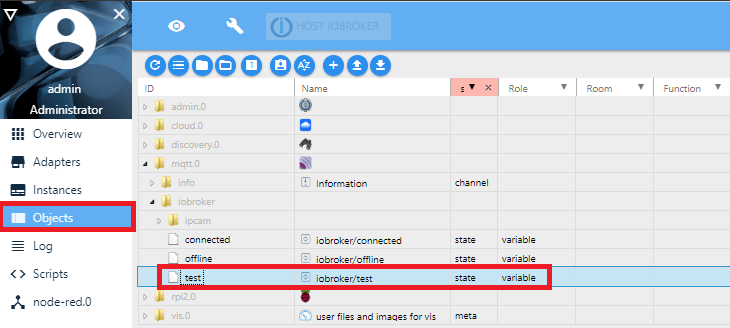
And - much more interesting - it will also show up as an object in the Objects tab in ioBroker. We are now able to use the MQTT message to trigger events in ioBroker!

