Software
iOS
IP Vision Pro
To access your IP camera with the iOS App IP Vision Pro we recommend that you first download the newest version from the app store. Use the search words IP Vision Pro to find the app inside the app store.
To access your IP camera with the iOS App LiveCams we recommend that you first download the newest version from the app store. Use the search word LiveCams to find the app inside the app store.
Add a Camera to IP Vision Pro
Launch IP Vision Pro on your iPhone or iPad and press the camera button to add your IP camera. Press Edit to add your camera to the default camera group choose Add Camera to continue. If your camera is a VGA model, you can choose the corresponding preset. For HD cameras, please choose INSTAR/generic or INSTAR/generic PTZ (for cameras with pan, tilt and zoom functions). You can find the MJPEG CGI Command in our CGI Documentation:
/cgi-bin/hi3510/mjpegstream.cgi?-chn=11&-usr=admin&-pwd=instar- chn: Stands for Channel and can have the values 11 (1280x720), 12 (640x352) and 13 (320x176). If you are experiencing dropped frames or have difficulties reaching your camera when you are on the road, please consider to use a smaller video stream.
- usr: Stands for your username that you set up inside the camera. The default value is admin
- pwd: Stands for your password that you set up inside the camera. The default value is instar
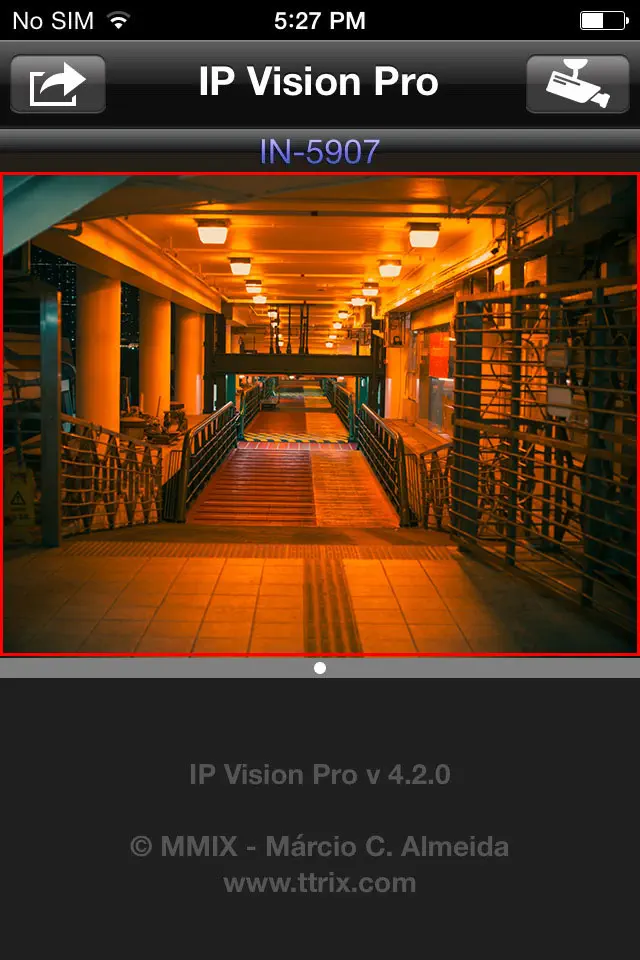
Fig8. Click on your camera´s live video to access advanced functions.
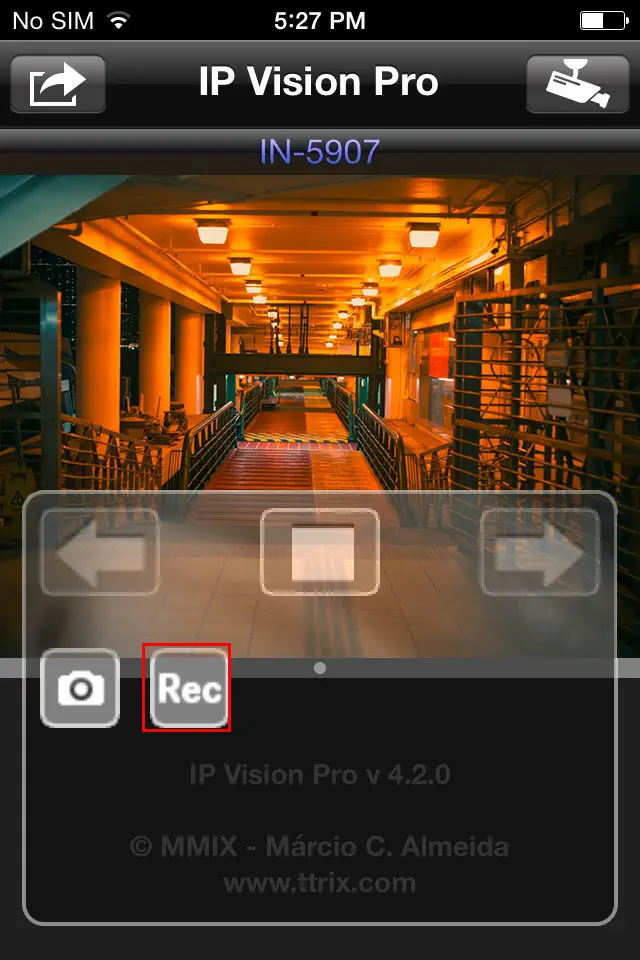
Fig9. Activate a video or snapshot recording to your local storage by pressing the corresponding buttons.
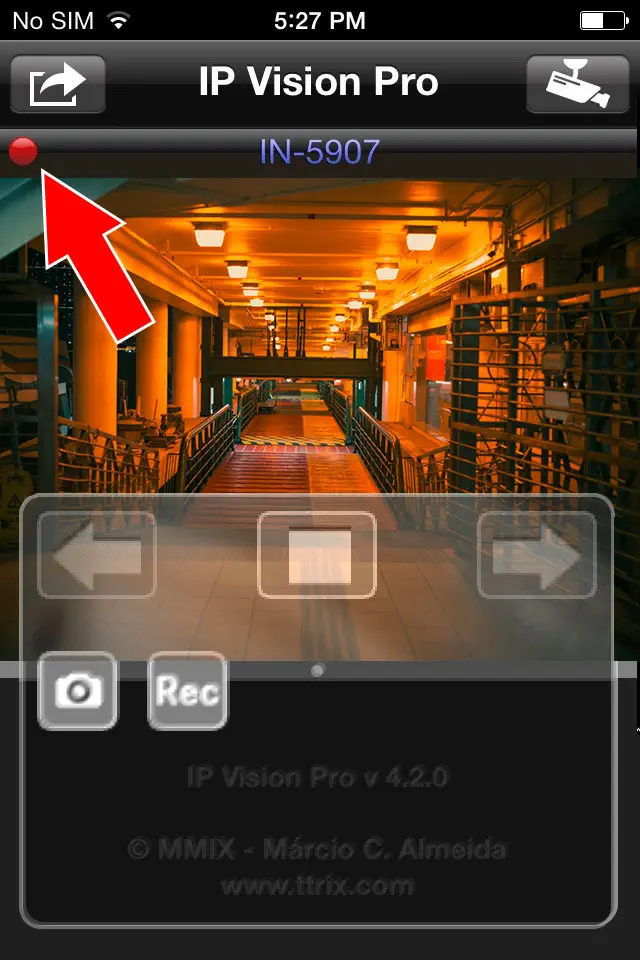
Fig10. The red dot signals that a video recording is in progress terminate it by clicking the recording button a second time.
View your cameras live video and start local recordings
You will be greeted by your camera live video every time you open IP Vision Pro. Just click on the video area to access advanced functions like video and snapshot recordings.
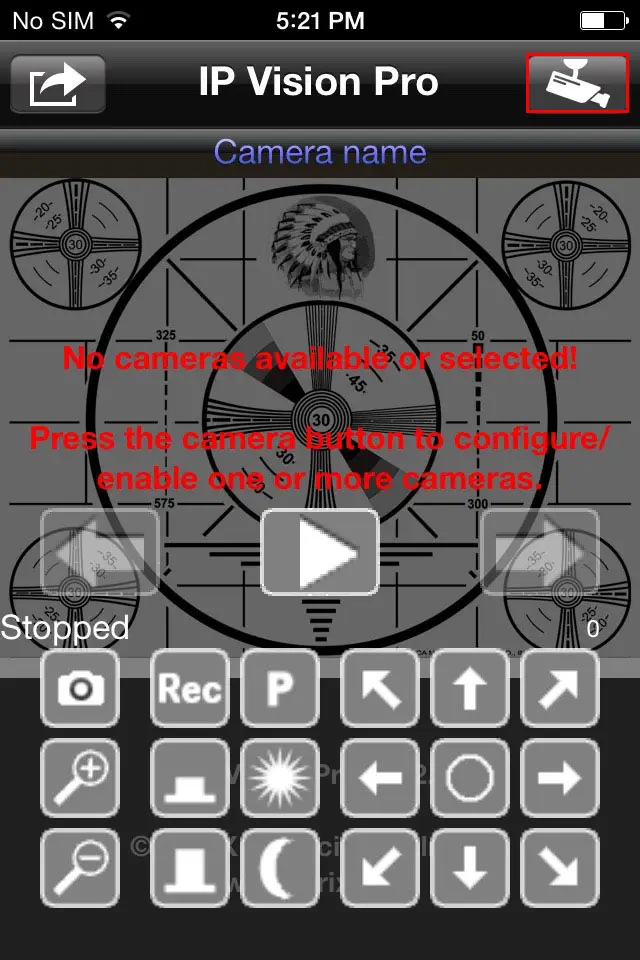
Fig1. Press the Camera button to open the add-camera dialogue.
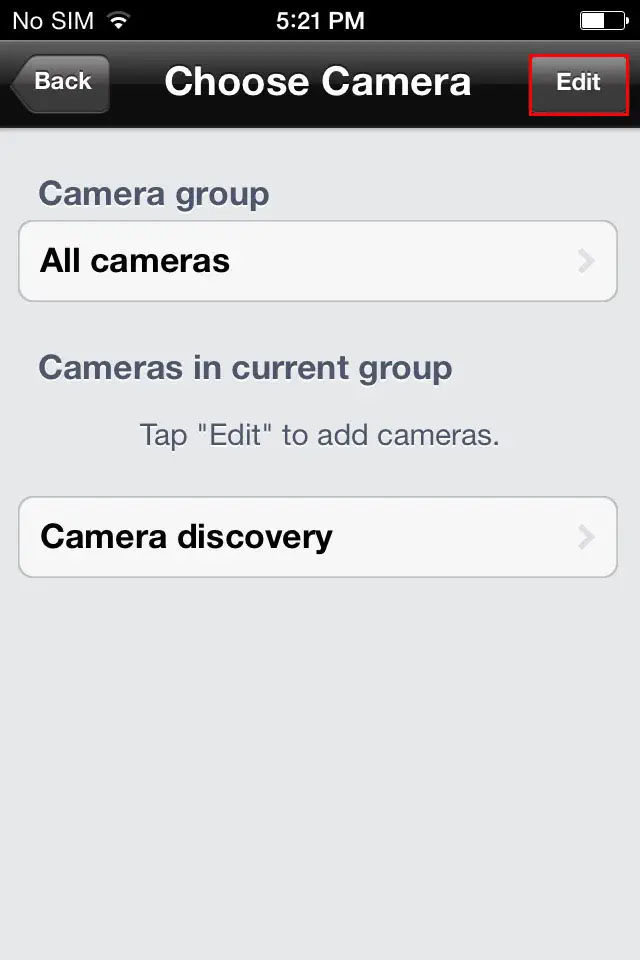
Fig2. Press the Edit button to add your camera to the default camera group.
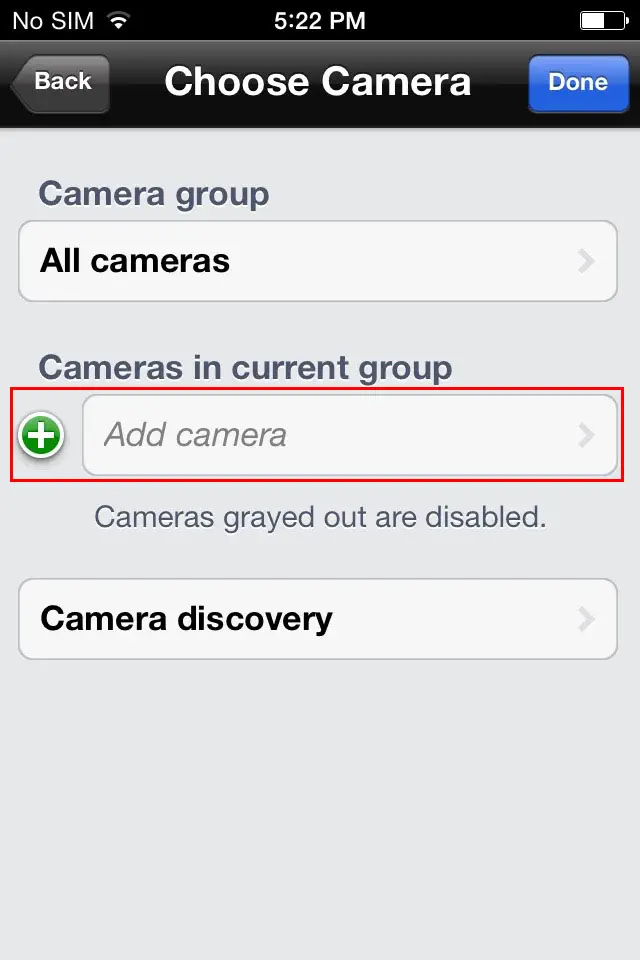
Fig3. Press the Add Camera button to add your camera information.
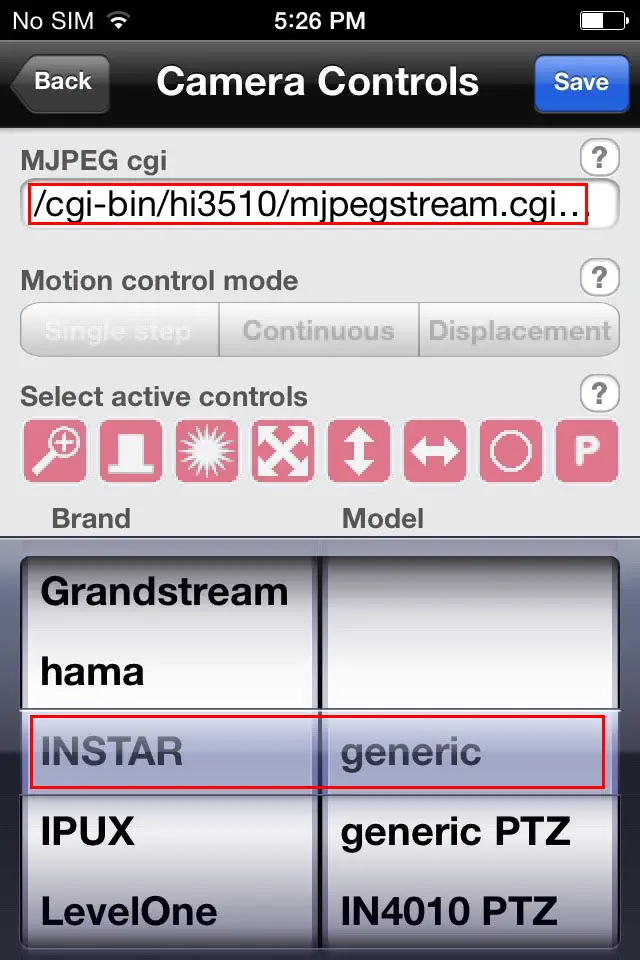
Fig4. Just choose the corresponding INSTAR preset for your VGA camera. For HD cameras choose the generic model and add the MJPEG CGI command from above.
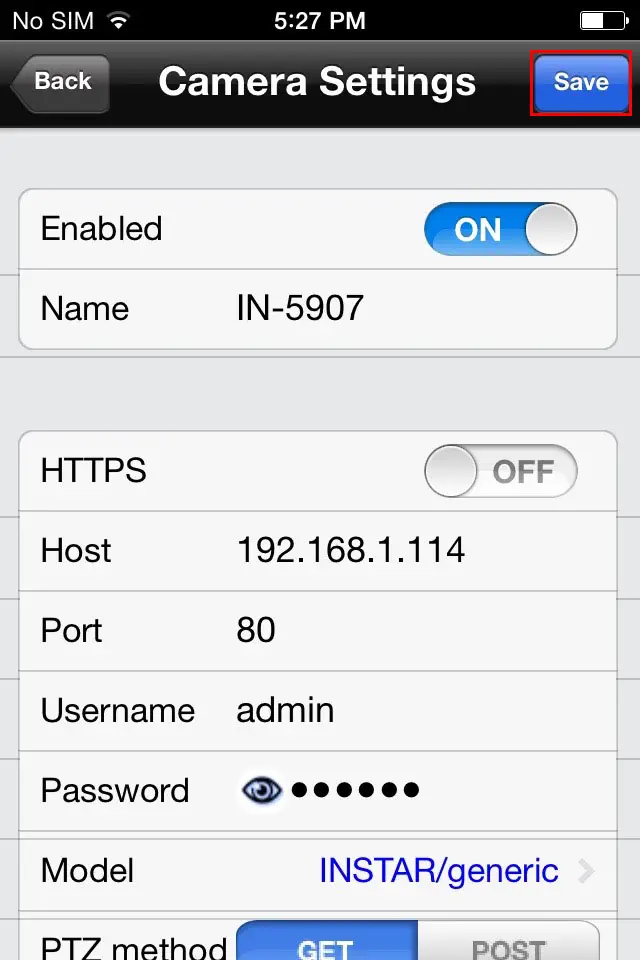
Fig5. Add your camera´s IP address, port and login. Then press Save.
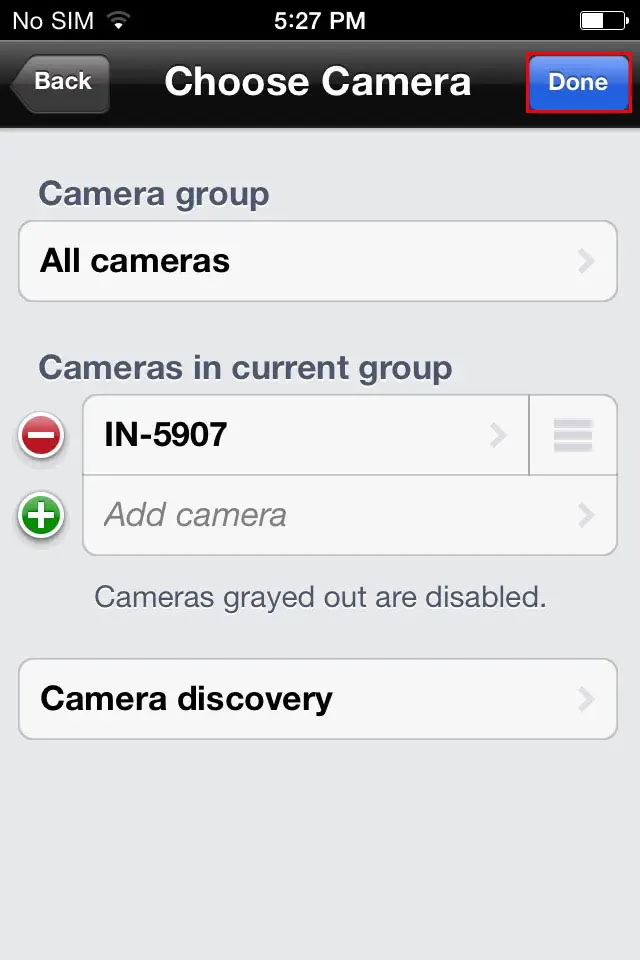
Fig6. Continue adding more cameras or press Done and Back to return to the camera view.
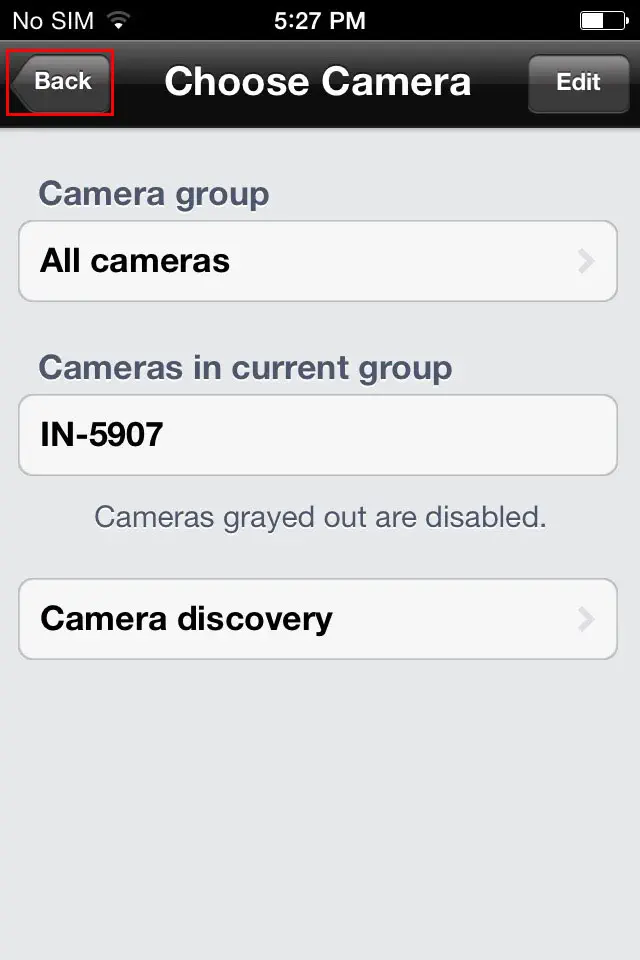
Fig7. Press Back to return to the camera view.