Q: Mosquitto now offers a management dashboard with version 2. How can I install the broker and use it with my camera?
Make your camera the heart of your smart home
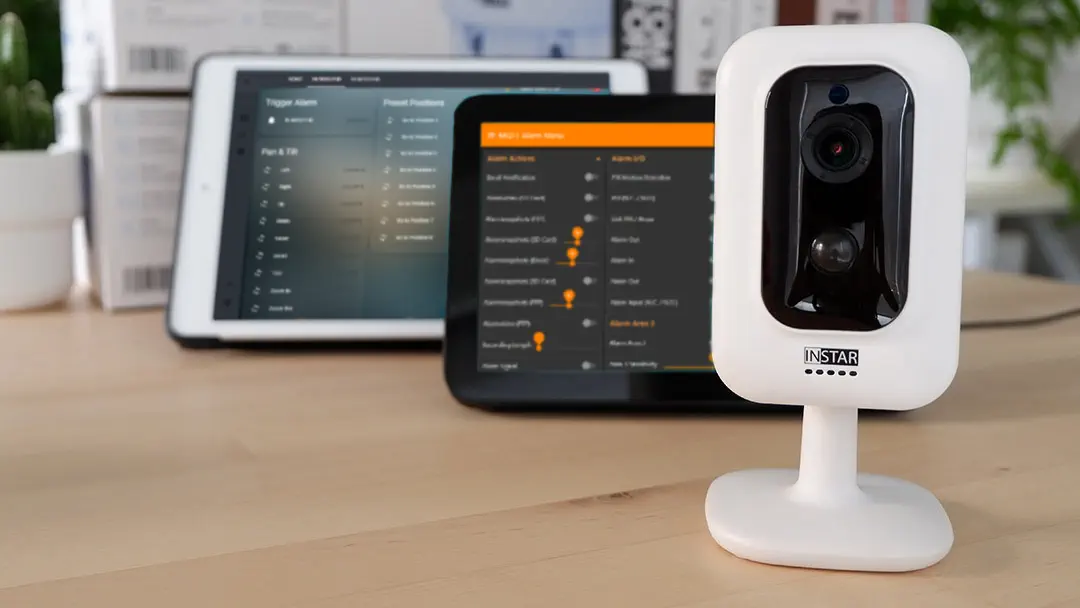
Using the MQTT interface of your INSTAR Full HD cameras you can connect them to an existing smarthome system (Home Assistant, OpenHAB, Node-RED, Athom Homey, Homematic, ioBroker, Loxone, homee) can be added. Or even make it the main broker for your MQTT sensors. MQTT allows you to automate ALL functions of your camera and link them to other services in your smarthome.
Control your camera via the IFTTT online service

On the IFTTT platform, we provided a service called INSTAR. The INSTAR applets provide you with the ability to control some settings of your INSTAR camera or INSTAR Cloud with IFTTT. You can connect INSTAR with triggers for location (Geo Location) and date & time, send notifications and much more. For example, you can connect INSTAR applets to the IFTTT location service and automatically disable the alarm when you arrive home. You can also use the INSTAR applets to create your own automation and connect them to other third-party applets.
A: The easiest way to install any of Cedalos products individually, as a bundle or the whole platform is to use the official Docker based installer image cedalo/installer, which is available at Docker Hub.
The installer will guide you through the installation process and will allow you to select which components you want to install: Eclipse Mosquitto, Eclipse Streamsheets, the Management Center or combinations of it.
The following sections describe how to do the Docker based installation on Linux - but the installation on Windows and macOS ist mostly identical.
Install Docker
If you have not yet, install Docker for your Linux platform (see installation instructions here). For example, Docker is available for Centos, Debian, Fedora or Ubuntu.
Use the installer
For an installation under Linux use the installer image tagged with 2.0-linux:
docker run -it -v ~/mosquitto:/cedalo cedalo/installer:2-linuxIn the following dialog you can select (using the space bar) which components should be installed:
Select what to install › - Space to select. Return to submit
◉   Management Center for Eclipse Mosquitto
◉   Eclipse Streamsheets
◉   Eclipse Mosquitto 2.0
◯   Eclipse Mosquitto 1.6
When you have selected the components to install, press the return key, which will start the installation process. During the installation process the following files will be created within the installation directory:
~/mosquitto
├── docker-compose.yml  # Docker Compose file
├── mosquitto           #
│   ├── config          # Configurations for Mosquitto
│   ├── data            # Data directory for Mosquitto
├── start.sh            # Start script
├── stop.sh             # Stop script
├── streamsheets        #
│   ├── init.json       # Configuration for Streamsheets
├── update.sh           # Update script
Start Mosquitto
To start everything you installed, just use the start.sh file.
cd ~/mosquitto
sh start.sh
Open the applications
When everything is installed and started correctly the applications should be available under the following URLs:
- Eclipse Mosquitto:
mqtt://localhost:1883 - Eclipse Streamsheets Web UI:
http://localhost:8081 - Management Center Web UI:
http://localhost:8088
Eclipse Streamsheets default login
admin/1234
Mosquitto Dashboard
Open the following URL inside your Webbrowser http://localhost:8088 and you will be greeted by the broker dashboard. Switch to the client page and click on the Plus button in the lower right to add a new client:

Debugging
I want to start by adding a debugging tool - e.g. MQTT.fx, MQTT Explorer, etc - that helps me see what traffic is being handled by my broker. I will use the MQTT.fx Tool. To be able to connect to my Mosquitto Broker I first have to create a user for the new client:

Choose your Client ID and Login freely and click on save to add the new client. Now we need to give our new client permission to subscribe/publish to MQTT topics - this can be done inside the Roles menu. Click on the Plus button to add a new role:

We first have to create the role - I just called it mqttfx - by clicking on Save:

This will bring you back to the role list - click on the mqttfx role to edit it again. Now you will have another tab called ACLS. Here we have to tell Mosquitto what MQTT topics the client with this role is allowed to listen to. For debugging I choose the wildcard # - which means all of them:

Now return to your list of clients and assign the role mqttfx to your MQTT.fx client:

Now we have to configure MQTT.fx with the same information:

Try to connect to Mosquitto and publish a message to see if everything was set up correctly:

In the broker dashboard switch to the Topic Tree and check if your test was received:

Adding a Camera
Start by checking your MQTT configuration inside your camera. We want to add our new Mosquitto broker on port 1883. We also need to add a Client ID and Authentication that we will have to use later to set up the new client on our broker:

On our broker dashboard click to add a new client and add the authentication and client ID you set inside your camera:

Clicking on Save will bring you back to the client list. Now switch to the Roles tab and click on the Plus button to add a new role for your camera:

Again we first have to create the role before we can start editing it's permissions. So click save and re-enter it to edit the ACLS settings. Here I want to make sure that this camera only receives topics that are meant for it. In my MQTT configuration (inside the camera webUI) I configured the MQTT Prefix to be cameras and the MQTT ID to be 116. So I will set the publish and subscribe pattern to be cameras/116/#:

Back in the Client List you have to assign the new role to allow your camera to publish and subscribe to MQTT topics:

Return to the Topic Tree you should now see all retained Topics that were published by your camera:

You can now continue adding all your cameras and use Mosquitto 2 as your central MQTT broker for your smarthome!