All ioBroker Tutorials
All ioBroker FAQs
Home Assistant 2022.8.6 and the INSTAR WQHD Live Videostream
RTSP IP Camera
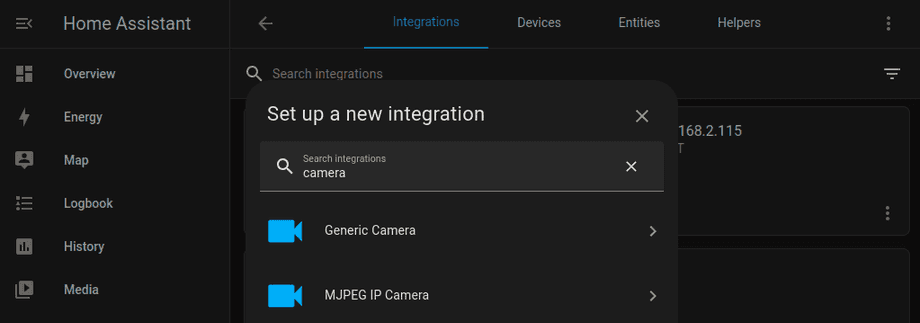
We can use the Generic Camera addon to add our cameras live video. Start by install from the Settings / Devices and Services / Integrations screen:
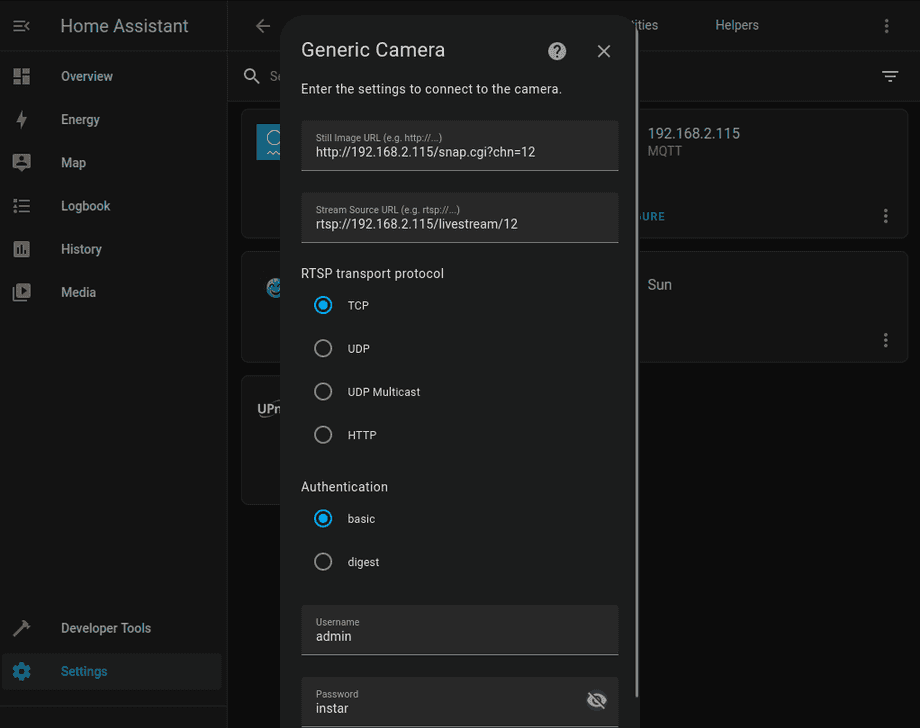
Now we need the JPG and RTSP Path of our camera, e.g. on IP address 192.168.2.115.
Snapshots for video channels 11, 12 and 13:
http://192.168.2.115/snap.cgi?chn=11&user=admin&pwd=instar
http://192.168.2.115/snap.cgi?chn=12&user=admin&pwd=instar
http://192.168.2.115/snap.cgi?chn=13&user=admin&pwd=instar
RTSP Stream /livestream for video channels 11, 12 and 13:
rtsp://admin:instar@192.168.2.115:554/livestream/11
rtsp://admin:instar@192.168.2.115:554/livestream/12
rtsp://admin:instar@192.168.2.115:554/livestream/13
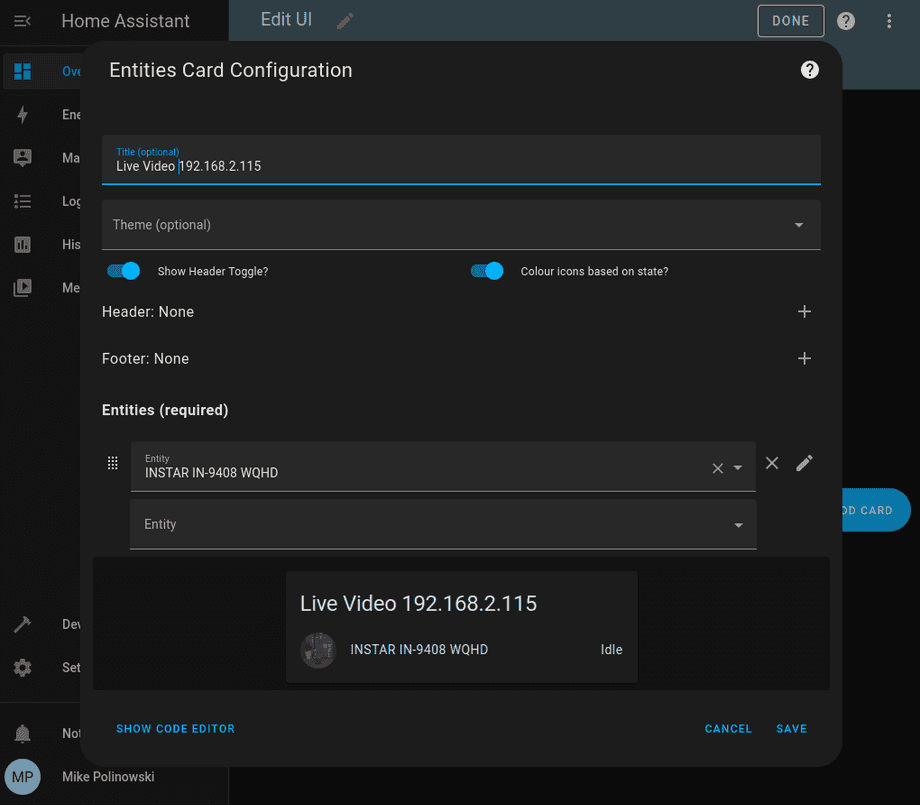
Back on the dashboard we can now add our camera as an Entity:
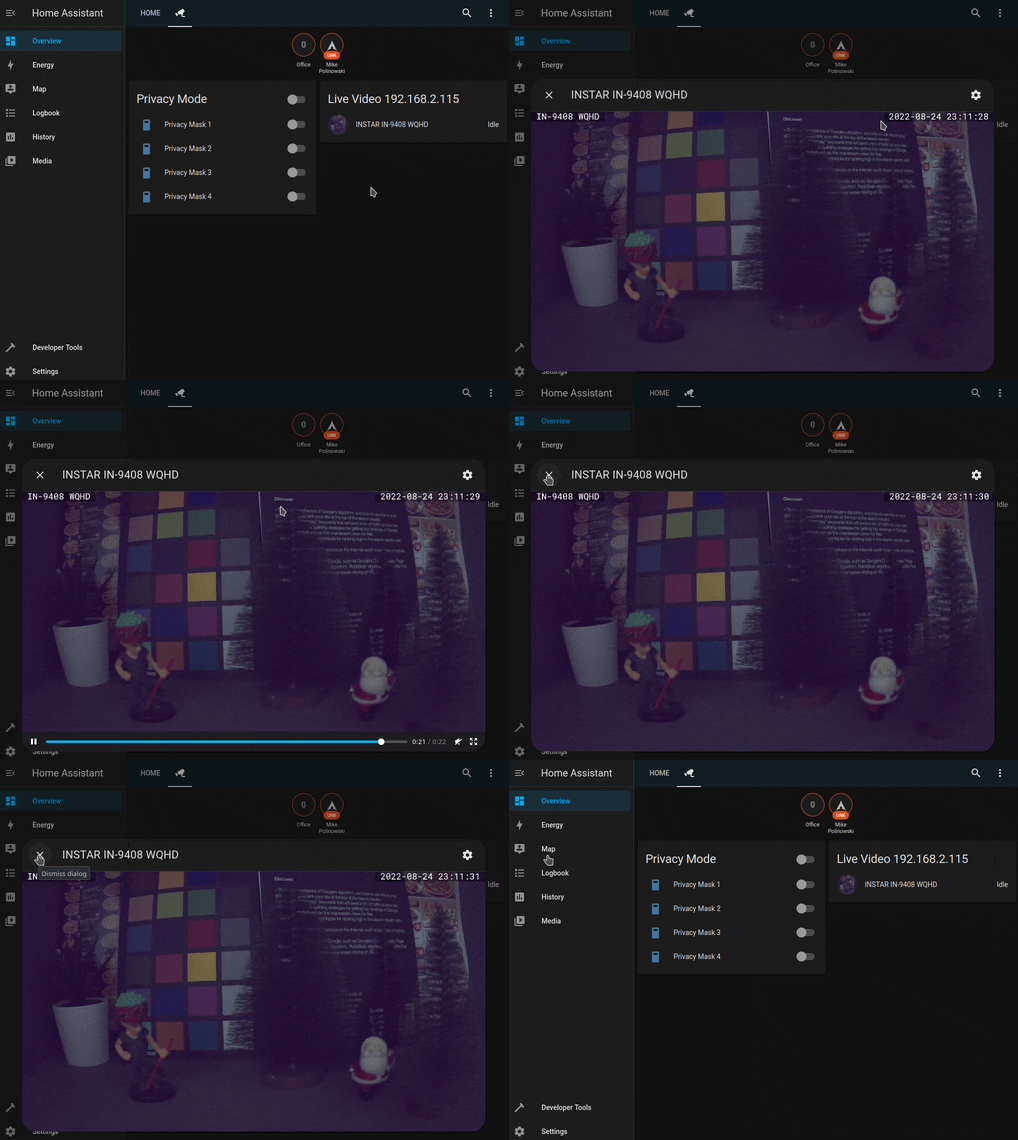
Once saved you can open your cameras by clicking the Live Video tile:
MJPEG IP Camera
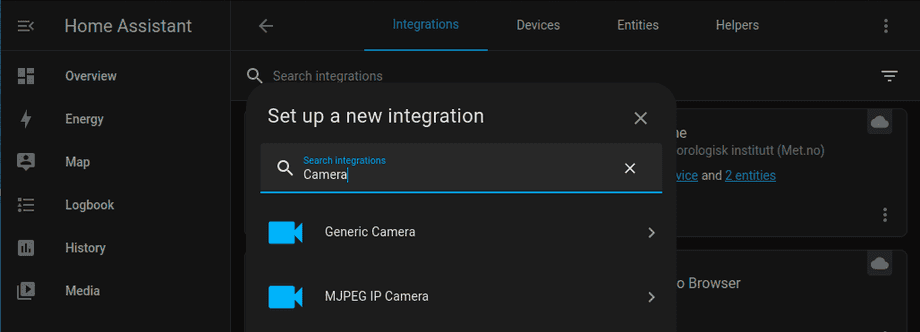
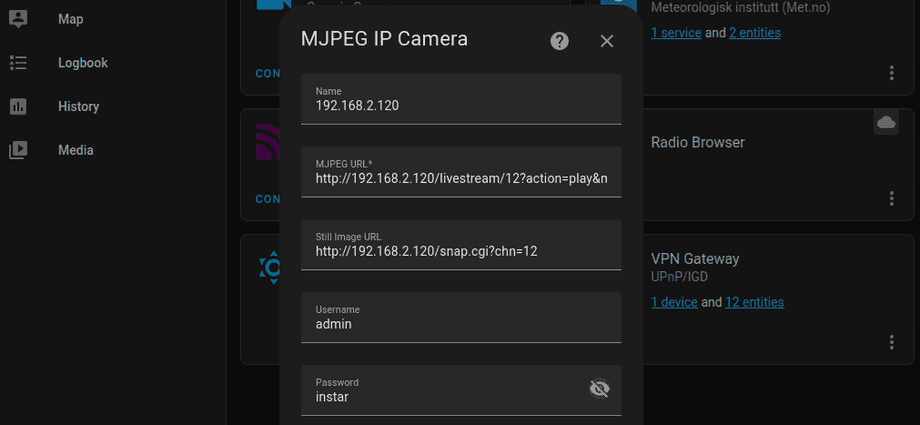
Using the MJPEG Camera integration works the same way:
Only now we need to use the MJPEG Path of our camera, e.g. on IP address 192.168.2.115.
Videostreams for video channels 11, 12 and 13:
http://192.168.2.115/livestream/11?action=play&media=mjpeg&user=admin&pwd=instar
http://192.168.2.115/livestream/12?action=play&media=mjpeg&user=admin&pwd=instar
http://192.168.2.115/livestream/13?action=play&media=mjpeg&user=admin&pwd=instar
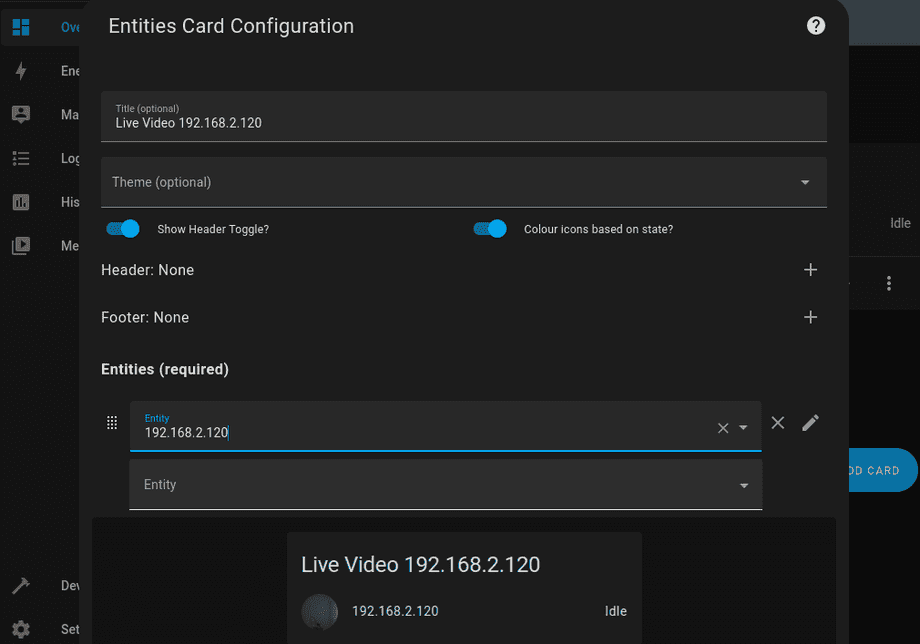
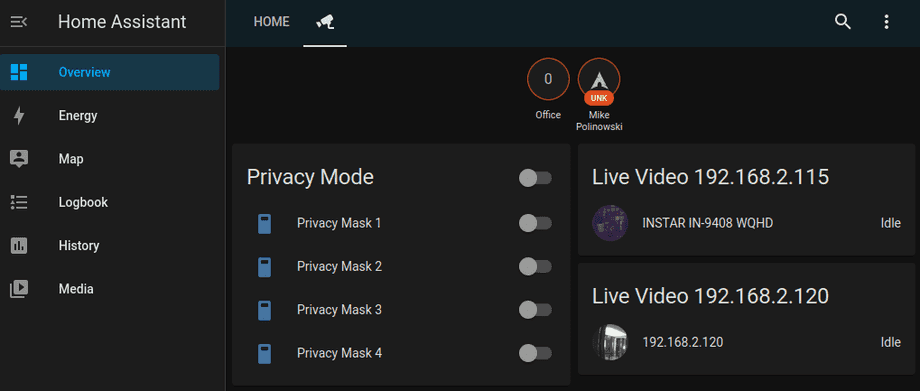
Back on the dashboard we can now add our camera as an Entity:
Once saved you can open your cameras by clicking the Live Video tile:
