Setting up a Filezilla server on your Windows Computer
Your camera can upload pictures during an alarm event or you can also upload pictures in a defined time period to any kind of FTP server. Besides online offers for FTP servers or Routers which can function as a FTP server you can also set up your local computer or server to function as a FTP server in order to receive pictures from the camera.
Dieses Video beschreibt Ihnen mehrere Punkte:
- Wir zeigen Ihnen wie Sie unter Windows Filezilla Server installieren, also einen eigenen FTP Server erstellen auf den die Kamera dann Ihre Aufnahmen übertragen kann.
- Wir zeigen Sie wie und wo Sie die Daten in der Kamera eintragen müssen
- Mit der automatischen Aufgabenplanung von Windows lassen wir Dateien automatisch löschen die älter als X Tage sind
Download FileZilla Server
All you need to do is get a FTP tool like FileZilla:
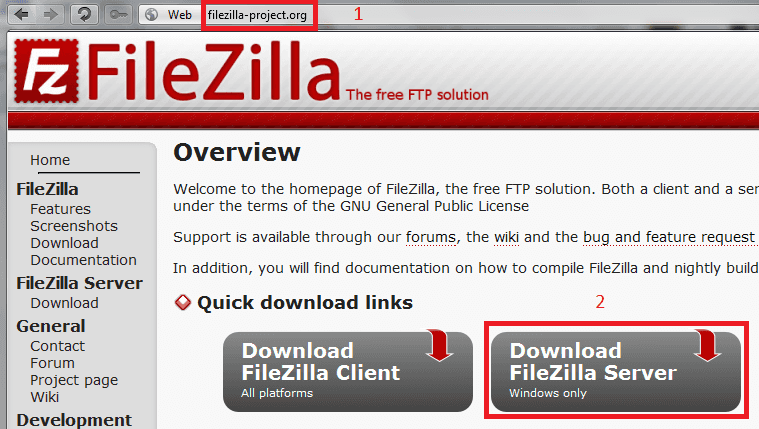
Enter the Filezilla Website (1) and download the server edition of FileZilla (2).
Install the Server
If you run into any troubles during the installation process, please follow our installation guide here
Start the Server
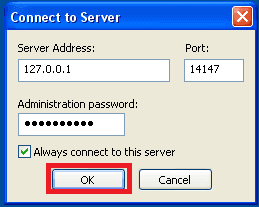
After installation please start the FTP server and connect to your localhost (127.0.0.1) server.
Add a FTP User
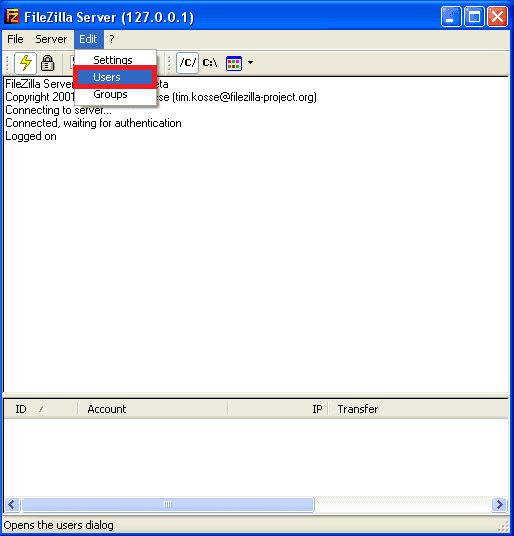
Now please set up a user for your cameras account. By clicking Edit and then Users you can access the user settings.
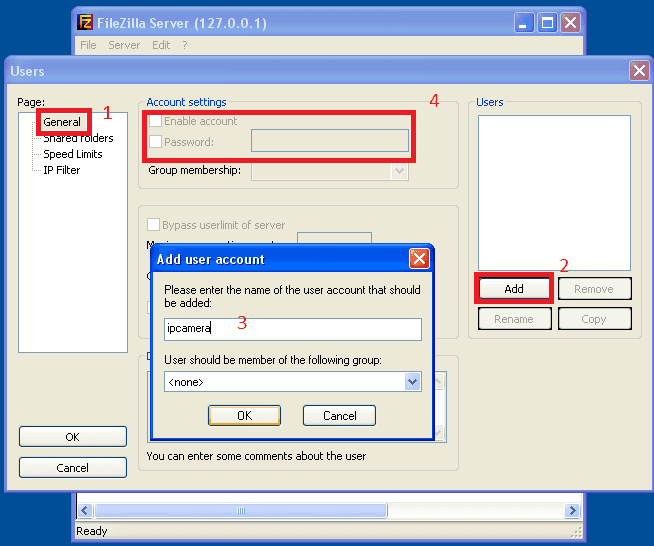
In General (1), please choose Add (2) and type in a user name for your cameras account (3). After that you can choose a password for this account (4) and click OK to save the settings.
Add a local Directory
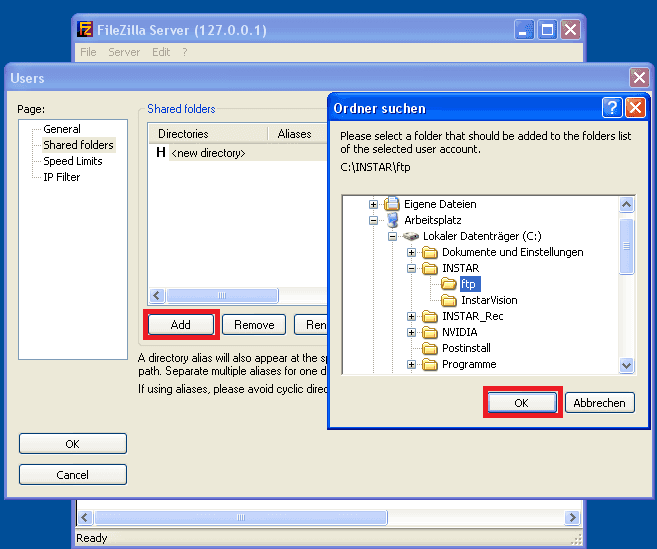
Now we have to select the folder in which the camera will save the pictures. Please choose Shared folders and then Add to select the folder in which the pictures will be saved on your local hard drive. After selection the folder please mark the folder and set it as the Home Directory by clicking set as home dir. Please also make sure that under "Files" the Read and Write access rights are selected. Sometimes the default setting might be only Read. This would cause that you get an error message if you try to write any files...
Set an upload directory for your camera.
And make it the Home Directory.
Discuss this article on the INSTAR Forum !
